4-Week Bigger Chest Specialization Program
A four-week chest specialization block balancing heavy pressing, controlled volume, back work and recovery.
How to use this plan
Follow the days in order, log every working set, and finish each set with one to three good repetitions still available. Use the exercise animations to learn the movement and open the video when you need a full demonstration.
Monday
Chest Strength
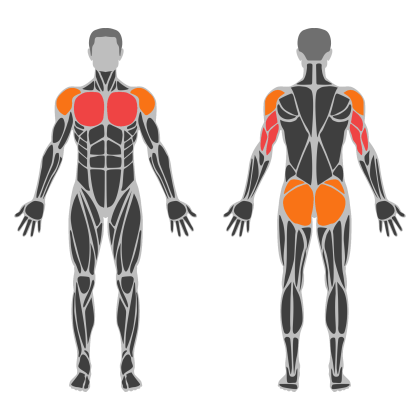
Chest Strength muscle focus
Red marks the primary training focus. Orange marks supporting muscle groups used throughout this session.
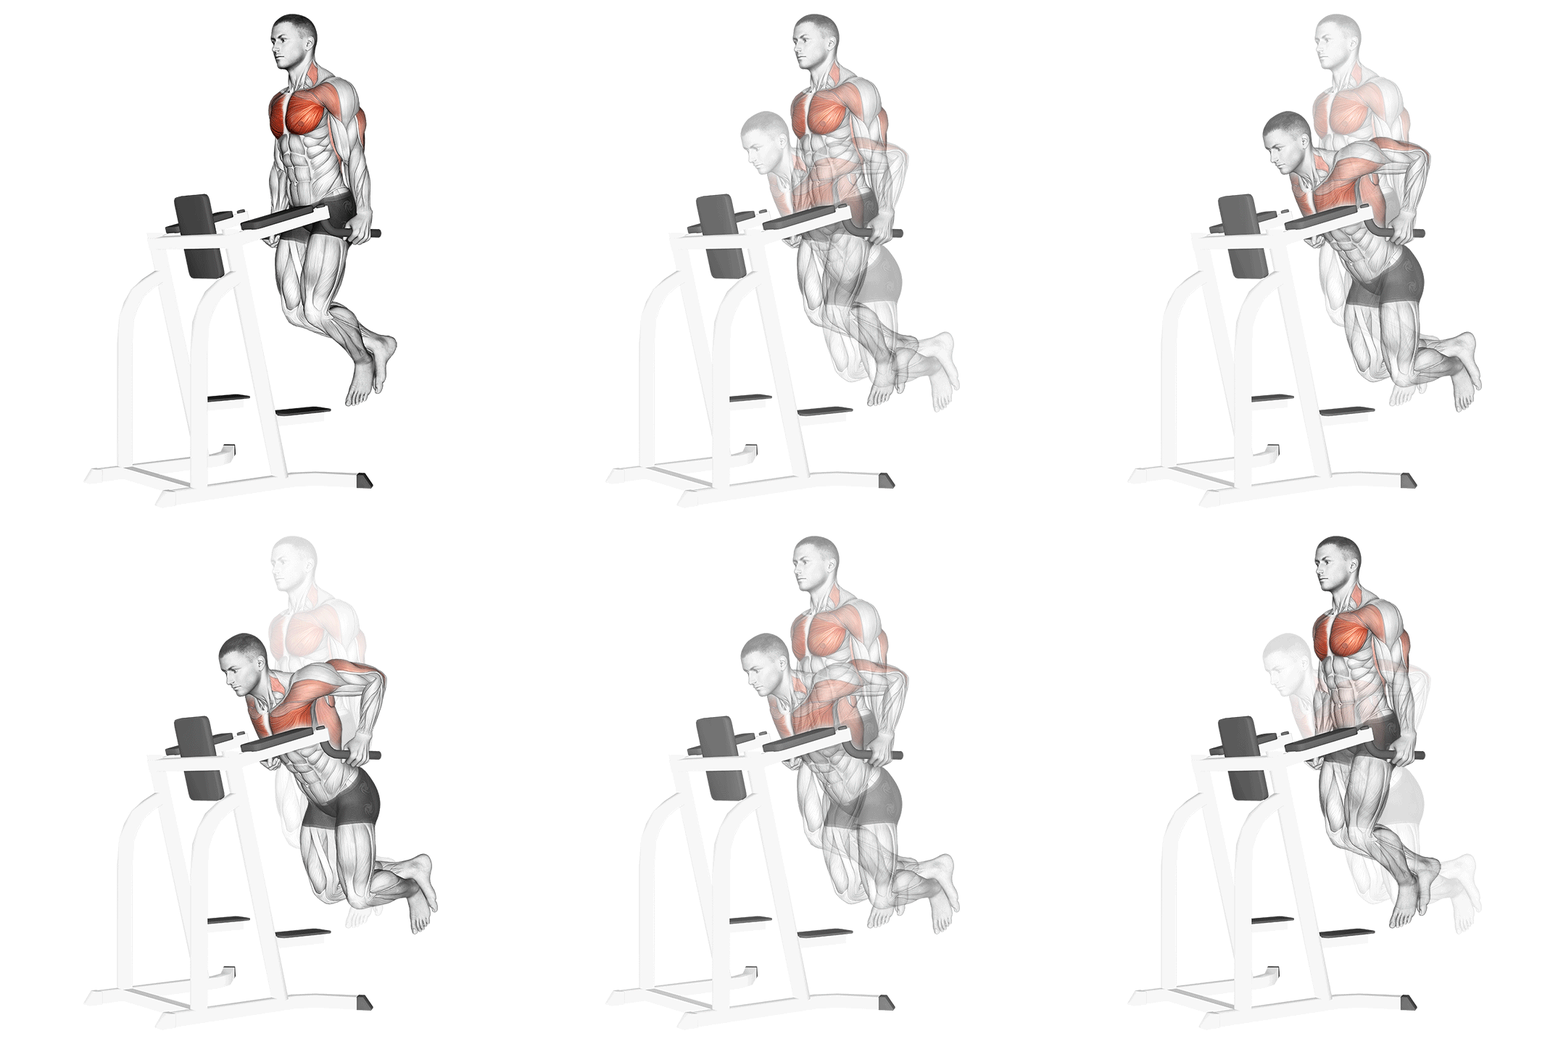
Chest Dips
Dips on parallel bars target the chest, triceps, and shoulders. This compound exercise emphasizes the lower part of the pectoral muscles and helps in building upper body strength and mass. Proper form is crucial to maximize effectiveness and prevent injury.
Muscle focus
Step-by-step cues
- Begin by gripping the parallel bars with your palms facing inward and arms fully extended.
- Lift your body off the ground by straightening your arms, keeping your torso slightly leaning forward.
- Bend your elbows to lower your body until your upper arms are parallel to the ground or slightly below.
- Pause briefly at the bottom of the movement, then push through your palms to extend your arms and return to the starting position.
- Maintain a controlled motion throughout the exercise, avoiding any swinging or jerking movements.
Technical tips
- Keep your core engaged to maintain stability and control during the exercise.
- Leaning forward slightly will emphasize chest activation over triceps.
- Avoid locking out your elbows at the top to maintain tension on the muscles.
- Breathe in as you lower yourself and exhale as you push back up.
- If you're new to this exercise, consider using an assisted dip machine or resistance bands for support.
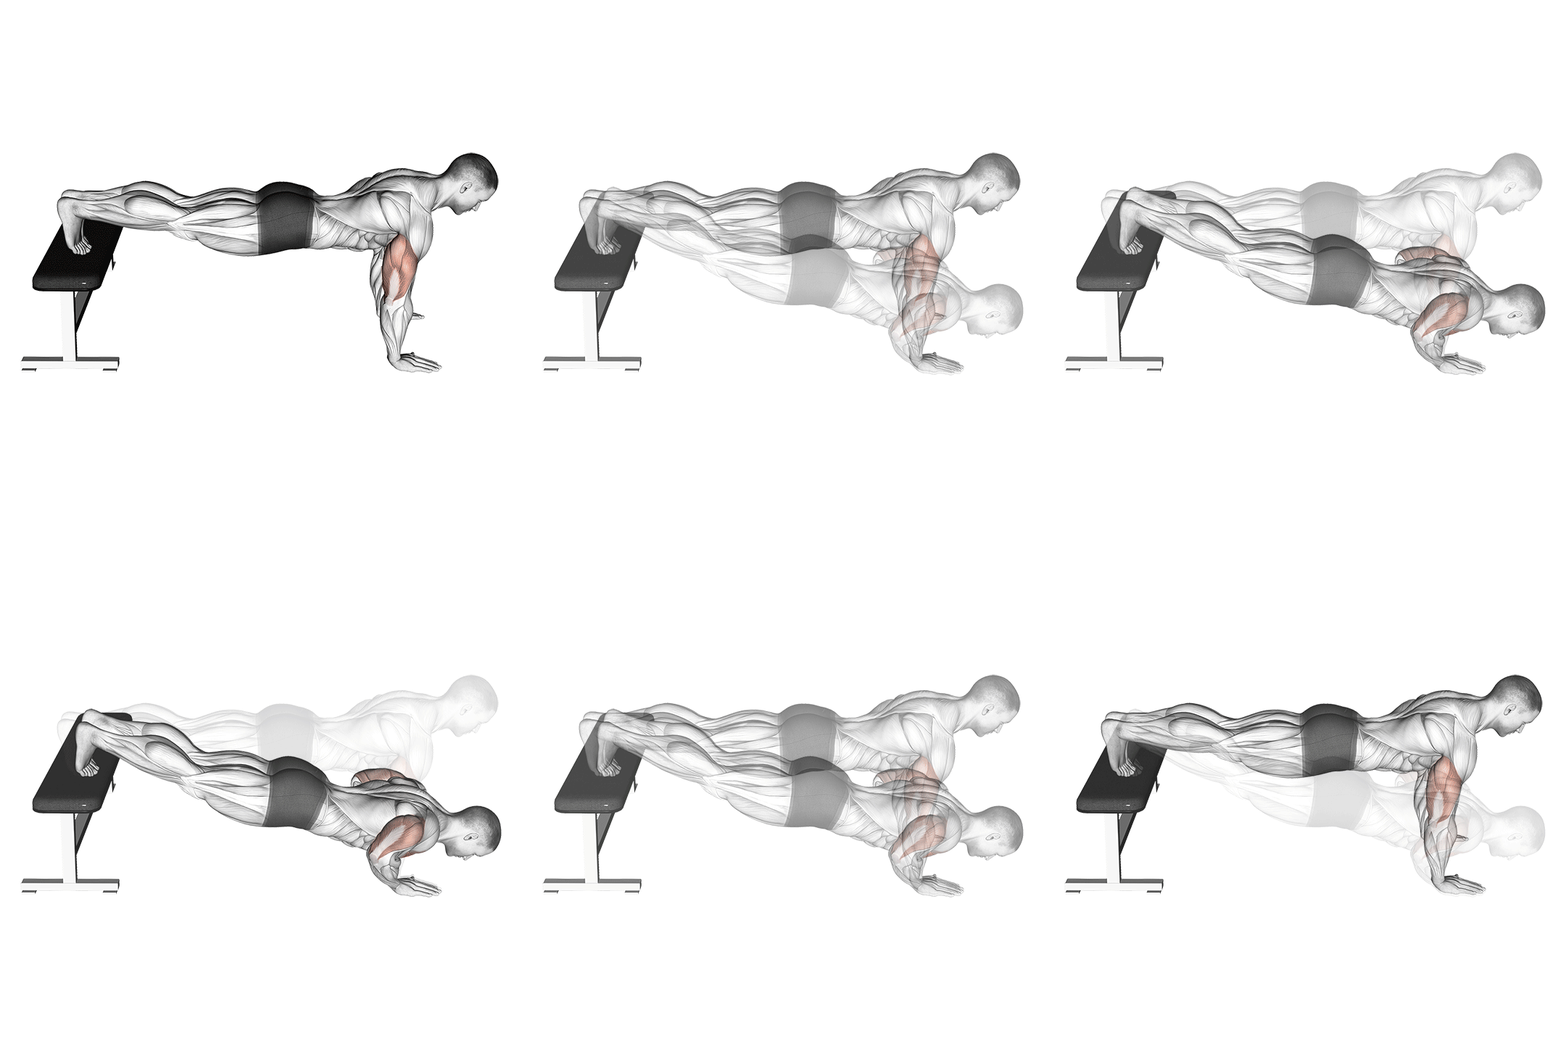
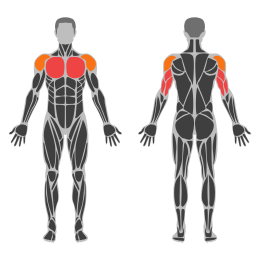
Decline Push-Up
The Decline Push-Up is a bodyweight exercise that targets the upper chest, shoulders, and triceps by elevating the feet on a stable surface. This variation increases the difficulty compared to a standard push-up by shifting more weight onto the upper body.
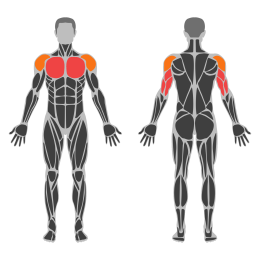
Muscle focus
Step-by-step cues
- Begin by placing your feet on an elevated surface such as a bench or step, ensuring it's stable and secure.
- Position your hands shoulder-width apart on the floor, directly under your shoulders.
- Engage your core to maintain a straight line from head to heels.
- Lower your body by bending your elbows, keeping them at a 45-degree angle to your torso.
- Descend until your chest nearly touches the floor, maintaining control throughout the movement.
- Push through your palms to extend your elbows and return to the starting position.
- Repeat for the desired number of repetitions.
Technical tips
- Ensure your core remains tight throughout the exercise to prevent sagging hips.
- Keep your head in a neutral position by looking slightly ahead of you, not down at the floor.
- Control the descent to maximize muscle engagement and prevent injury.
- Adjust the height of the elevated surface to modify the difficulty level; higher surfaces increase difficulty.
- Breathe in as you lower your body and exhale as you push back up.
- Focus on maintaining even weight distribution between both hands.
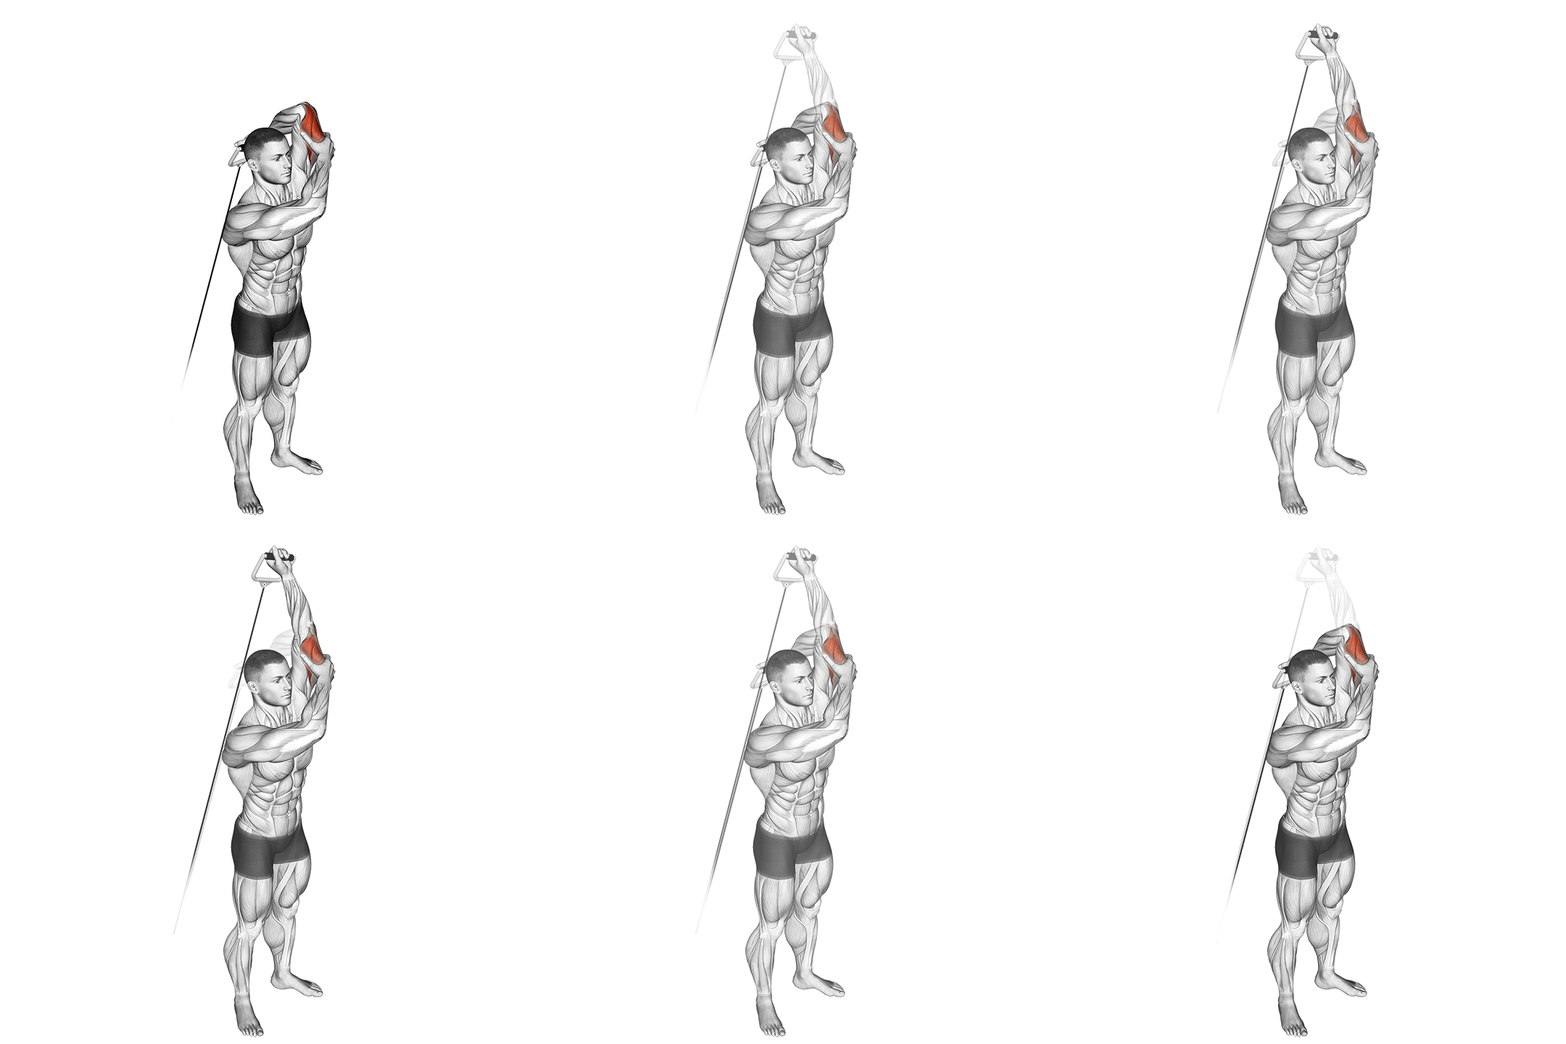
One-Arm Katana Triceps Overhead Extension
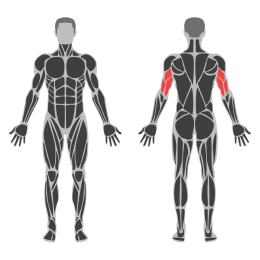
The Katana Single Arm Triceps Overhead Extension is an isolation exercise targeting the triceps brachii. It involves extending the arm overhead while holding a dumbbell, focusing on the long head of the triceps. This exercise helps in building strength and definition in the upper arm.
Muscle focus
Step-by-step cues
- Stand with your feet shoulder-width apart, holding a dumbbell in one hand.
- Raise the dumbbell above your head, fully extending your arm.
- Keep your elbow close to your head and your palm facing forward.
- Slowly lower the dumbbell behind your head by bending your elbow.
- Pause briefly when you feel a stretch in your triceps.
- Extend your arm back to the starting position by contracting your triceps.
- Repeat for the desired number of repetitions before switching arms.
Technical tips
- Maintain a neutral spine and keep your core engaged throughout the exercise.
- Avoid flaring your elbow outward; keep it close to your head for better isolation of the triceps.
- Control the movement to avoid using momentum; focus on slow and deliberate motions.
- Start with a lighter weight to master form before progressing to heavier loads.
- Breathe out as you extend your arm and inhale as you lower the dumbbell.
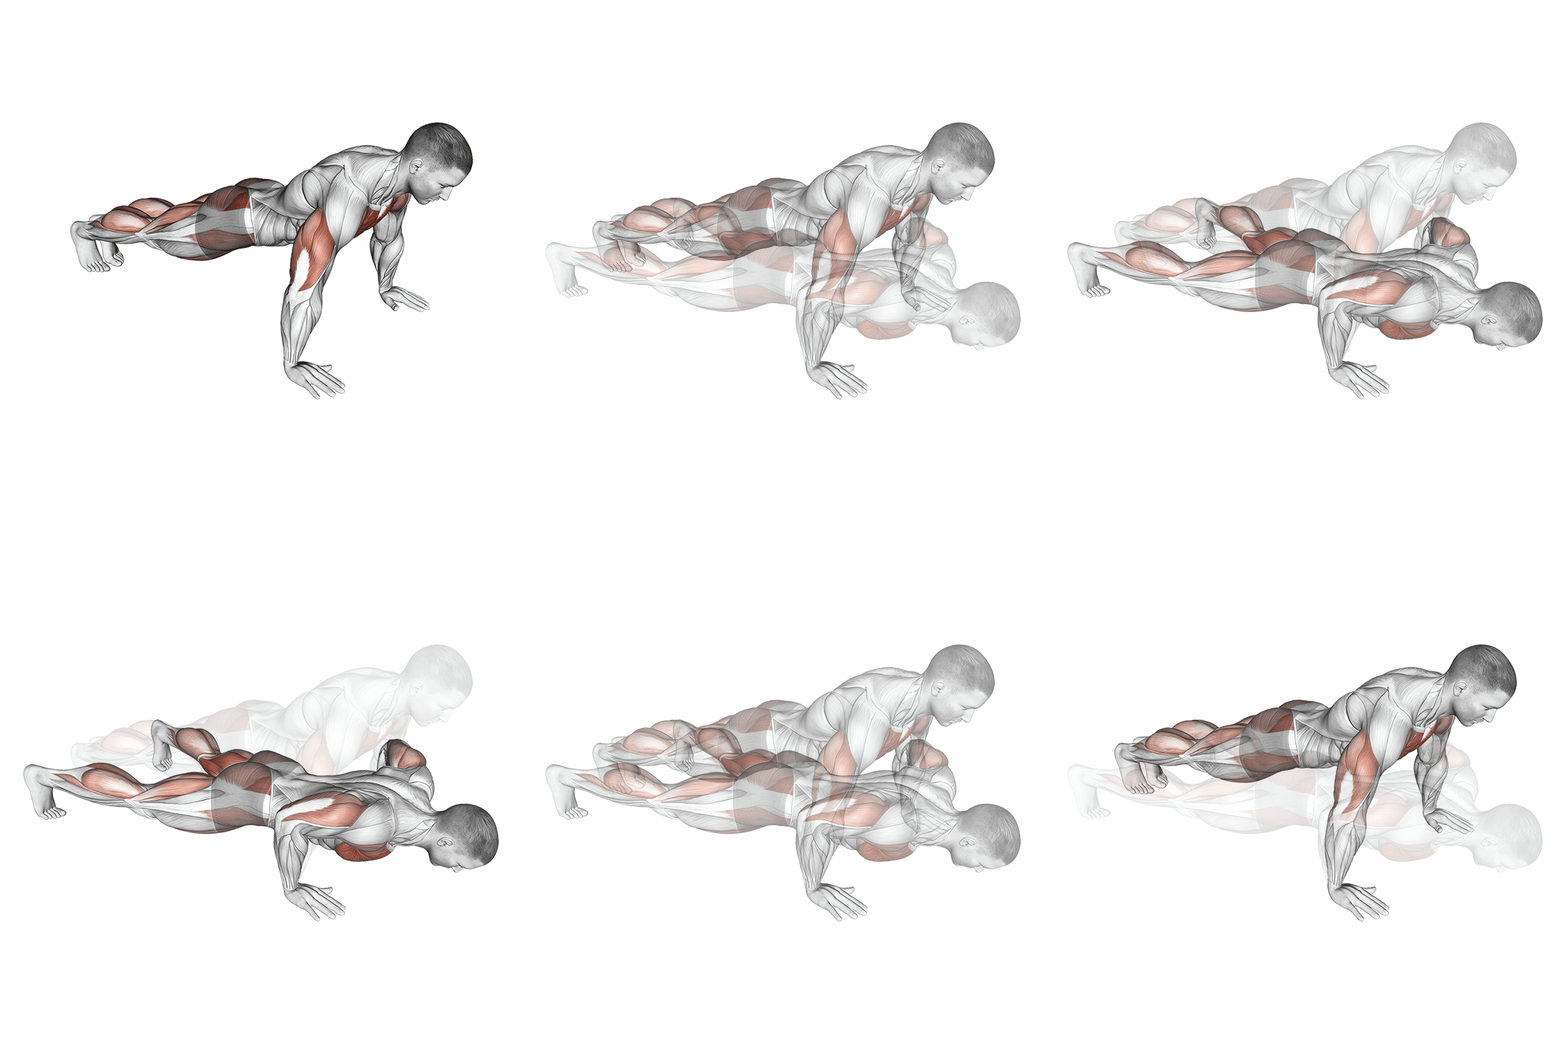
Jack Push-Up
The Push Up Jack is a dynamic exercise that combines the traditional push-up with a jumping jack motion. It targets the chest, shoulders, triceps, and core muscles while also providing cardiovascular benefits. This exercise enhances upper body strength, endurance, and coordination.
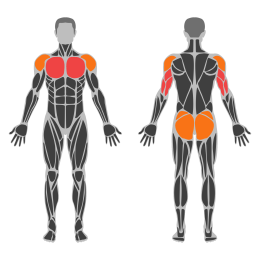
Muscle focus
Step-by-step cues
- Start in a high plank position with your hands placed slightly wider than shoulder-width apart and your feet together.
- Engage your core and keep your body in a straight line from head to heels.
- Lower your chest towards the floor by bending your elbows, keeping them at about a 45-degree angle to your body.
- As you push back up to the starting position, jump your feet out to the sides wider than hip-width apart.
- Immediately jump your feet back together as you lower into the next push-up repetition.
- Continue alternating between push-ups and jumping jack motions for the desired number of repetitions.
Technical tips
- Maintain a strong core throughout the exercise to prevent sagging hips.
- Focus on controlled movements rather than speed to ensure proper form.
- Keep your elbows slightly tucked in during the push-up to protect your shoulders.
- Breathe out as you push up and jump, and inhale as you lower down.
- If you're new to this exercise, start with modified push-ups on your knees before progressing to full push-up jacks.
- Ensure that your hands are positioned correctly to avoid wrist strain.
Lying Chest Press
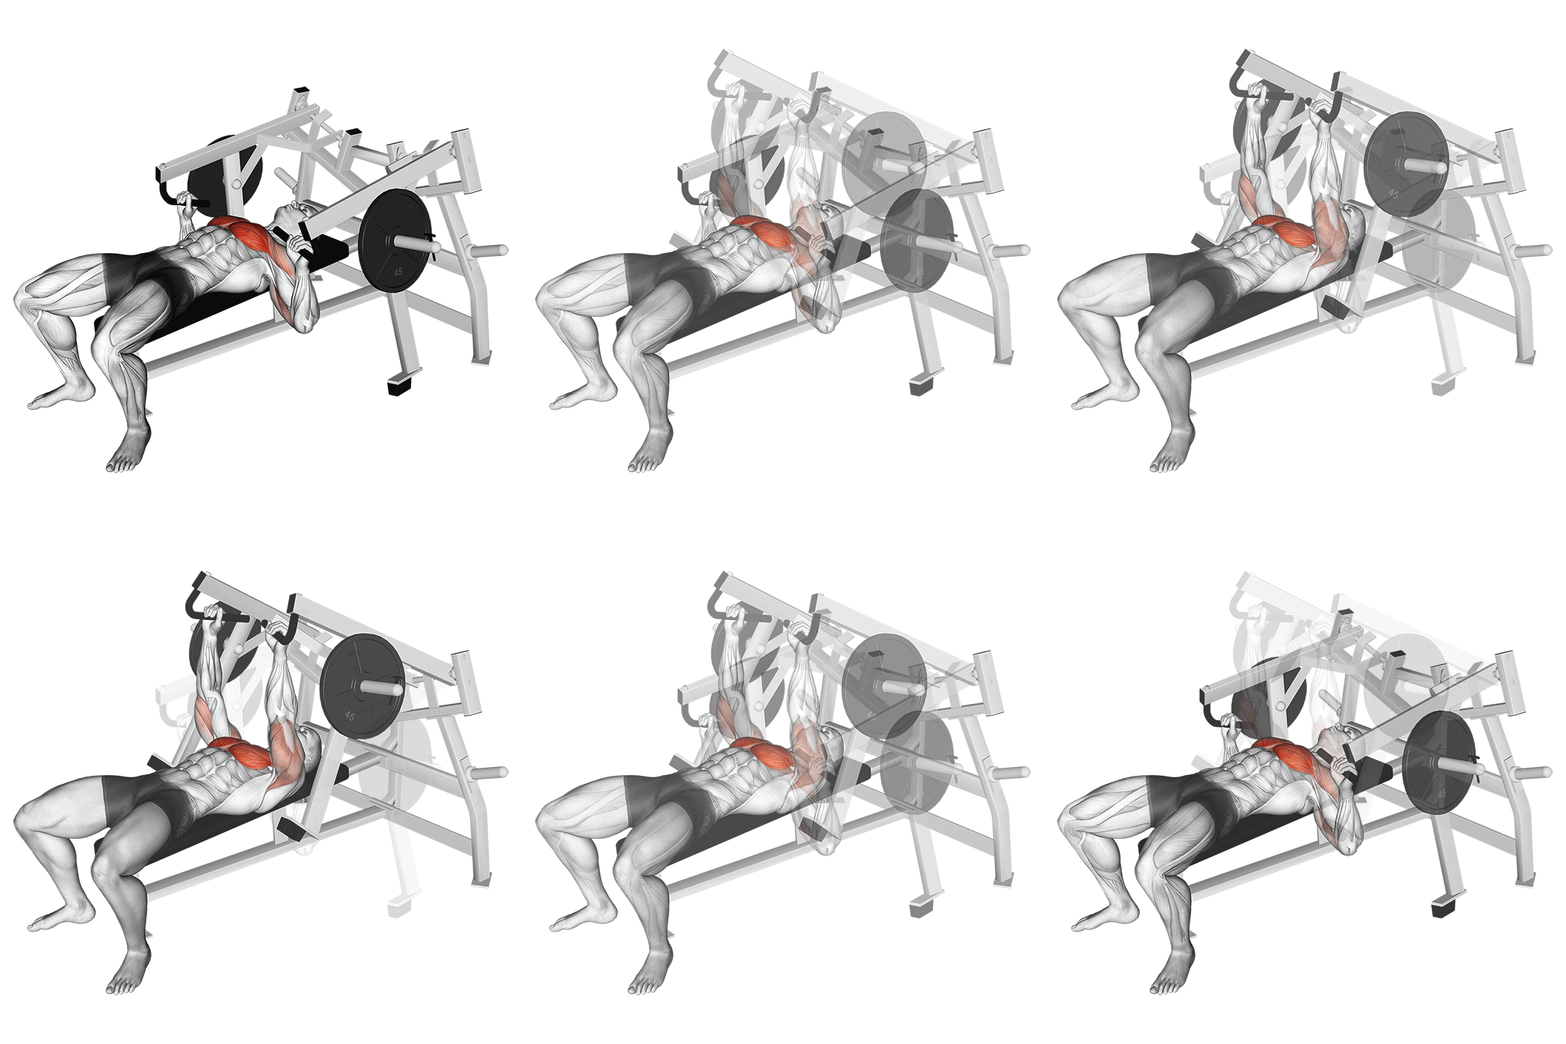
The Hammer Bench Press is a variation of the traditional bench press performed using a hammer strength machine. This exercise targets the pectoral muscles, triceps, and anterior deltoids. It provides a guided motion path, which can be beneficial for maintaining proper form and reducing the risk of injury.
Muscle focus
Step-by-step cues
- Adjust the seat height so that the handles are level with your mid-chest.
- Sit down on the machine with your back firmly against the pad and feet flat on the floor.
- Grasp the handles with a pronated grip (palms facing forward).
- Engage your core and press the handles forward by extending your elbows until your arms are fully extended but not locked.
- Slowly lower the handles back to the starting position, maintaining control throughout the movement.
- Repeat for the desired number of repetitions.
Technical tips
- Ensure your back remains in contact with the pad throughout the exercise to maintain stability.
- Keep your feet flat on the floor to provide a solid base of support.
- Focus on squeezing your chest muscles as you press the handles forward.
- Avoid locking out your elbows completely to maintain tension on the muscles.
- Control the movement during both pressing and lowering phases to maximize muscle engagement.
- Start with a lighter weight to perfect your form before increasing resistance.
Close Grip Smith Bench Press
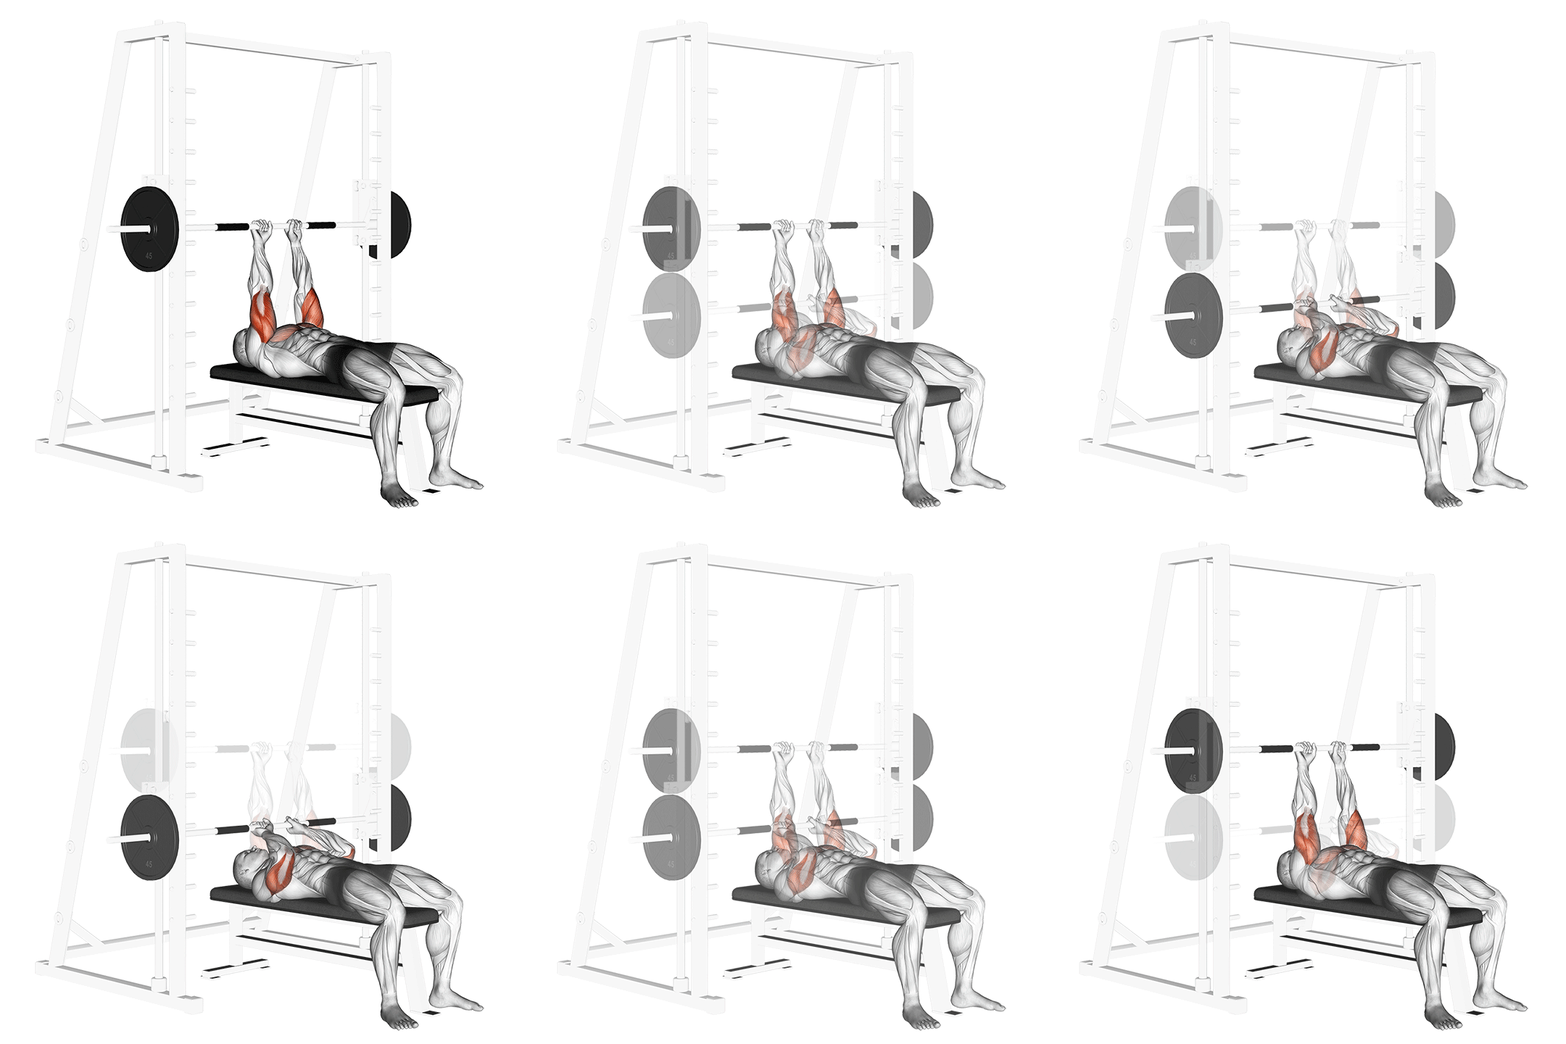
The JM Smith Press is a specialized bench press variation designed to target the triceps more intensely while still engaging the chest and shoulders. It is performed using a Smith machine, which provides a guided bar path, allowing for greater focus on muscle contraction and stability.
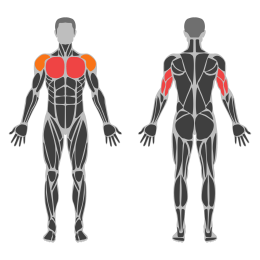
Muscle focus
Step-by-step cues
- Set the bench at a slight incline under the Smith machine. Adjust the bar height so you can comfortably un-rack it with your arms fully extended.
- Lie back on the bench and position yourself so that your eyes are directly under the bar. Grip the bar with a shoulder-width overhand grip.
- Un-rack the bar and lower it towards your lower chest, keeping your elbows tucked close to your body.
- Stop when the bar is about an inch above your chest, then press it back up by extending your elbows until your arms are fully extended.
- Repeat for the desired number of repetitions, maintaining control of the bar throughout the movement.
Technical tips
- Focus on keeping your elbows close to your body to maximize tricep engagement.
- Use a controlled tempo to avoid bouncing the bar off your chest, which can reduce effectiveness and increase injury risk.
- Start with a lighter weight to master the form before progressing to heavier loads.
- Ensure your grip is firm but not overly tight to maintain control without unnecessary tension in your forearms.
- Keep your feet flat on the floor for stability and engage your core throughout the exercise.
Tuesday
Recovery Walk
Walk for 30-45 minutes and perform gentle shoulder mobility.
Wednesday
Back and Legs Support
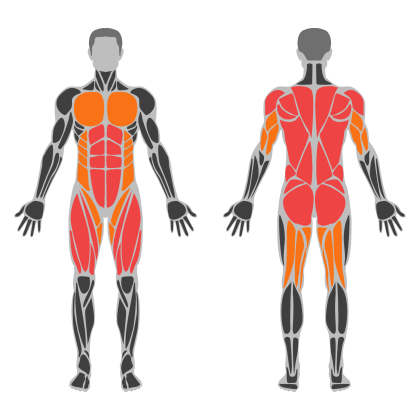
Back and Legs Support muscle focus
Red marks the primary training focus. Orange marks supporting muscle groups used throughout this session.
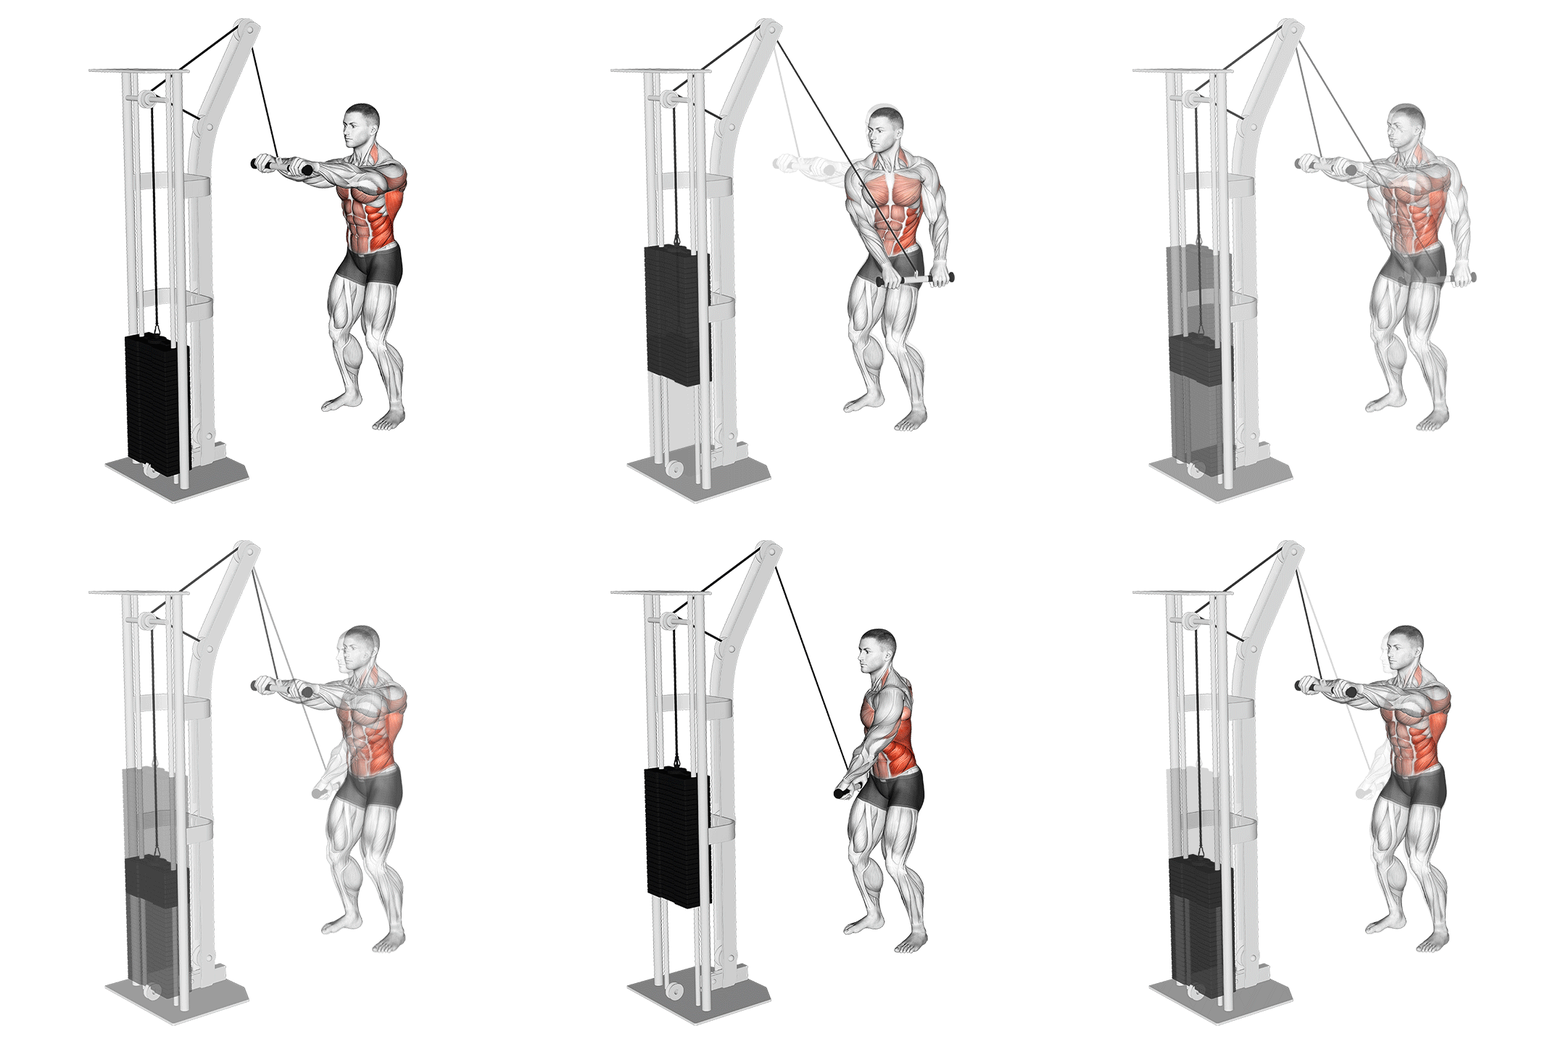
Cable Thibaudeau Kayak Row
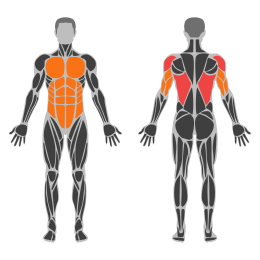
The Cable Thibaudeau Kayak Row is a compound exercise targeting the upper back, lats, and biceps. It combines elements of rowing and pulldown movements, emphasizing the contraction of the lats and improving scapular retraction. This exercise is performed using a cable machine with a straight bar attachment.
Muscle focus
Step-by-step cues
- Attach a straight bar to a low pulley on a cable machine.
- Stand facing the machine with feet shoulder-width apart.
- Grasp the bar with an overhand grip, hands slightly wider than shoulder-width.
- Step back slightly to create tension in the cable, keeping your arms extended.
- Lean forward slightly at the hips while maintaining a neutral spine.
- Pull the bar towards your abdomen by driving your elbows back and down, squeezing your shoulder blades together.
- Pause briefly at the peak contraction, ensuring your elbows are close to your body.
- Slowly extend your arms back to the starting position, maintaining control of the weight.
- Repeat for the desired number of repetitions.
Technical tips
- Focus on squeezing your shoulder blades together at the peak of each row to maximize upper back engagement.
- Keep your core engaged throughout the movement to maintain stability and prevent lower back strain.
- Avoid using momentum; perform each rep with controlled movements for optimal muscle activation.
- Ensure that your elbows stay close to your body during the pulling phase to target the lats effectively.
- Adjust the weight so that you can perform each repetition with proper form without compromising technique.
Deadlift
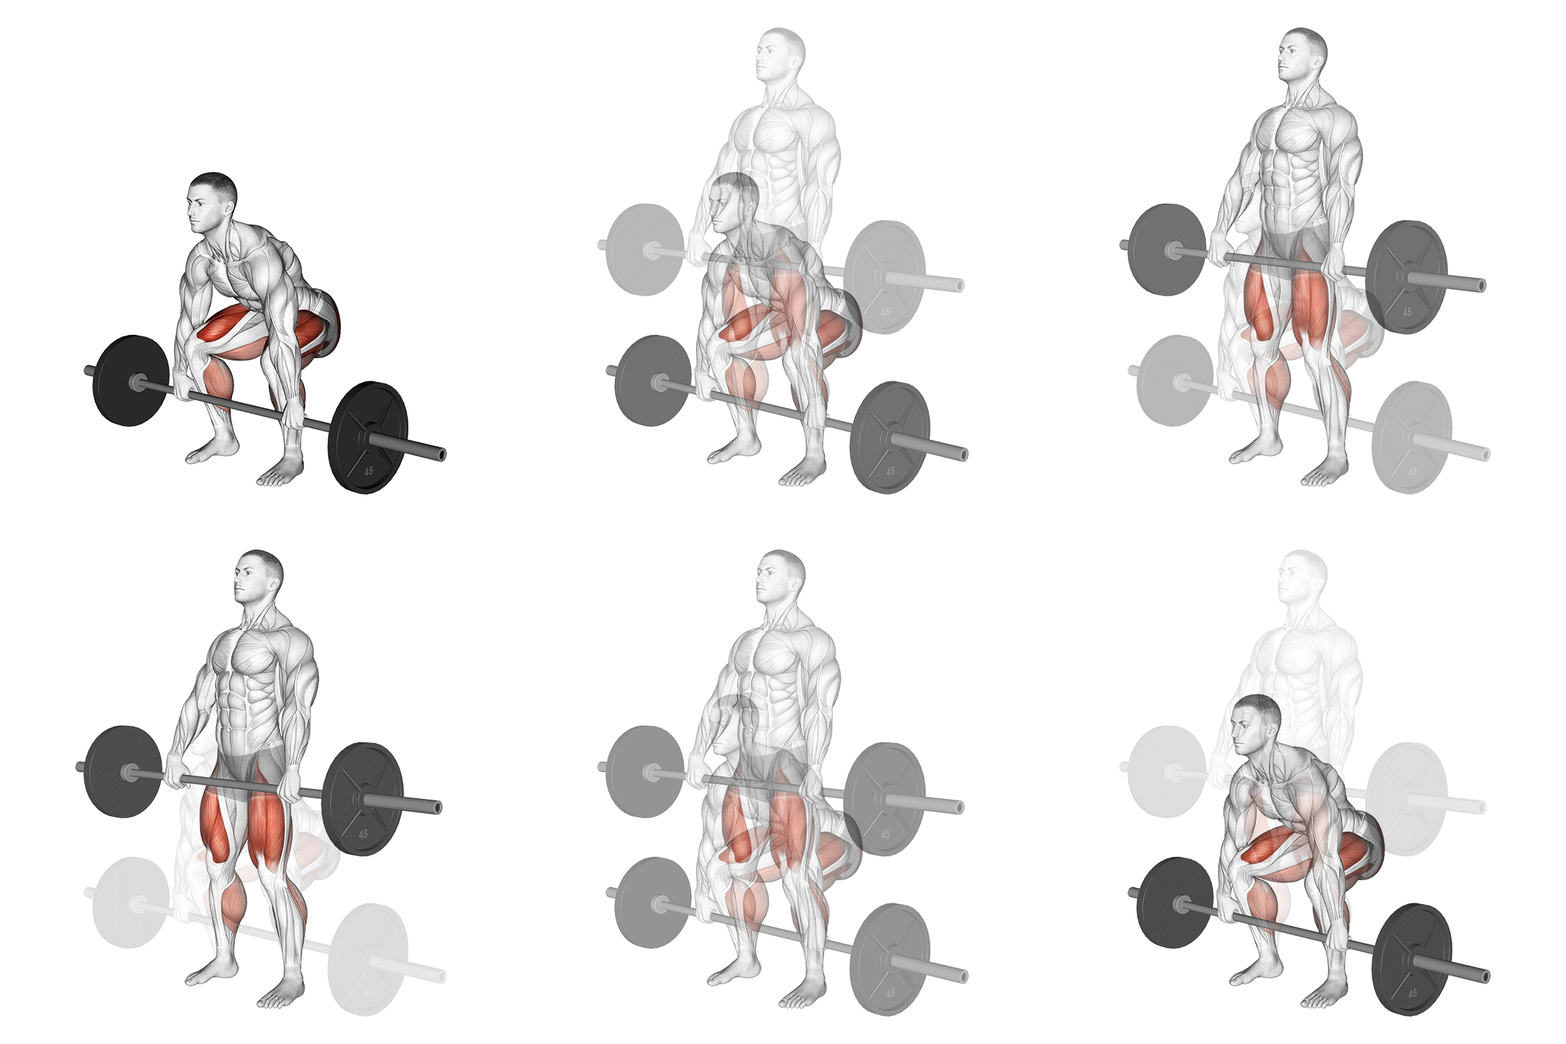
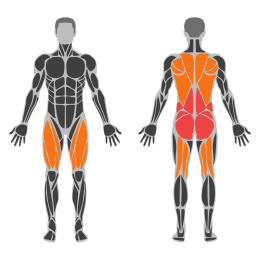
The deadlift is a compound exercise that targets multiple muscle groups, primarily the posterior chain, including the glutes, hamstrings, lower back, and traps. It is a fundamental strength training movement that involves lifting a loaded barbell from the ground to hip level while maintaining a neutral spine.
Muscle focus
Step-by-step cues
- Stand with your feet hip-width apart, toes pointing slightly outward.
- Position the barbell over the middle of your feet.
- Bend at the hips and knees to grip the bar just outside your knees with an overhand or mixed grip.
- Keep your chest up, back straight, and shoulders slightly in front of the bar.
- Engage your core and drive through your heels to lift the bar by extending your hips and knees simultaneously.
- Keep the bar close to your body as you lift it to hip level.
- Once fully upright, pause briefly before lowering the bar back to the ground by hinging at the hips and bending your knees.
Technical tips
- Ensure your spine remains neutral throughout the lift to prevent injury.
- Engage your core muscles before initiating the lift for better stability.
- Keep the barbell close to your body to maintain balance and reduce strain on your lower back.
- Avoid rounding your back; focus on keeping it straight by engaging your lats and pulling your shoulder blades together.
- Use a mixed grip or straps if grip strength is a limiting factor.
- Start with lighter weights to perfect your form before progressing to heavier loads.
Knee Tuck Crunch
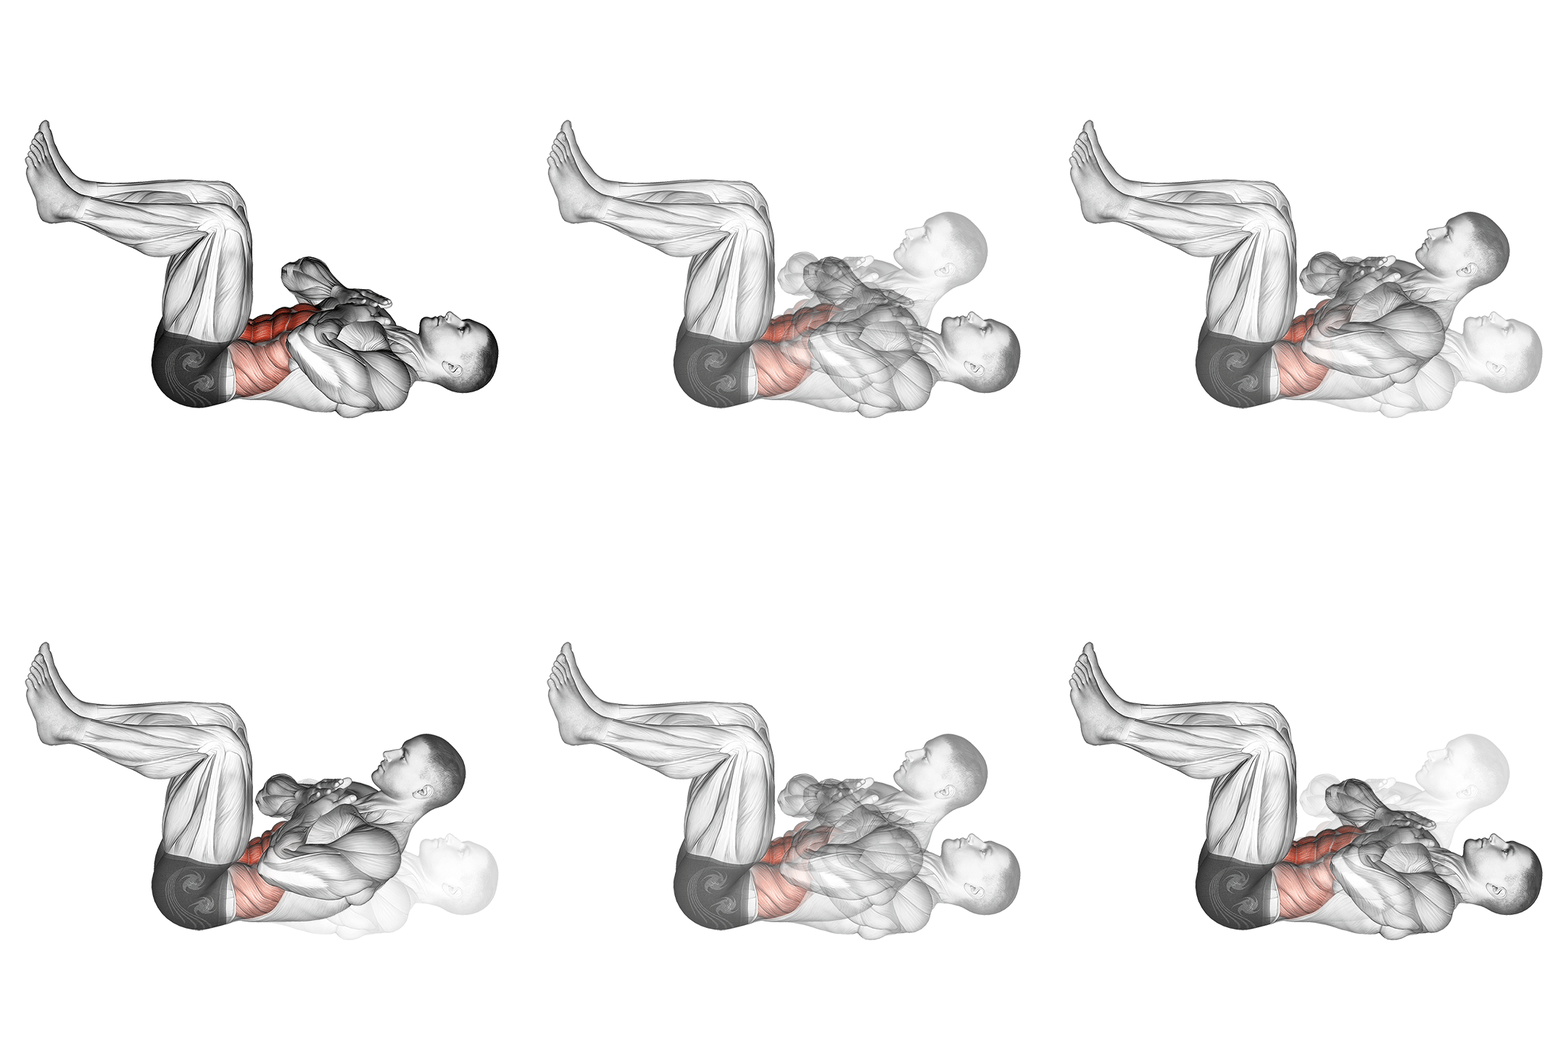
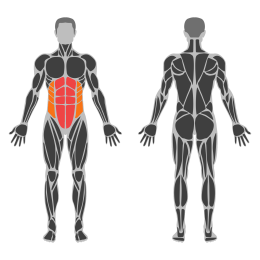
The Knee Tuck Crunch is a core exercise that targets the rectus abdominis and engages the lower abs, obliques, and hip flexors. It involves bringing your knees towards your chest while simultaneously lifting your upper body off the ground, enhancing core stability and strength.
Muscle focus
Step-by-step cues
- Lie flat on your back on a mat with your legs extended and arms at your sides.
- Place your hands lightly behind your head for support, keeping elbows wide.
- Engage your core by drawing your belly button towards your spine.
- Simultaneously lift your knees towards your chest while curling your upper body off the ground.
- Hold the top position for a moment, squeezing your abs tightly.
- Slowly lower back to the starting position, keeping control throughout the movement.
- Repeat for the desired number of repetitions.
Technical tips
- Focus on controlled movements to maximize core engagement and avoid using momentum.
- Keep your lower back pressed against the mat to prevent strain and ensure proper form.
- Exhale as you crunch up and inhale as you return to the starting position.
- Avoid pulling on your neck with your hands; use them only for light support.
- If you feel tension in your neck, try to relax it and focus on using your core muscles.
- Start with fewer repetitions if you're new to this exercise and gradually increase as you build strength.
Machine Shrugs
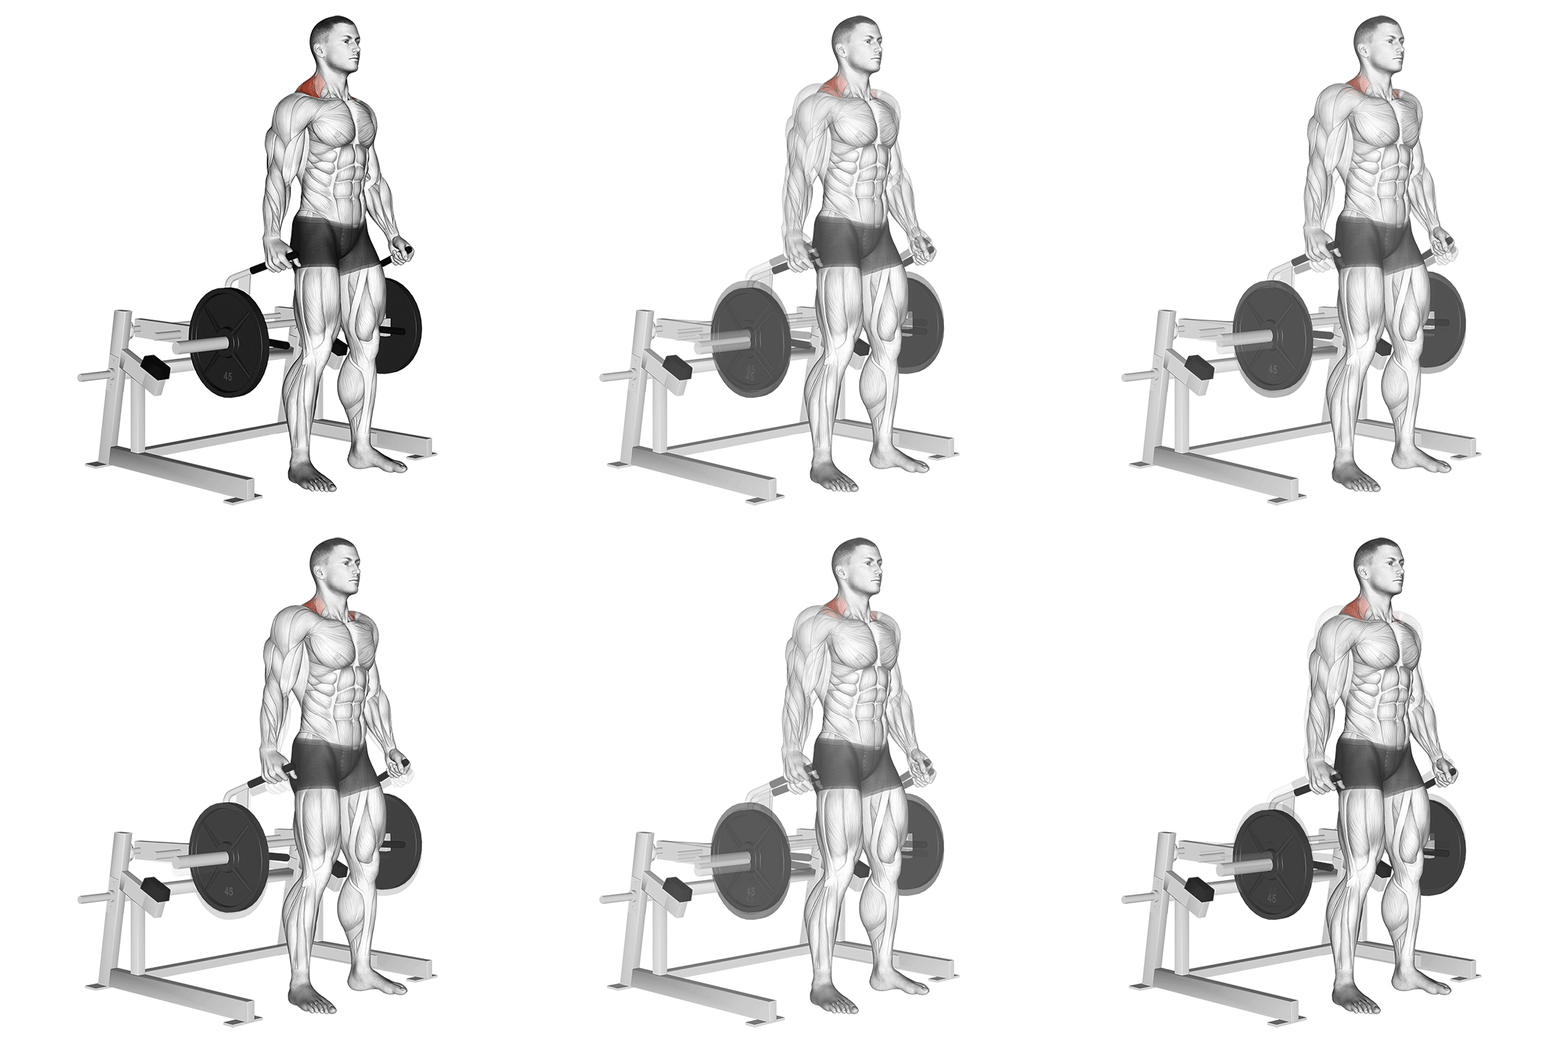
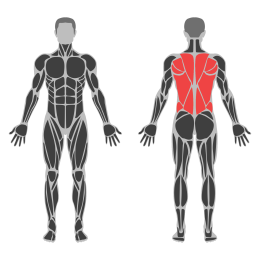
Machine Shrugs target the trapezius muscles, primarily focusing on the upper traps. This exercise is performed using a shrug machine, which provides stability and allows for controlled movement. It is effective for building strength and size in the upper back and improving posture.
Muscle focus
Step-by-step cues
- Adjust the seat height of the shrug machine so that the shoulder pads rest comfortably on your shoulders.
- Stand with your feet shoulder-width apart and grip the handles firmly.
- Keep your back straight and your core engaged throughout the exercise.
- Lift your shoulders straight up towards your ears in a shrugging motion, squeezing your traps at the top of the movement.
- Hold the contraction for a moment, then slowly lower your shoulders back to the starting position.
- Repeat for the desired number of repetitions.
Technical tips
- Focus on using your trapezius muscles to lift the weight, not your arms.
- Avoid rolling your shoulders; lift them straight up and down.
- Keep your movements controlled to maximize muscle engagement and reduce injury risk.
- Exhale as you lift your shoulders and inhale as you lower them.
- Start with a lighter weight to ensure proper form before increasing resistance.
High-Bar Squat
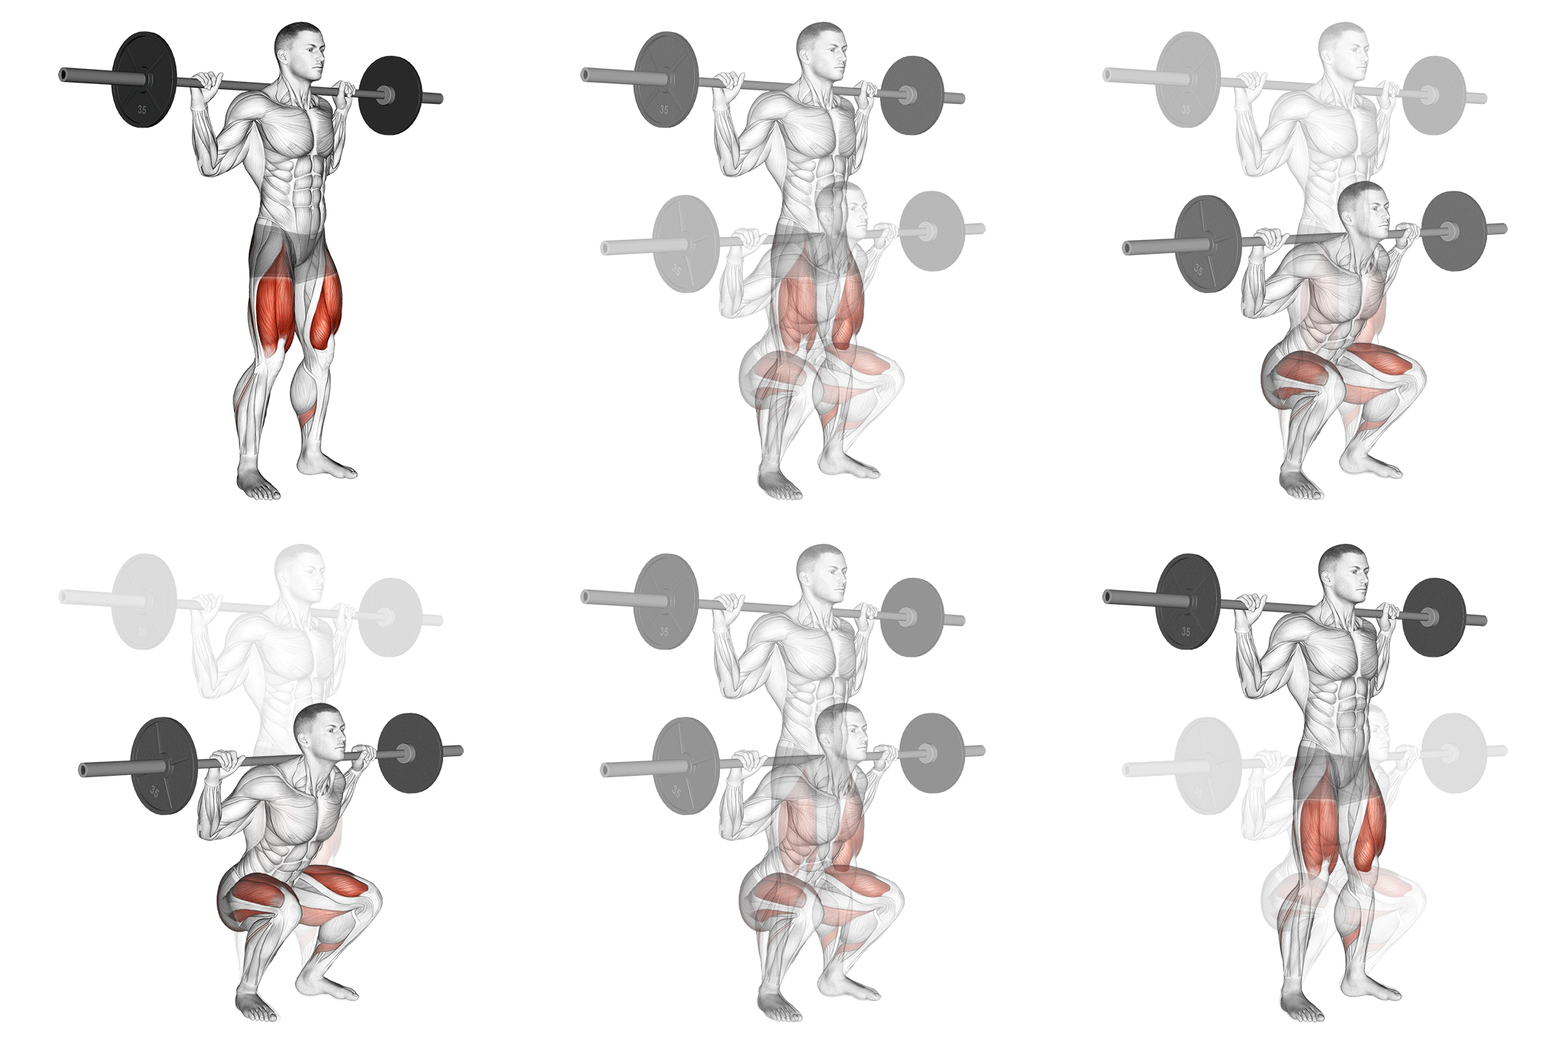
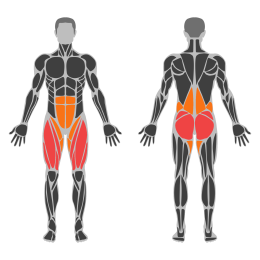
The Highbar Squat is a compound lower body exercise that primarily targets the quadriceps, glutes, and hamstrings. It involves placing the barbell on the upper traps, maintaining an upright torso, and descending into a squat position while keeping the knees aligned with the toes.
Muscle focus
Step-by-step cues
- Position a barbell on a squat rack at shoulder height.
- Step under the bar and place it on your upper traps, ensuring it is centered.
- Grip the bar slightly wider than shoulder-width and lift your elbows to create a stable shelf.
- Unrack the bar by standing up straight and take a step back.
- Set your feet shoulder-width apart with toes slightly pointed out.
- Engage your core and keep your chest up.
- Initiate the squat by bending at the hips and knees simultaneously.
- Descend until your thighs are parallel to the ground or slightly below.
- Ensure your knees track over your toes throughout the movement.
- Drive through your heels to return to the starting position, extending your hips and knees.
Technical tips
- Keep your core tight to maintain stability and prevent lower back strain.
- Focus on keeping an upright torso to emphasize quadriceps engagement.
- Ensure your knees do not cave inward; they should align with your toes.
- Control the descent to maintain balance and prevent injury.
- Use a full range of motion for maximum muscle activation.
- Warm up properly before performing heavy squats to prepare your muscles and joints.
- Start with lighter weights to perfect form before progressing to heavier loads.
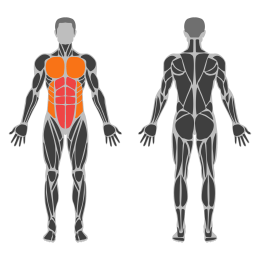
Straight Leg Raise on Dip Bars
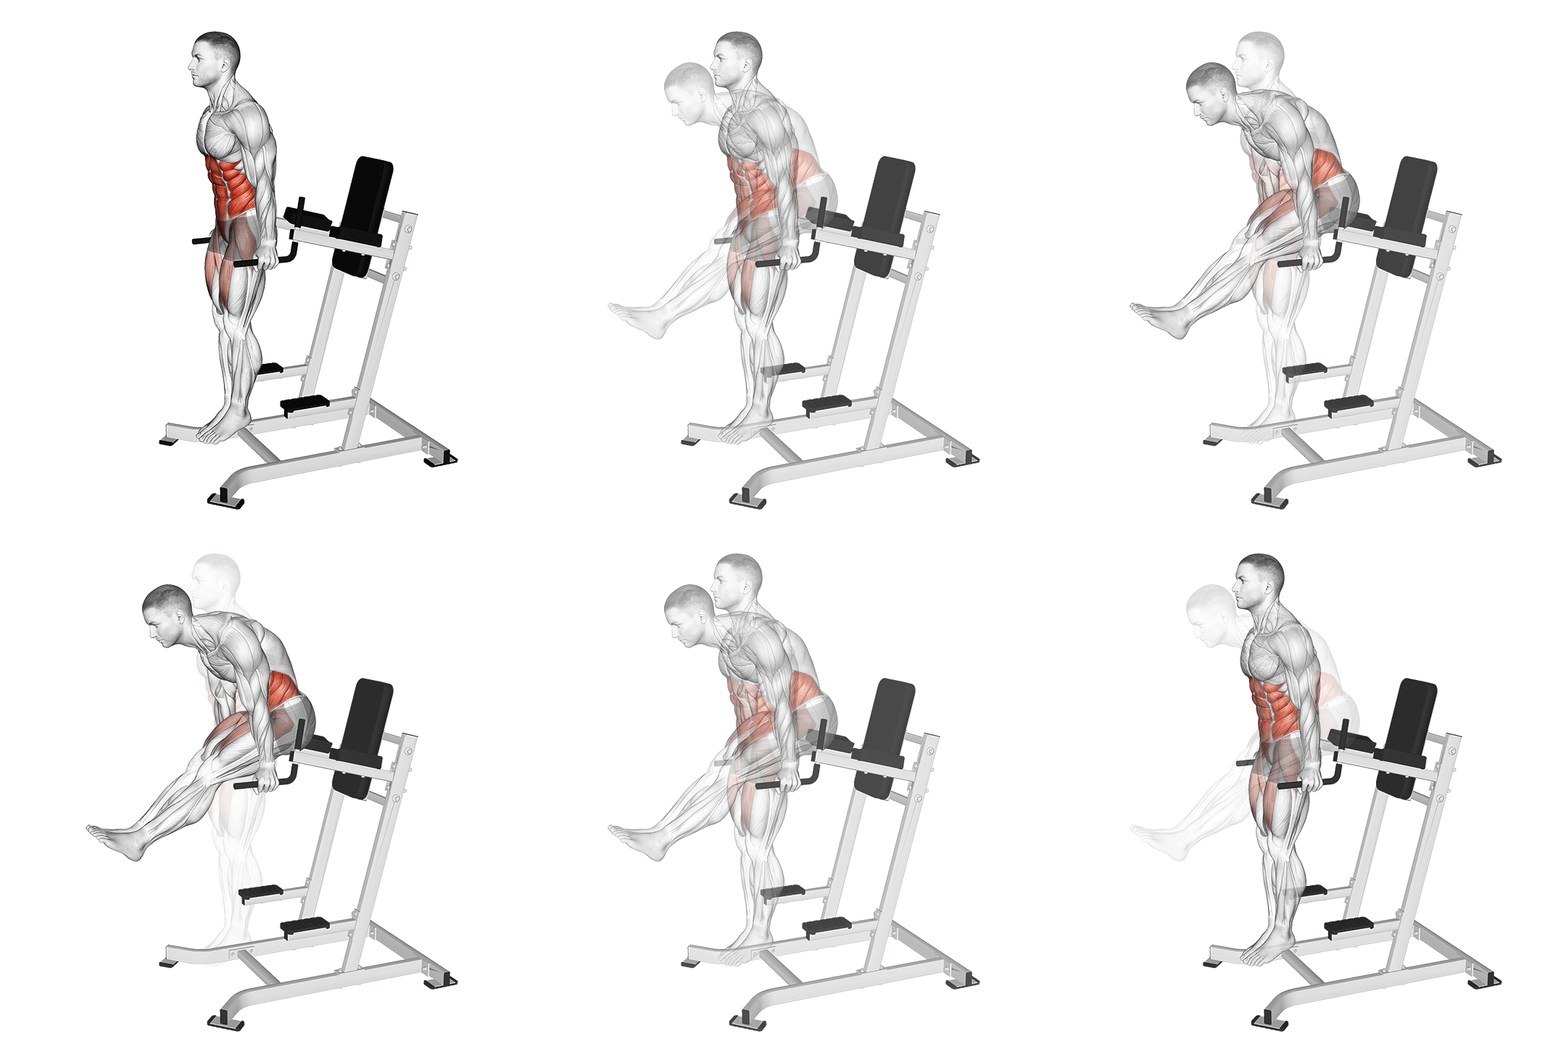
The Straight Leg Raise on Dip Bars is a core strengthening exercise that targets the abdominal muscles, hip flexors, and stabilizers. It involves lifting the legs while maintaining a straight posture, using dip bars for support.
Muscle focus
Step-by-step cues
- Begin by positioning yourself between the dip bars, gripping each bar firmly with your palms facing inward.
- Lift your body off the ground by extending your arms fully, keeping your shoulders engaged and down away from your ears.
- Engage your core muscles and straighten your legs, keeping them together.
- Slowly raise your legs in front of you until they are parallel to the ground, maintaining a straight line from your head to your toes.
- Hold the position briefly at the top, ensuring your core remains tight.
- Lower your legs back to the starting position in a controlled manner without swinging or using momentum.
- Repeat for the desired number of repetitions.
Technical tips
- Keep your core engaged throughout the movement to prevent arching of the lower back.
- Avoid swinging or using momentum to lift your legs; focus on controlled movements.
- If you find it difficult to keep your legs straight, start with bent knees and gradually progress to straight leg raises as you build strength.
- Ensure that your shoulders remain stable and do not shrug up towards your ears during the exercise.
- Breathe steadily; exhale as you lift your legs and inhale as you lower them.
Thursday
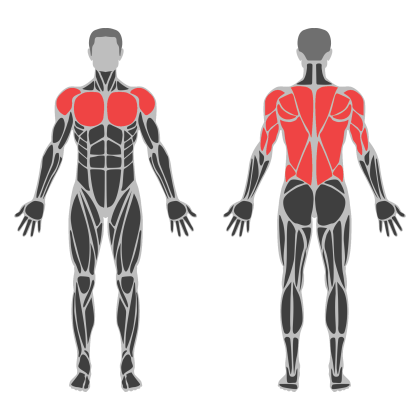
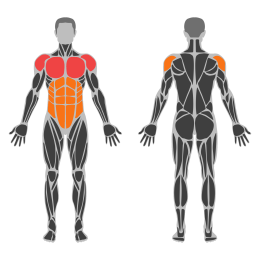
Chest Volume
Chest Volume muscle focus
Red marks the primary training focus. Orange marks supporting muscle groups used throughout this session.
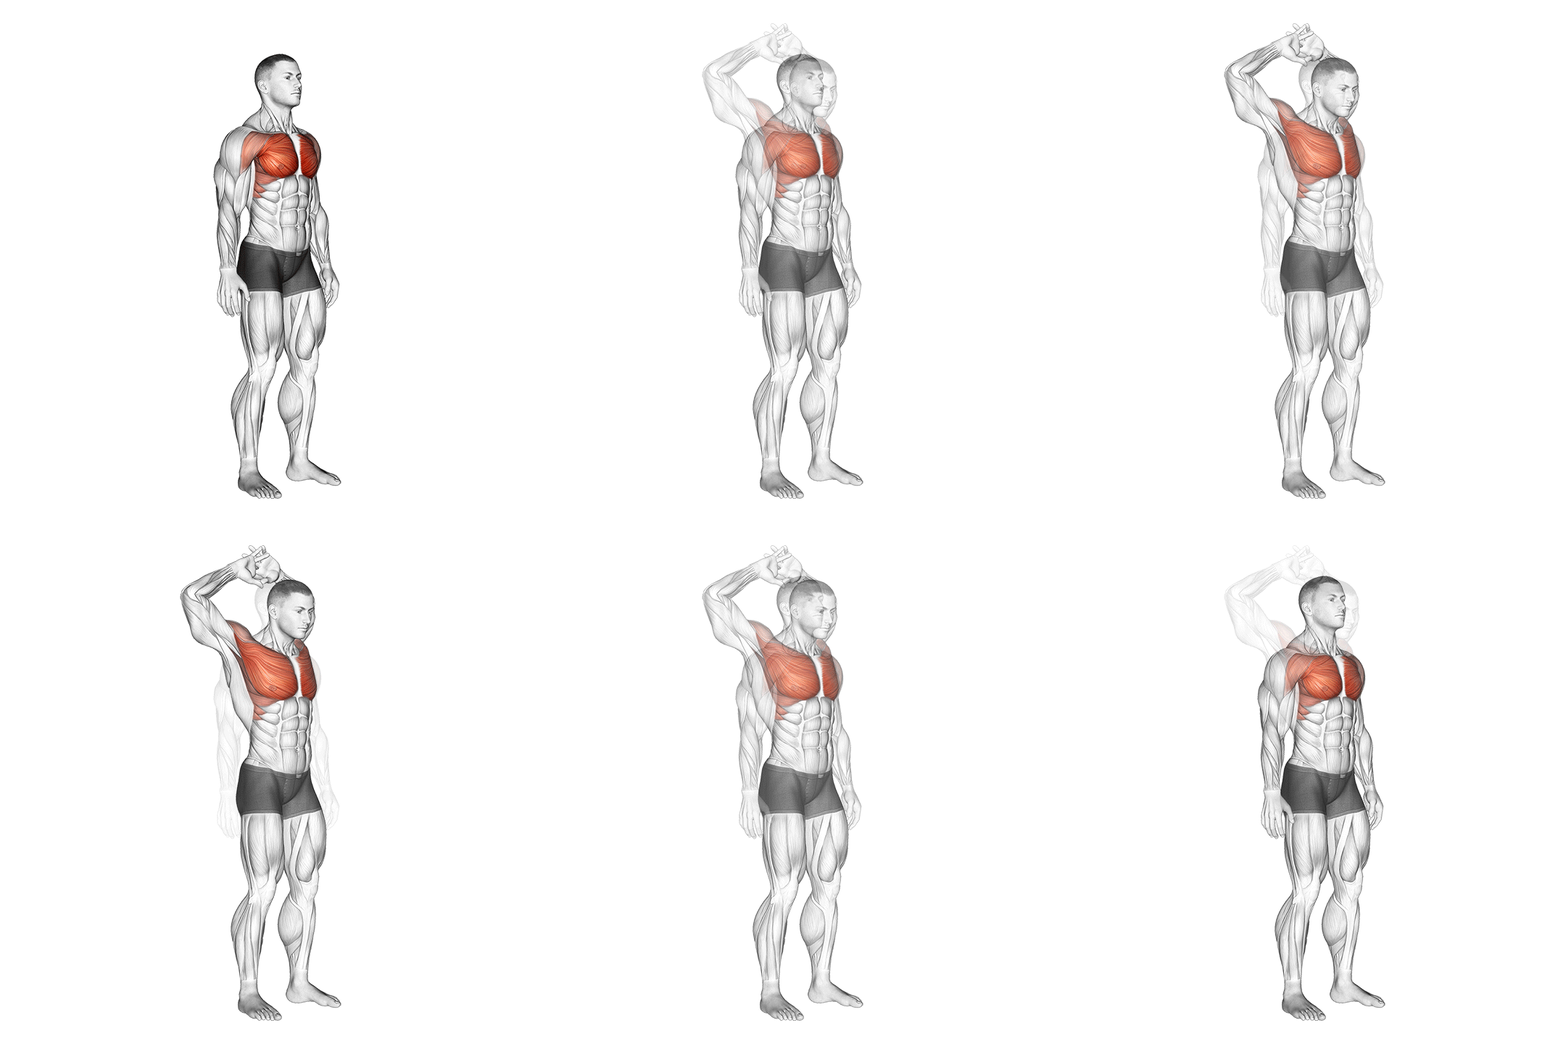
Elbow Out Chest Stretch
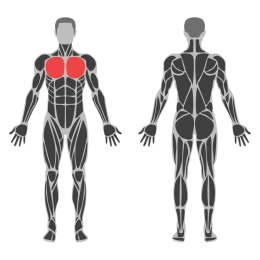
The Elbow Out Chest Stretch is a static stretch targeting the pectoral muscles, specifically designed to improve flexibility and range of motion in the chest and shoulders. This exercise is beneficial for individuals looking to enhance their posture and alleviate tension in the upper body.
Muscle focus
Step-by-step cues
- Stand upright with your feet shoulder-width apart.
- Extend one arm to the side at shoulder height, bending the elbow at a 90-degree angle so that your forearm is parallel to the ground.
- Place your forearm against a wall or sturdy surface.
- Gently rotate your torso away from the wall until you feel a stretch in your chest and shoulder.
- Hold the stretch for 15-30 seconds, maintaining steady breathing.
- Slowly return to the starting position and switch arms to repeat on the opposite side.
Technical tips
- Keep your shoulders relaxed and avoid shrugging them during the stretch.
- Ensure your elbow remains at shoulder height to effectively target the chest muscles.
- Focus on a gentle stretch; avoid pushing too hard to prevent injury.
- Maintain a neutral spine throughout the exercise to support proper posture.
- Perform this stretch after workouts or during breaks to relieve muscle tension.
Incline Push-Up
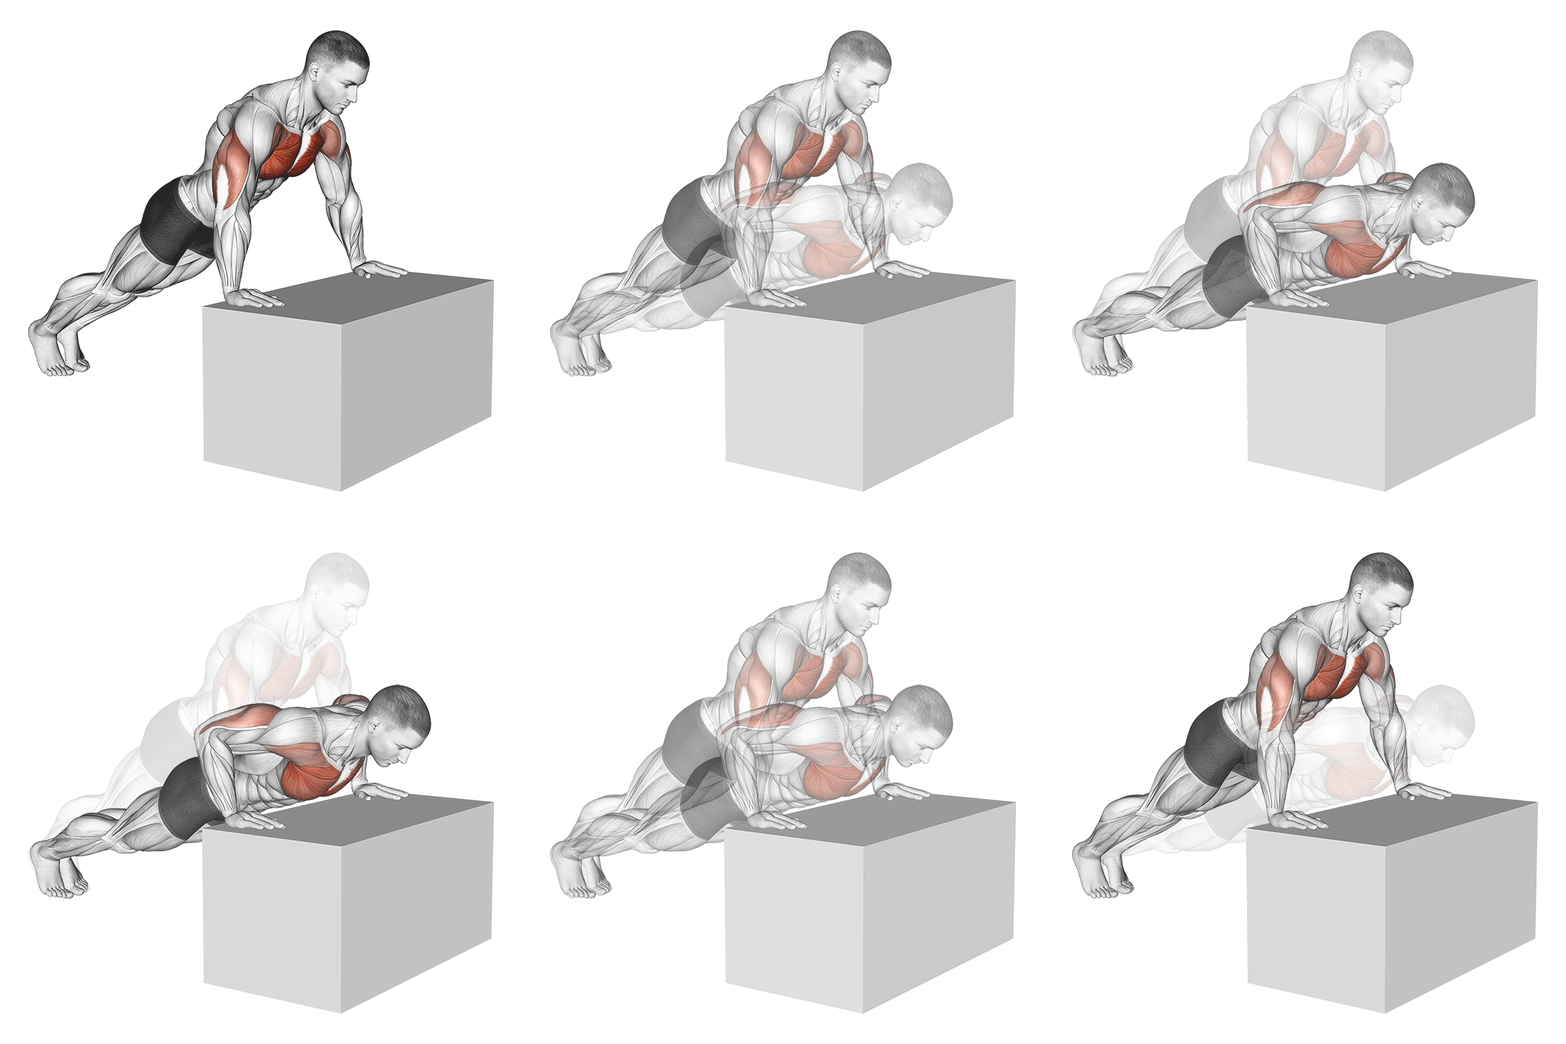
The incline push-up is a bodyweight exercise that targets the upper chest, shoulders, and triceps. It is performed with the hands elevated on a stable surface, such as a bench or step, which decreases the resistance compared to a standard push-up. This exercise is suitable for beginners and those looking to focus more on the upper part of the pectoral muscles.
Muscle focus
Step-by-step cues
- Position your hands shoulder-width apart on an elevated surface, such as a bench or step.
- Walk your feet back until your body forms a straight line from head to heels.
- Engage your core and keep your elbows close to your body.
- Lower your chest towards the elevated surface by bending your elbows.
- Pause briefly when your chest is just above the surface.
- Push through your palms to straighten your arms and return to the starting position.
- Repeat for the desired number of repetitions.
Technical tips
- Ensure that the surface you use is stable and can support your weight.
- Maintain a straight line from head to heels throughout the movement to engage your core effectively.
- Keep your elbows at about a 45-degree angle from your body to protect your shoulders.
- Focus on controlled movements rather than speed to maximize muscle engagement.
- Breathe in as you lower yourself and exhale as you push back up.
- Adjust the height of the incline to increase or decrease difficulty as needed.
One-Arm Cable Lateral Raise
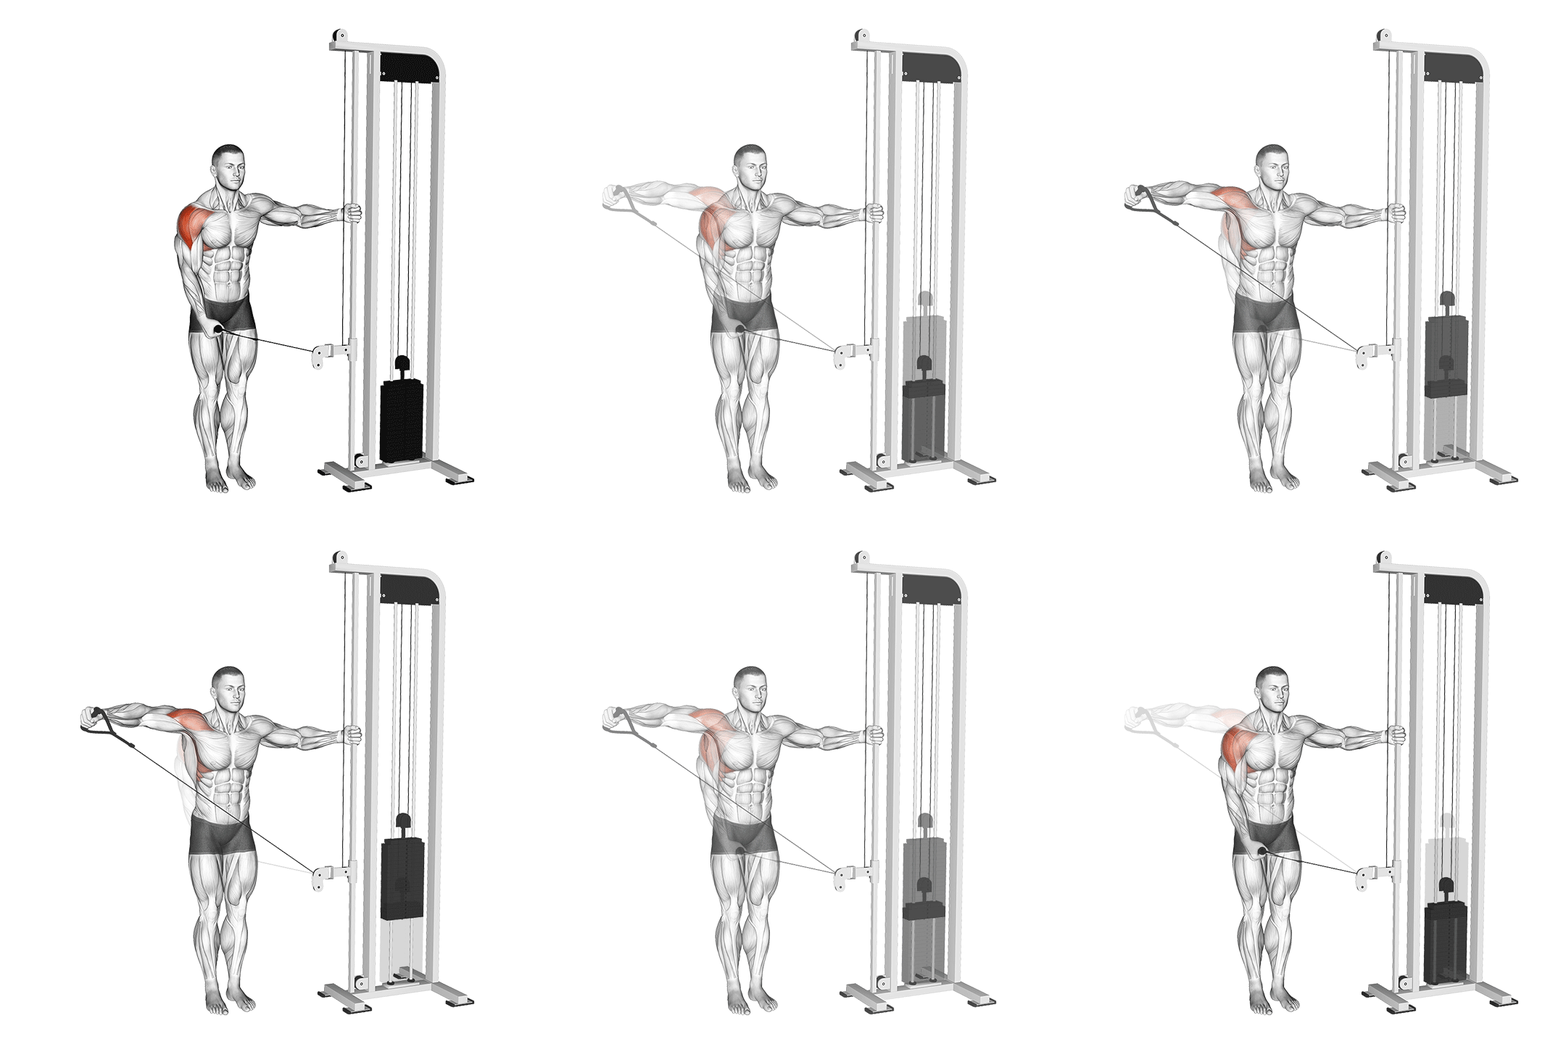
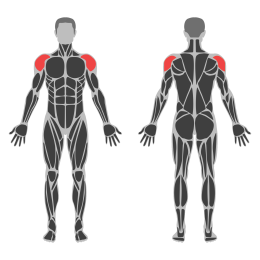
The Single Arm Cable Side Lateral Raise is an isolation exercise targeting the lateral deltoid muscles. It involves lifting a cable handle to the side of the body, focusing on shoulder abduction. This exercise helps in building shoulder width and improving shoulder stability.
Muscle focus
Step-by-step cues
- Stand sideways to a cable machine with your feet shoulder-width apart.
- Set the pulley to the lowest position and attach a single handle.
- Grasp the handle with the hand furthest from the machine, keeping your arm straight and close to your body.
- Engage your core and maintain a slight bend in your knees.
- Slowly lift the handle out to the side until your arm is parallel to the floor.
- Pause briefly at the top of the movement, ensuring you feel the contraction in your shoulder.
- Lower the handle back to the starting position in a controlled manner.
- Repeat for the desired number of repetitions before switching arms.
Technical tips
- Keep your movements slow and controlled to maximize muscle engagement.
- Avoid using momentum; focus on using your shoulder muscles to lift the weight.
- Maintain a slight bend in your elbow throughout the exercise to reduce joint strain.
- Ensure your torso remains upright and stable, avoiding any leaning or twisting.
- Start with a lighter weight to master form before progressing to heavier loads.
- Breathe out as you lift the weight and inhale as you lower it back down.
Pec Deck Chest Fly
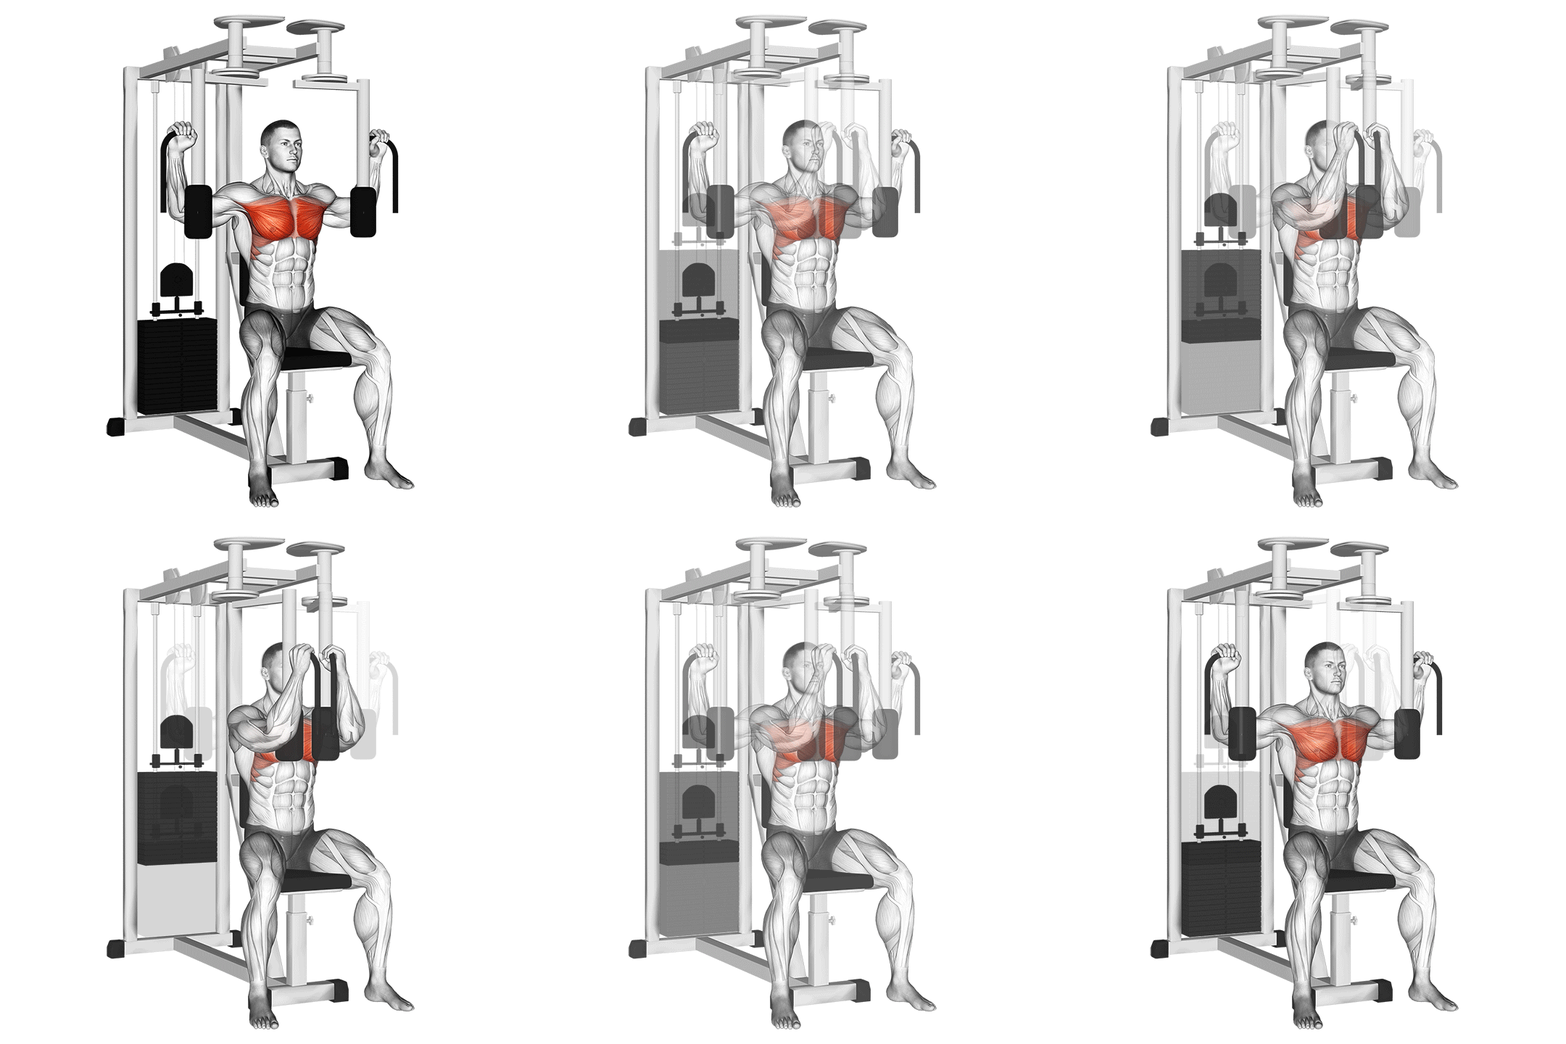
The Pec Deck Chest Fly is an isolation exercise targeting the pectoral muscles, primarily the pectoralis major. It involves using a pec deck machine where the user sits with their back against a pad, arms extended to the sides, and elbows slightly bent. The movement involves bringing the arms together in front of the chest, focusing on squeezing the chest muscles.
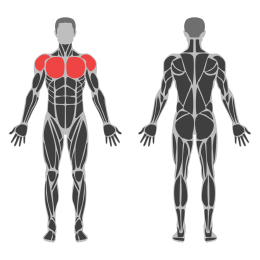
Muscle focus
Step-by-step cues
- Adjust the seat height so that your arms are parallel to the floor when gripping the handles.
- Sit with your back firmly against the pad and feet flat on the floor.
- Grasp the handles with a neutral grip, elbows slightly bent.
- Inhale and slowly bring the handles together in front of your chest by contracting your pectoral muscles.
- Pause briefly at the peak contraction, ensuring maximum muscle engagement.
- Exhale and slowly return to the starting position, keeping tension on your chest muscles.
- Repeat for the desired number of repetitions.
Technical tips
- Ensure your seat is adjusted so that your shoulders are aligned with the machine's pivot point.
- Keep your elbows slightly bent throughout the movement to reduce joint strain.
- Focus on squeezing your chest muscles as you bring your arms together.
- Avoid using momentum; control both phases of the movement for maximum effectiveness.
- Maintain a slow and controlled pace to enhance muscle activation.
- Keep your back pressed against the pad to prevent any unnecessary strain on your lower back.
Seated Cable Chest Press
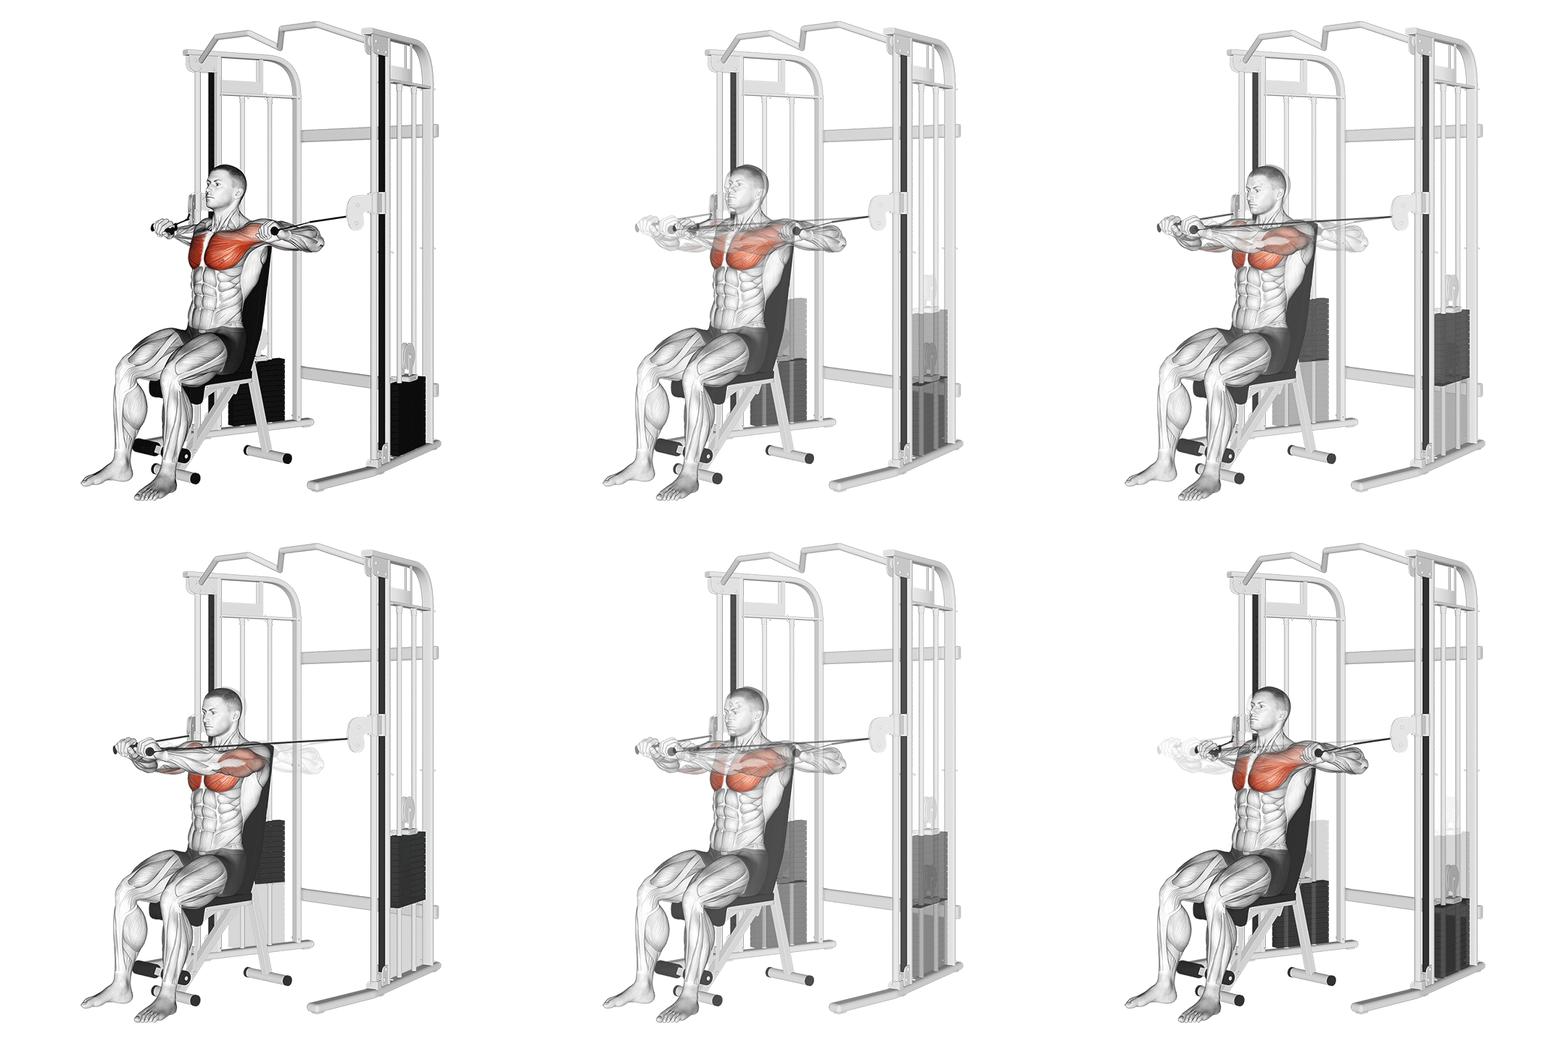
The Seated Cable Chest Press is a compound exercise targeting the pectoral muscles, triceps, and anterior deltoids. It involves pressing a weight forward using a cable machine while seated, providing constant tension throughout the movement.
Muscle focus
Step-by-step cues
- Adjust the seat height so that the handles are at chest level when seated.
- Sit down with your back firmly against the pad and feet flat on the floor.
- Grasp the handles with an overhand grip, palms facing down.
- Engage your core and keep your elbows slightly below shoulder level.
- Press the handles forward by extending your arms until they are fully extended but not locked.
- Pause briefly at the top of the movement, squeezing your chest muscles.
- Slowly return to the starting position by bending your elbows and controlling the weight back.
Technical tips
- Ensure your back remains in contact with the pad throughout the exercise to maintain proper form.
- Keep your movements controlled; avoid using momentum to push the weight.
- Focus on squeezing your chest muscles at the peak of each repetition for maximum contraction.
- Adjust the weight to a manageable level that allows you to perform all repetitions with good form.
- Breathe out as you press forward and inhale as you return to the starting position.
Alternate Bent Over Dumbbell Reverse Fly
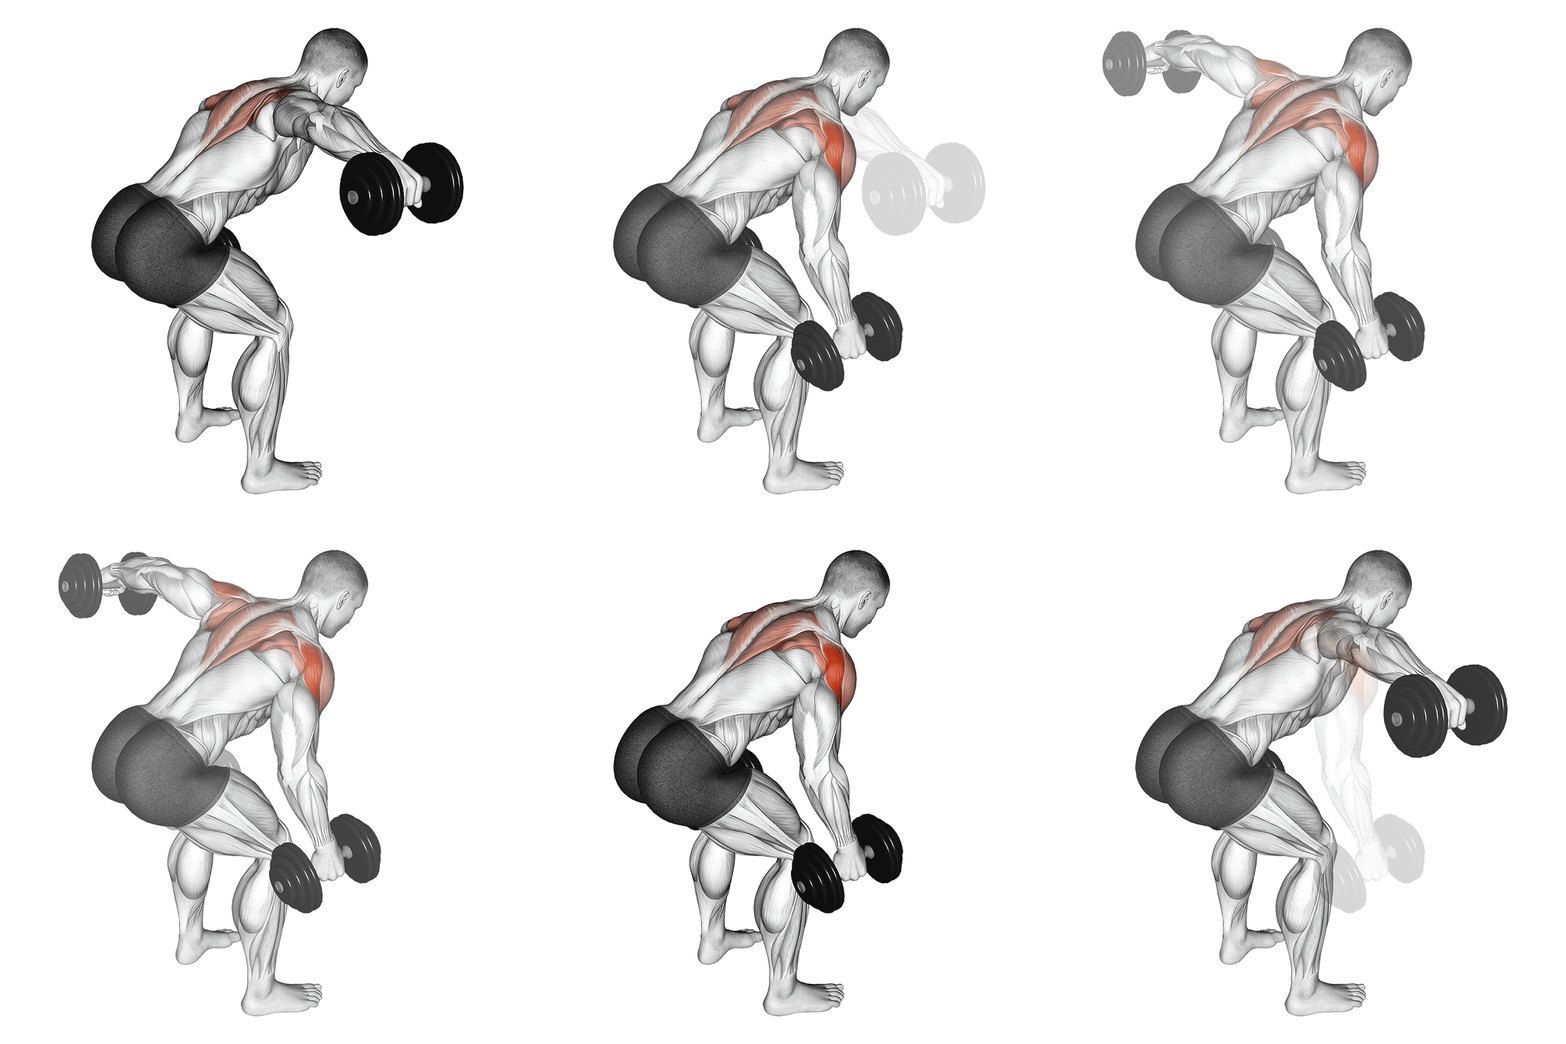
The Alternate Bent Over Dumbbell Reverse Fly is an isolation exercise targeting the rear deltoids, upper back, and rhomboids. It involves bending at the hips while maintaining a neutral spine and lifting dumbbells laterally in an alternating fashion.
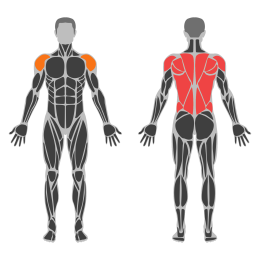
Muscle focus
Step-by-step cues
- Stand with feet shoulder-width apart, holding a dumbbell in each hand with a neutral grip.
- Hinge at the hips to bend forward until your torso is almost parallel to the floor, keeping your back straight and knees slightly bent.
- Let your arms hang down naturally with a slight bend in the elbows.
- Engage your core and lift one dumbbell out to the side, keeping your elbow slightly bent, until it reaches shoulder height.
- Lower the dumbbell back to the starting position while simultaneously lifting the opposite dumbbell.
- Continue alternating sides for the desired number of repetitions.
Technical tips
- Keep your core engaged throughout the movement to maintain stability.
- Avoid using momentum; focus on controlled movements to isolate the target muscles.
- Maintain a slight bend in the elbows to reduce strain on the joints.
- Ensure your back remains flat and avoid rounding your shoulders.
- Breathe out as you lift the dumbbell and inhale as you lower it.
- Start with lighter weights to master form before progressing to heavier loads.
Friday
Rest
Keep activity easy and aim for a consistent sleep schedule.
Saturday
Upper Accessory
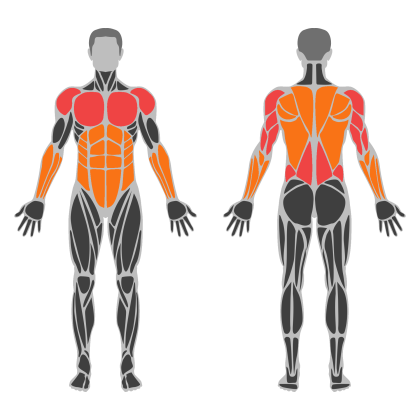
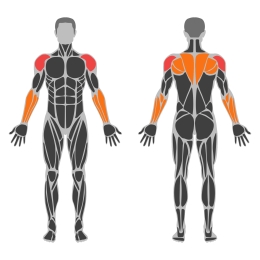
Upper Accessory muscle focus
Red marks the primary training focus. Orange marks supporting muscle groups used throughout this session.
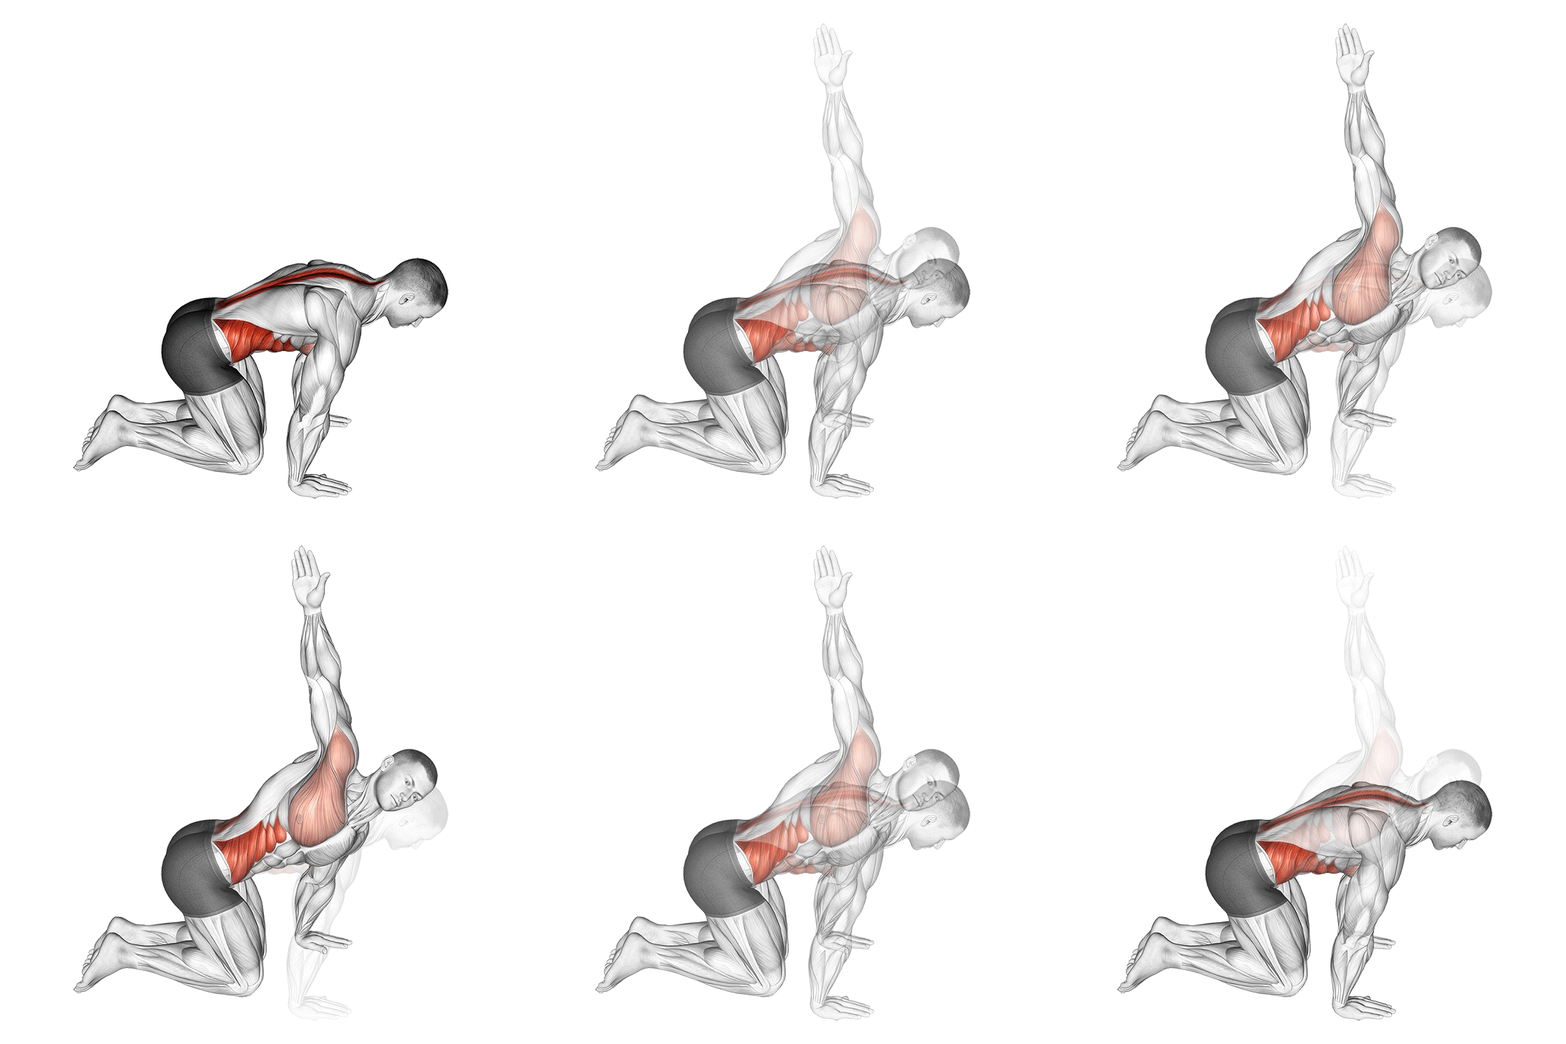
Kneeling Back Rotation Stretch
The Kneeling Back Rotation Stretch is a mobility exercise designed to improve thoracic spine rotation and enhance flexibility in the upper back. It is particularly beneficial for individuals looking to increase range of motion and reduce stiffness in the back, shoulders, and neck.
Muscle focus
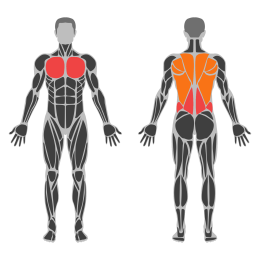
Step-by-step cues
- Begin by kneeling on the floor with your knees hip-width apart. Sit back onto your heels to stabilize your lower body.
- Place your right hand behind your head, keeping your elbow pointed out to the side.
- Extend your left arm out in front of you, resting it on the floor for support.
- Inhale deeply, then exhale as you rotate your upper body to the right, bringing your right elbow up towards the ceiling.
- Hold the stretch for a moment, feeling the rotation in your upper back.
- Inhale as you return to the starting position, then repeat on the opposite side.
- Perform 5-10 repetitions on each side, focusing on smooth and controlled movements.
Technical tips
- Keep your core engaged throughout the movement to maintain stability.
- Focus on rotating through the thoracic spine rather than twisting from the lower back.
- Ensure that your neck remains neutral and aligned with your spine during the stretch.
- Perform this exercise slowly and with control to maximize its effectiveness.
- If you experience any discomfort or pain, reduce the range of motion or consult a fitness professional.
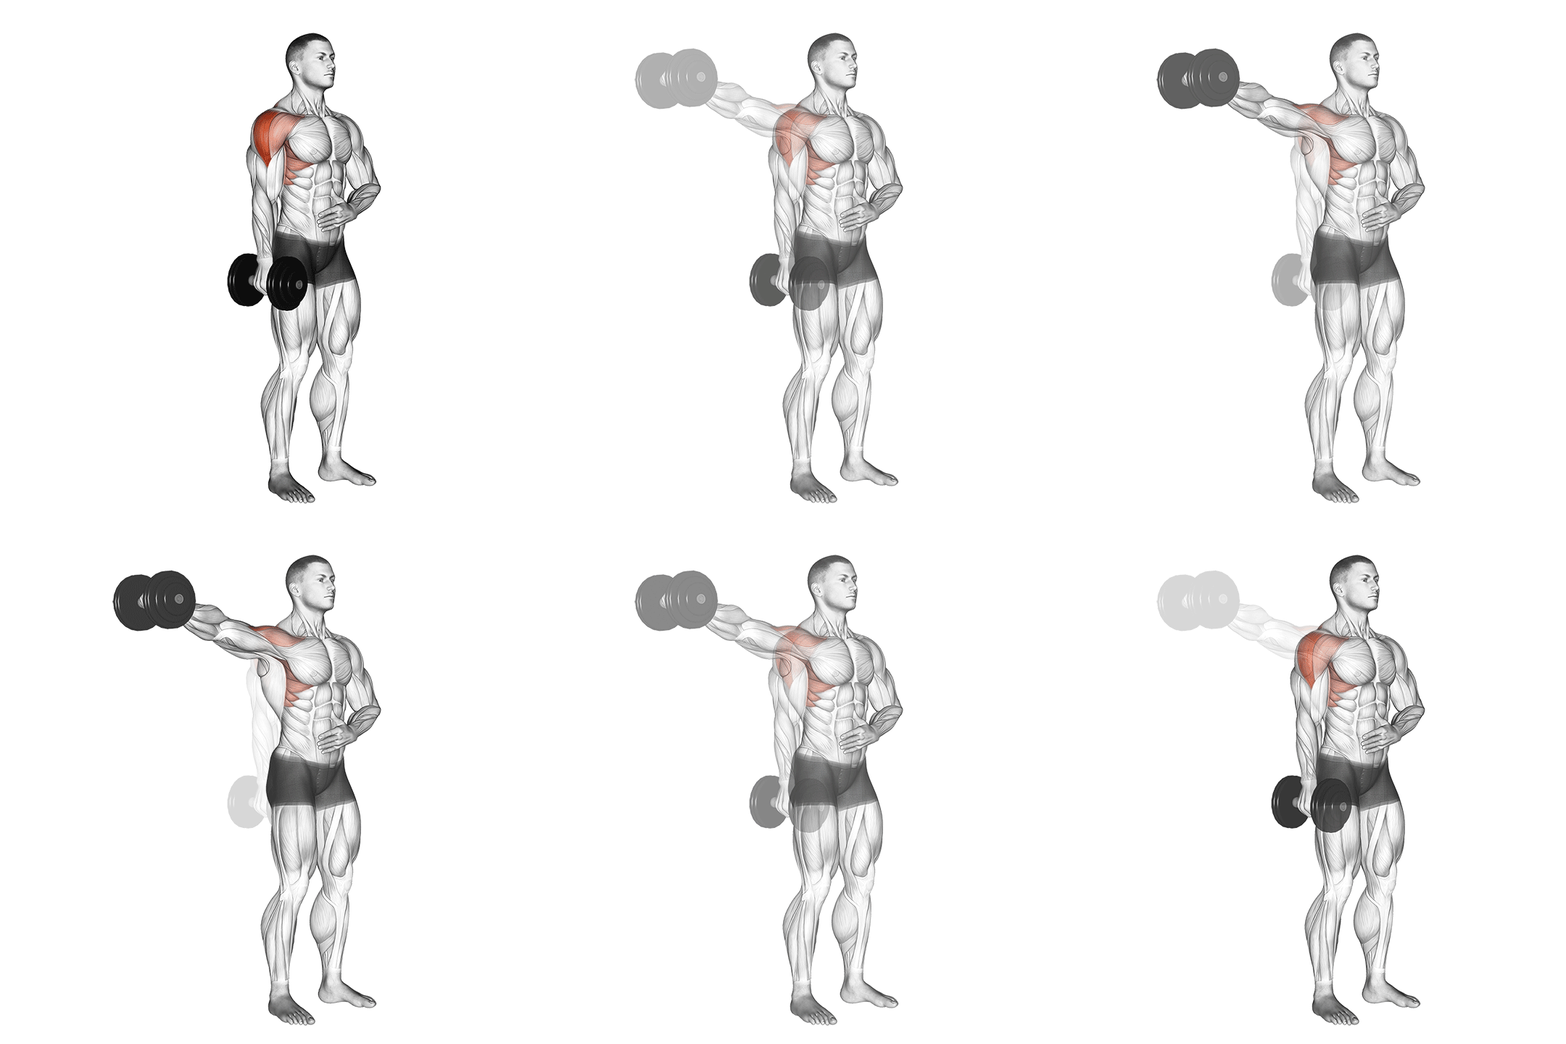
One-Arm Dumbbell Lateral Raise
The One Arm Dumbbell Lateral Raise is an isolation exercise targeting the lateral deltoid muscle. It helps in building shoulder width and strength by lifting a dumbbell to the side of the body with one arm. This exercise is typically performed standing, allowing for greater range of motion and unilateral focus.
Muscle focus
Step-by-step cues
- Stand with your feet shoulder-width apart, holding a dumbbell in one hand with a neutral grip.
- Keep your core engaged and maintain a slight bend in your knees.
- Position your working arm slightly bent at the elbow, with the dumbbell resting against your outer thigh.
- Exhale as you raise the dumbbell to the side until your arm is parallel to the floor.
- Pause briefly at the top of the movement, ensuring your wrist is in line with your shoulder.
- Inhale as you slowly lower the dumbbell back to the starting position.
- Complete the desired number of repetitions before switching to the other arm.
Technical tips
- Focus on lifting with your shoulder, not your hand, to effectively target the lateral deltoid.
- Avoid using momentum; control the movement throughout for maximum muscle engagement.
- Keep your torso stationary and avoid leaning to either side during the lift.
- Start with a lighter weight to ensure proper form and gradually increase as you build strength.
- Maintain a slight bend in your elbow throughout the exercise to reduce strain on the joint.
- Perform this exercise in front of a mirror to monitor form and ensure balanced movement on both sides.
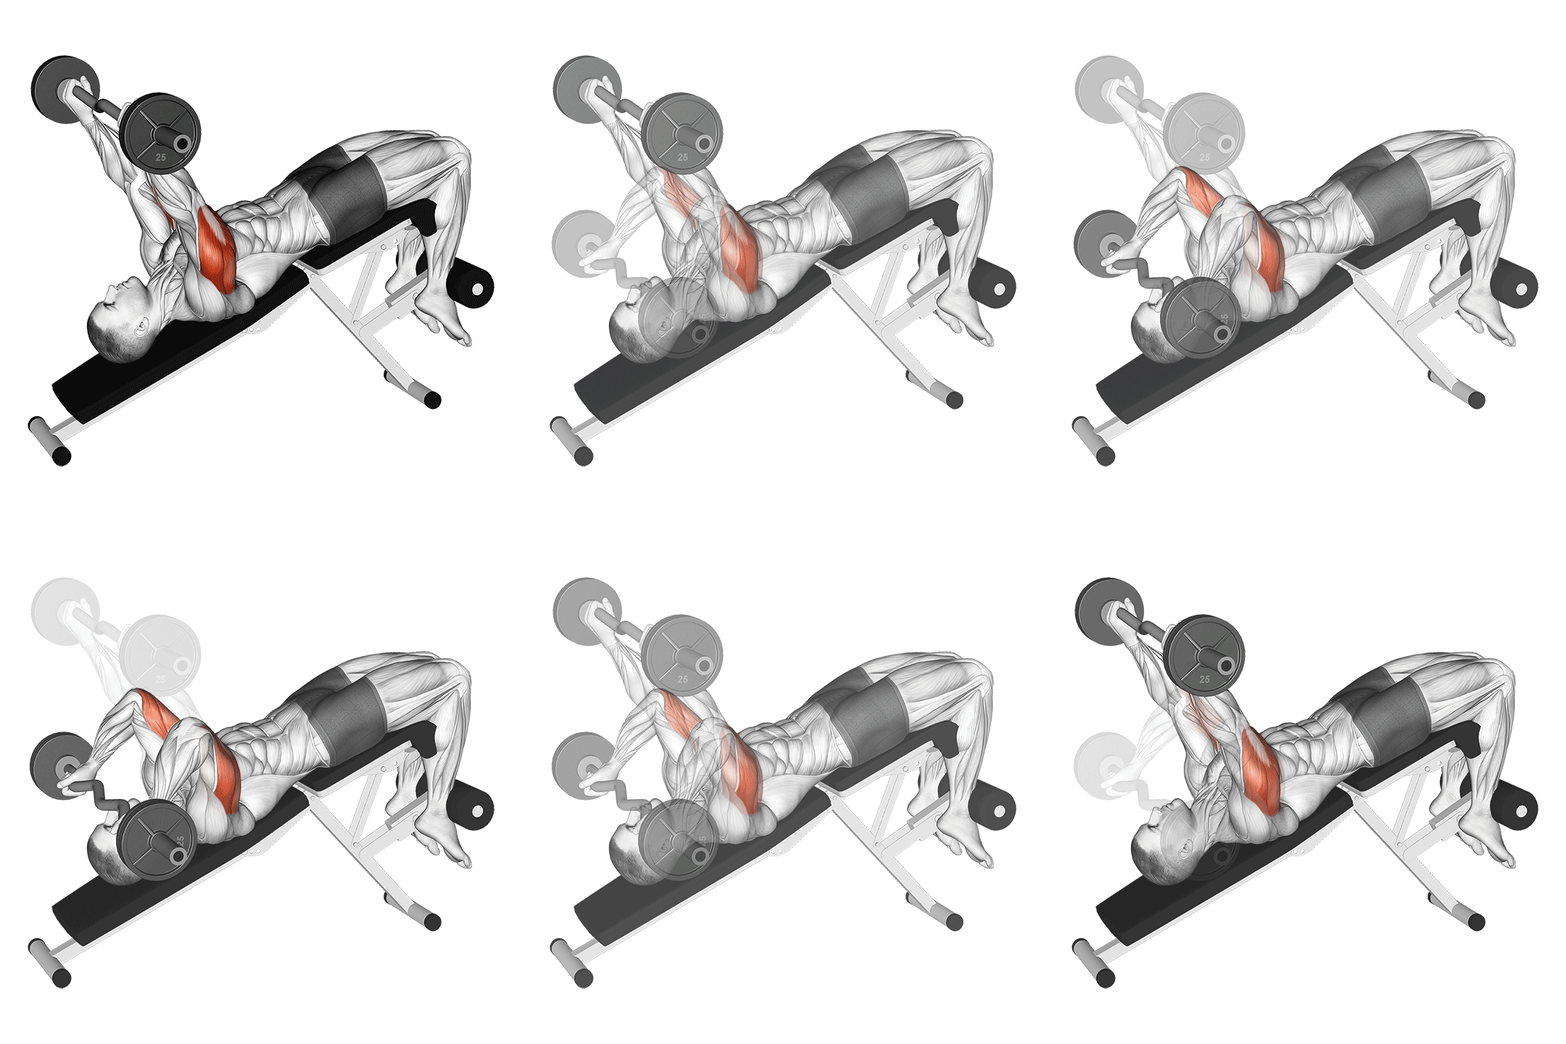
Decline Barbell French Press
The Decline Barbell French Press is an isolation exercise targeting the triceps brachii. Performed on a decline bench, this exercise emphasizes the long head of the triceps by increasing the range of motion and providing a unique angle of resistance. It is effective for building tricep mass and strength.
Muscle focus
Step-by-step cues
- Set a decline bench at a moderate angle and secure your feet under the foot pads.
- Lie back on the bench with your head lower than your feet, ensuring your back is supported.
- Grip a barbell with a shoulder-width, overhand grip (palms facing away from you).
- Extend your arms fully above your chest, keeping a slight bend in your elbows to maintain tension.
- Inhale and slowly lower the barbell towards your forehead by bending your elbows, keeping your upper arms stationary.
- Pause briefly when the barbell is just above your forehead or slightly behind it.
- Exhale and press the barbell back to the starting position by extending your elbows, focusing on contracting your triceps.
- Repeat for the desired number of repetitions while maintaining control throughout the movement.
Technical tips
- Keep your elbows close to your head throughout the movement to maximize tricep engagement.
- Avoid flaring your elbows out to prevent shoulder strain and maintain focus on the triceps.
- Control the descent of the barbell to avoid hitting your forehead and ensure muscle tension is maintained.
- Use a spotter if lifting heavy to ensure safety and proper form.
- Warm up thoroughly before performing this exercise to prevent elbow joint strain.
- Focus on slow, controlled movements rather than using momentum to lift the weight.
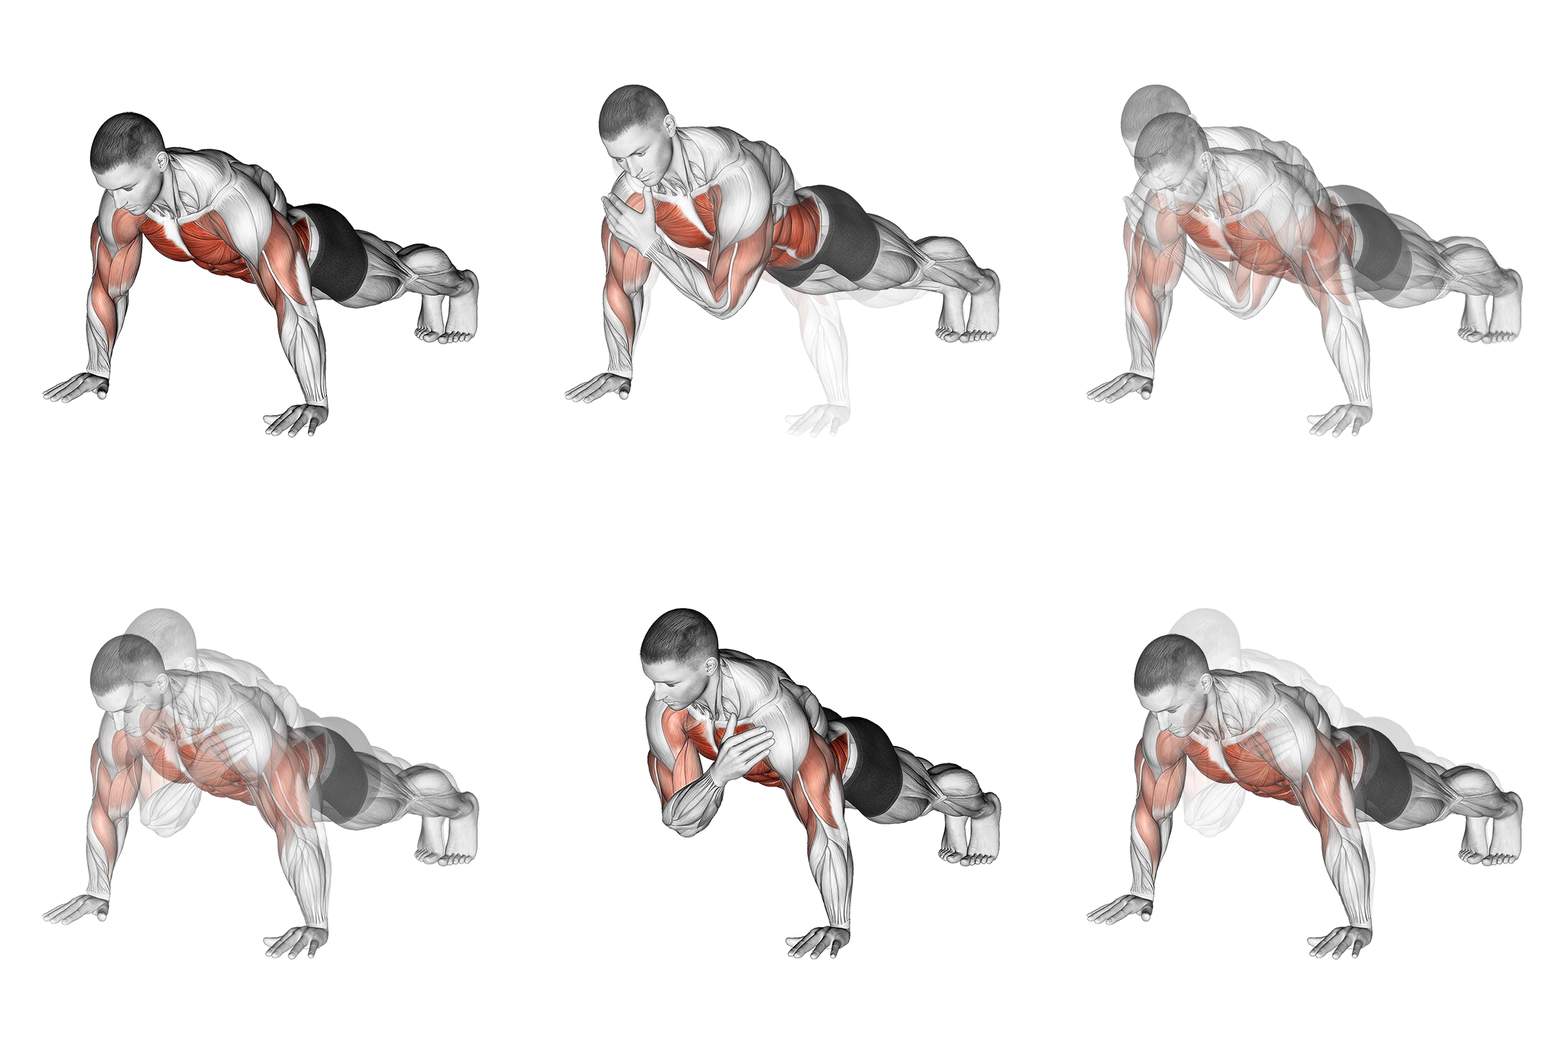
Shoulder Tap
The Shoulder Tap is a bodyweight exercise that targets the core, shoulders, and stabilizing muscles. It involves alternating taps on the opposite shoulder while maintaining a plank position, promoting balance and coordination.
Muscle focus
Step-by-step cues
- Start in a high plank position with your hands directly under your shoulders and your body forming a straight line from head to heels.
- Engage your core to stabilize your body and prevent your hips from swaying.
- Lift your right hand off the ground and tap your left shoulder, keeping your body as still as possible.
- Return your right hand to the starting position and immediately lift your left hand to tap your right shoulder.
- Continue alternating taps for the desired number of repetitions or time.
Technical tips
- Keep your feet slightly wider than shoulder-width apart for better stability.
- Focus on minimizing movement in your hips and torso to engage the core effectively.
- Breathe steadily throughout the exercise, exhaling as you tap each shoulder.
- If you find it difficult to maintain balance, try performing the exercise on your knees as a modification.
- Ensure that your hands are aligned under your shoulders to maintain proper form.
Band Lateral Raise
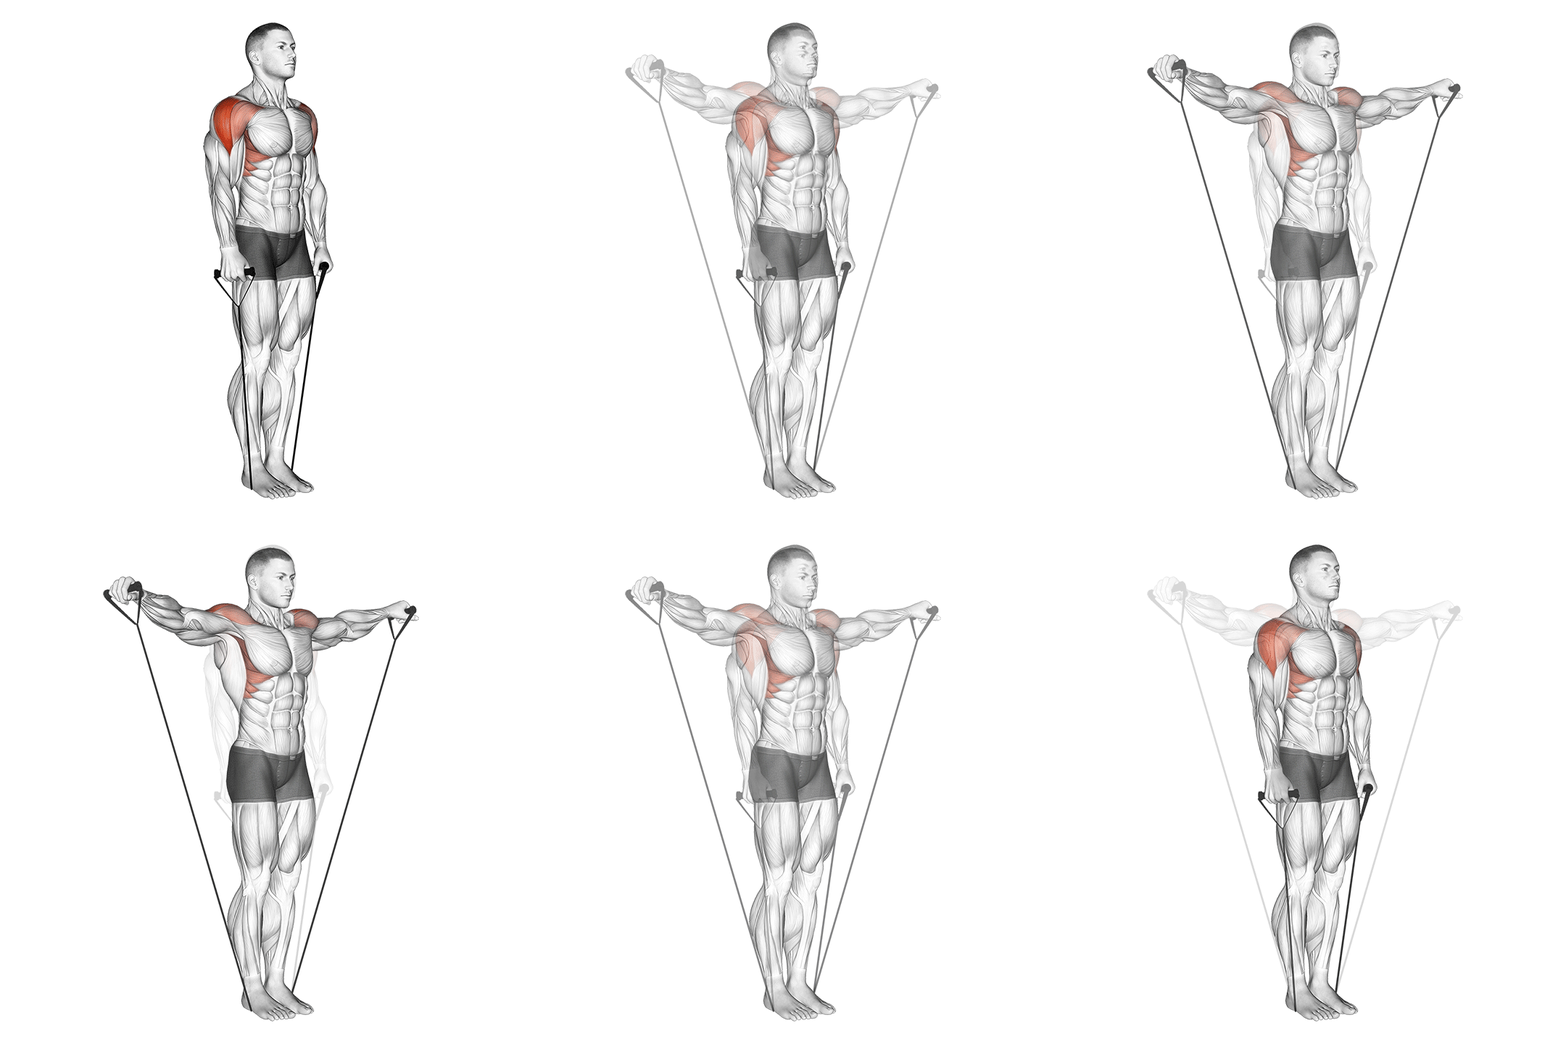
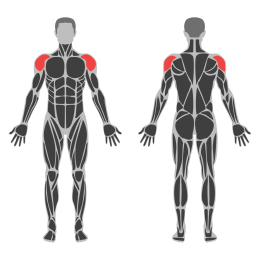
The Band Lateral Raise is an isolation exercise targeting the lateral deltoid muscles, which are part of the shoulder. It involves lifting the arms to the side against the resistance of a band, helping to build shoulder strength and stability.
Muscle focus
Step-by-step cues
- Stand with your feet shoulder-width apart, placing the middle of a resistance band under your feet.
- Hold one end of the band in each hand, arms at your sides with palms facing inward.
- Keep a slight bend in your elbows as you raise your arms to the sides until they are parallel to the floor.
- Pause briefly at the top of the movement, ensuring your shoulders are not shrugged.
- Slowly lower your arms back to the starting position.
- Repeat for the desired number of repetitions.
Technical tips
- Maintain a slight bend in your elbows throughout the exercise to reduce joint strain.
- Focus on using your shoulder muscles rather than swinging your body for momentum.
- Keep your core engaged to maintain balance and support proper posture.
- Control the movement both on the way up and down to maximize muscle engagement.
- Start with a lighter resistance band if you are new to this exercise to ensure proper form.
Sunday
Full Rest
No lifting. Prepare meals and review the next week progression target.
Four-week progression
Nutrition guidance

- Aim for a modest daily energy surplus of roughly 150-300 kcal rather than uncontrolled bulking.
- Build each main meal around protein and target roughly 1.6-2.2 g of protein per kg of body weight per day.
- Place a useful share of carbohydrates before and after training to support performance and recovery.
- Keep fruit, vegetables, whole grains and healthy fats in the plan instead of relying on supplements.
Use these numbers as practical starting ranges, not medical prescriptions. Adjust for your health, body size and activity, and consult a qualified professional when needed.