4-Week Bigger Arms Program: Biceps and Triceps Focus: Progression Cycle 7
A focused arm-building cycle with intelligent pulling, pressing and direct biceps, triceps and forearm work.
How to use this plan
Follow the days in order, log every working set, and finish each set with one to three good repetitions still available. Use the exercise animations to learn the movement and open the video when you need a full demonstration.
Monday
Biceps and Back
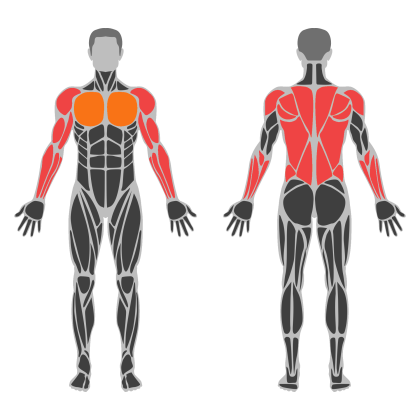
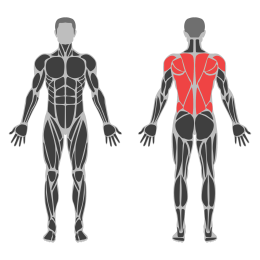
Biceps and Back muscle focus
Red marks the primary training focus. Orange marks supporting muscle groups used throughout this session.
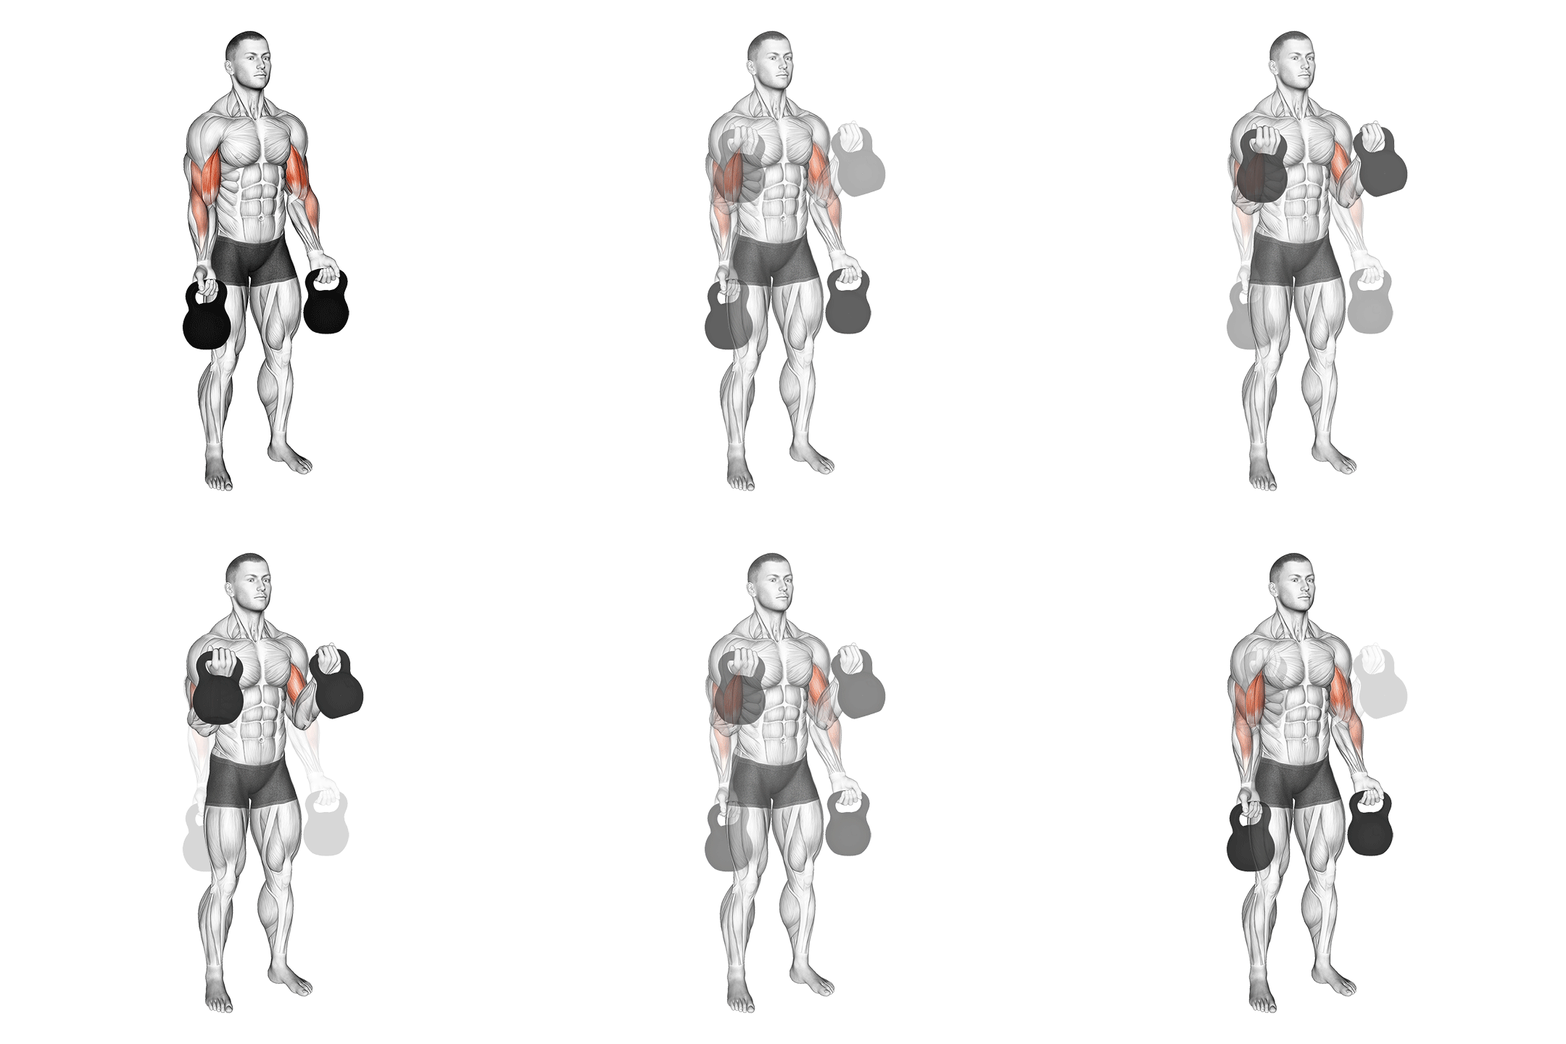
Kettlebell Biceps Curl
The Kettlebell Biceps Curl is an isolation exercise targeting the biceps brachii. It involves lifting a kettlebell with a controlled motion to engage the biceps, promoting muscle strength and hypertrophy. This exercise can be performed standing or seated and is suitable for various fitness levels.
Muscle focus
Step-by-step cues
- Stand with your feet shoulder-width apart, holding a kettlebell in each hand with an underhand grip.
- Keep your elbows close to your torso and your palms facing forward.
- Exhale as you curl the kettlebells upward by bending your elbows, keeping your upper arms stationary.
- Continue lifting until the kettlebells are at shoulder level and your biceps are fully contracted.
- Pause briefly at the top of the movement, then inhale as you slowly lower the kettlebells back to the starting position.
- Repeat for the desired number of repetitions.
Technical tips
- Maintain a straight posture throughout the exercise to avoid using momentum.
- Focus on squeezing the biceps at the top of the curl for maximum contraction.
- Control the descent of the kettlebells to maximize muscle engagement.
- Avoid swinging or using your back to lift the weights; keep the movement isolated to your arms.
- Start with a lighter weight to perfect your form before progressing to heavier kettlebells.
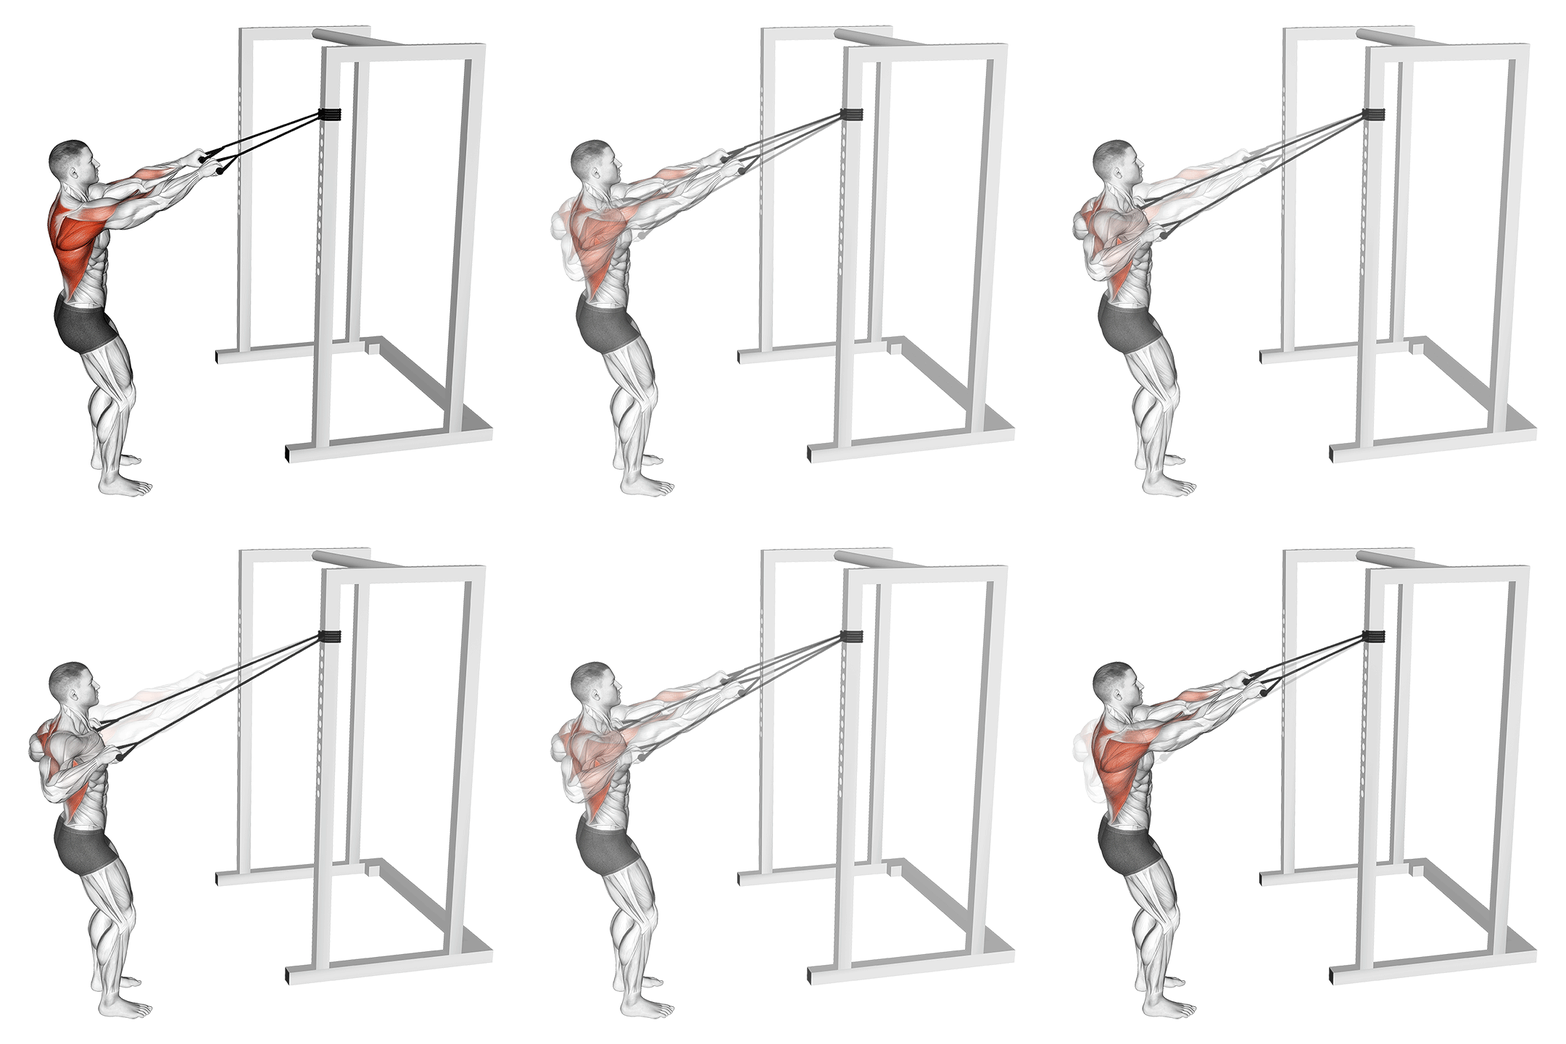
Band High Anchor Wide Row
The Band High Anchor Wide Row is an exercise targeting the upper back muscles, including the rhomboids, trapezius, and rear deltoids. It involves pulling a resistance band anchored at a high point towards your chest with elbows flared out, promoting scapular retraction and shoulder stability.
Muscle focus
Step-by-step cues
- Anchor a resistance band at a high point above your head level.
- Stand facing the anchor point with feet shoulder-width apart.
- Hold the band handles with an overhand grip, arms extended forward.
- Step back to create tension in the band while maintaining a slight bend in your knees.
- Engage your core and keep your back straight.
- Pull the band towards your chest by driving your elbows out and back, squeezing your shoulder blades together.
- Pause briefly at the peak contraction, ensuring full scapular retraction.
- Slowly extend your arms back to the starting position, maintaining control.
- Repeat for the desired number of repetitions.
Technical tips
- Ensure the anchor point is secure to prevent slipping during the exercise.
- Keep your core engaged throughout to maintain balance and posture.
- Focus on squeezing your shoulder blades together at the peak of each row.
- Avoid using momentum; perform the movement in a controlled manner.
- Maintain a slight bend in your knees to stabilize your stance.
- Keep your wrists straight to avoid unnecessary strain.
Wrist Roller
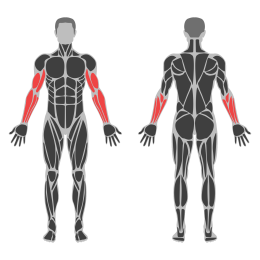
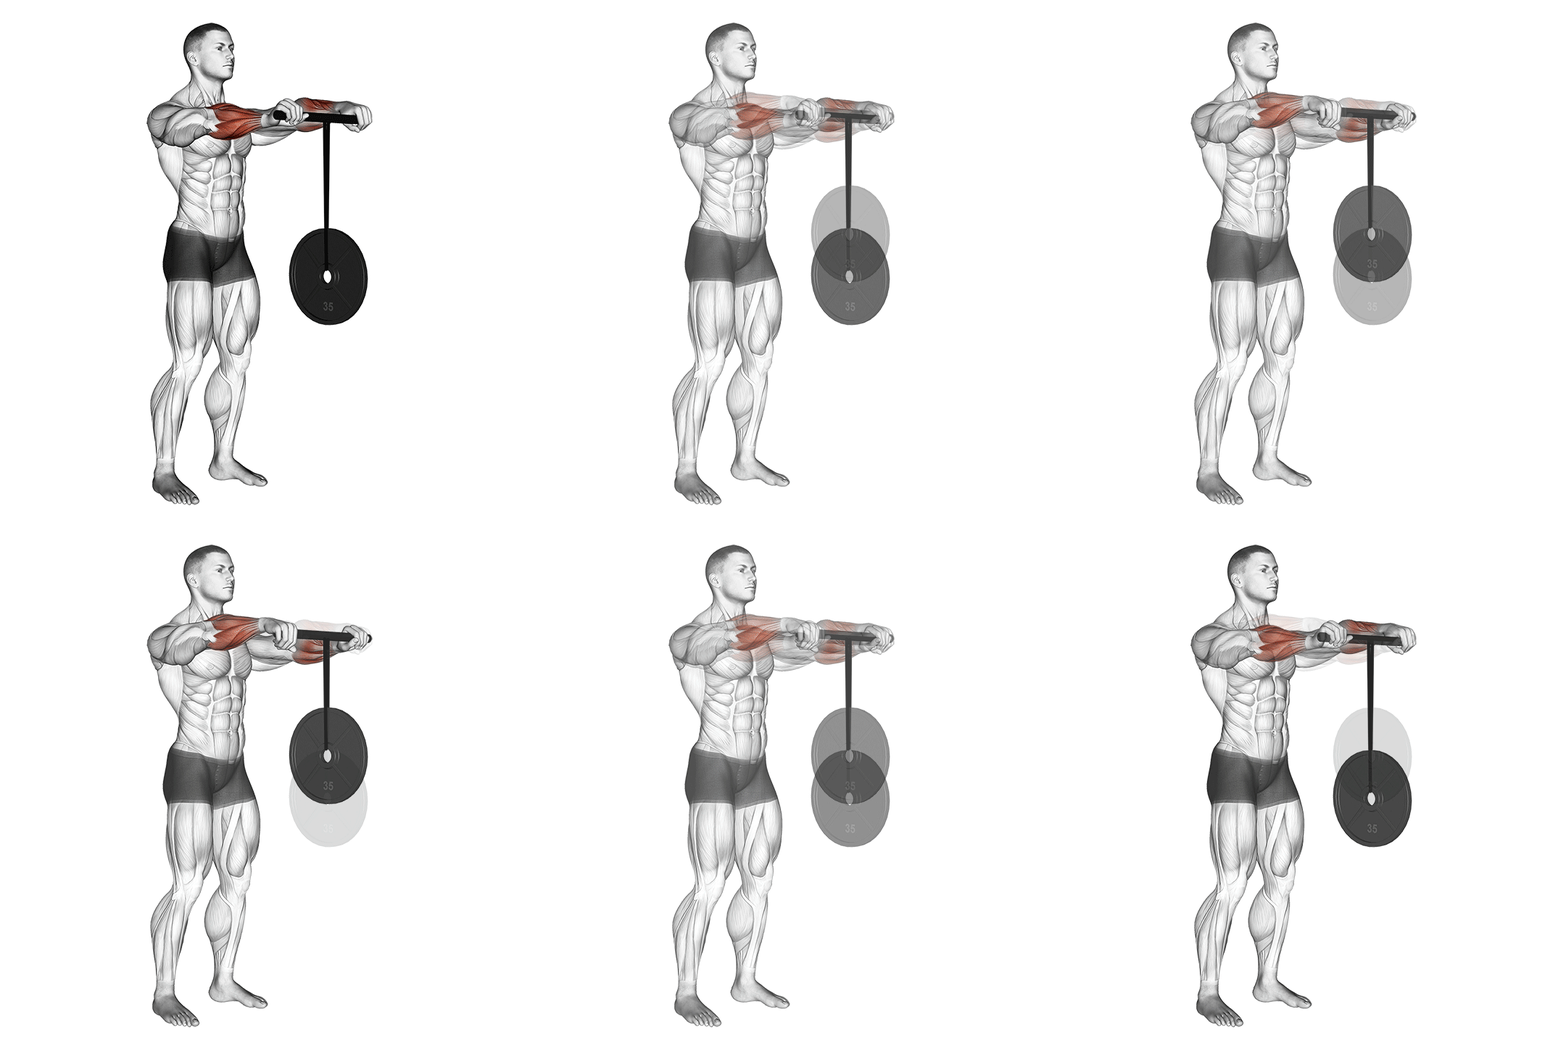
The wrist roller is an effective exercise for strengthening the forearms and improving grip strength. It involves rolling a weight up and down using a cylindrical bar, which engages the wrist flexors and extensors.
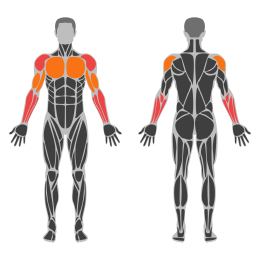
Muscle focus
Step-by-step cues
- Attach a weight plate to the wrist roller using a secure rope or cord.
- Stand with feet shoulder-width apart, holding the wrist roller with both hands in front of you at shoulder height.
- Extend your arms fully, keeping them parallel to the ground.
- Begin rolling the weight up by rotating your wrists forward, maintaining controlled movements.
- Continue until the weight reaches the top, then slowly reverse the motion to lower the weight back down.
- Repeat for the desired number of repetitions.
Technical tips
- Ensure your grip is firm but not overly tight to avoid unnecessary strain.
- Focus on smooth, controlled wrist movements to maximize muscle engagement.
- Keep your core engaged and maintain a neutral spine throughout the exercise.
- Start with a lighter weight to perfect your form before increasing resistance.
- Avoid using momentum; rely on wrist strength to move the weight.
- Incorporate wrist rollers into your routine 2-3 times a week for balanced forearm development.
Close-grip EZ Bar Curl
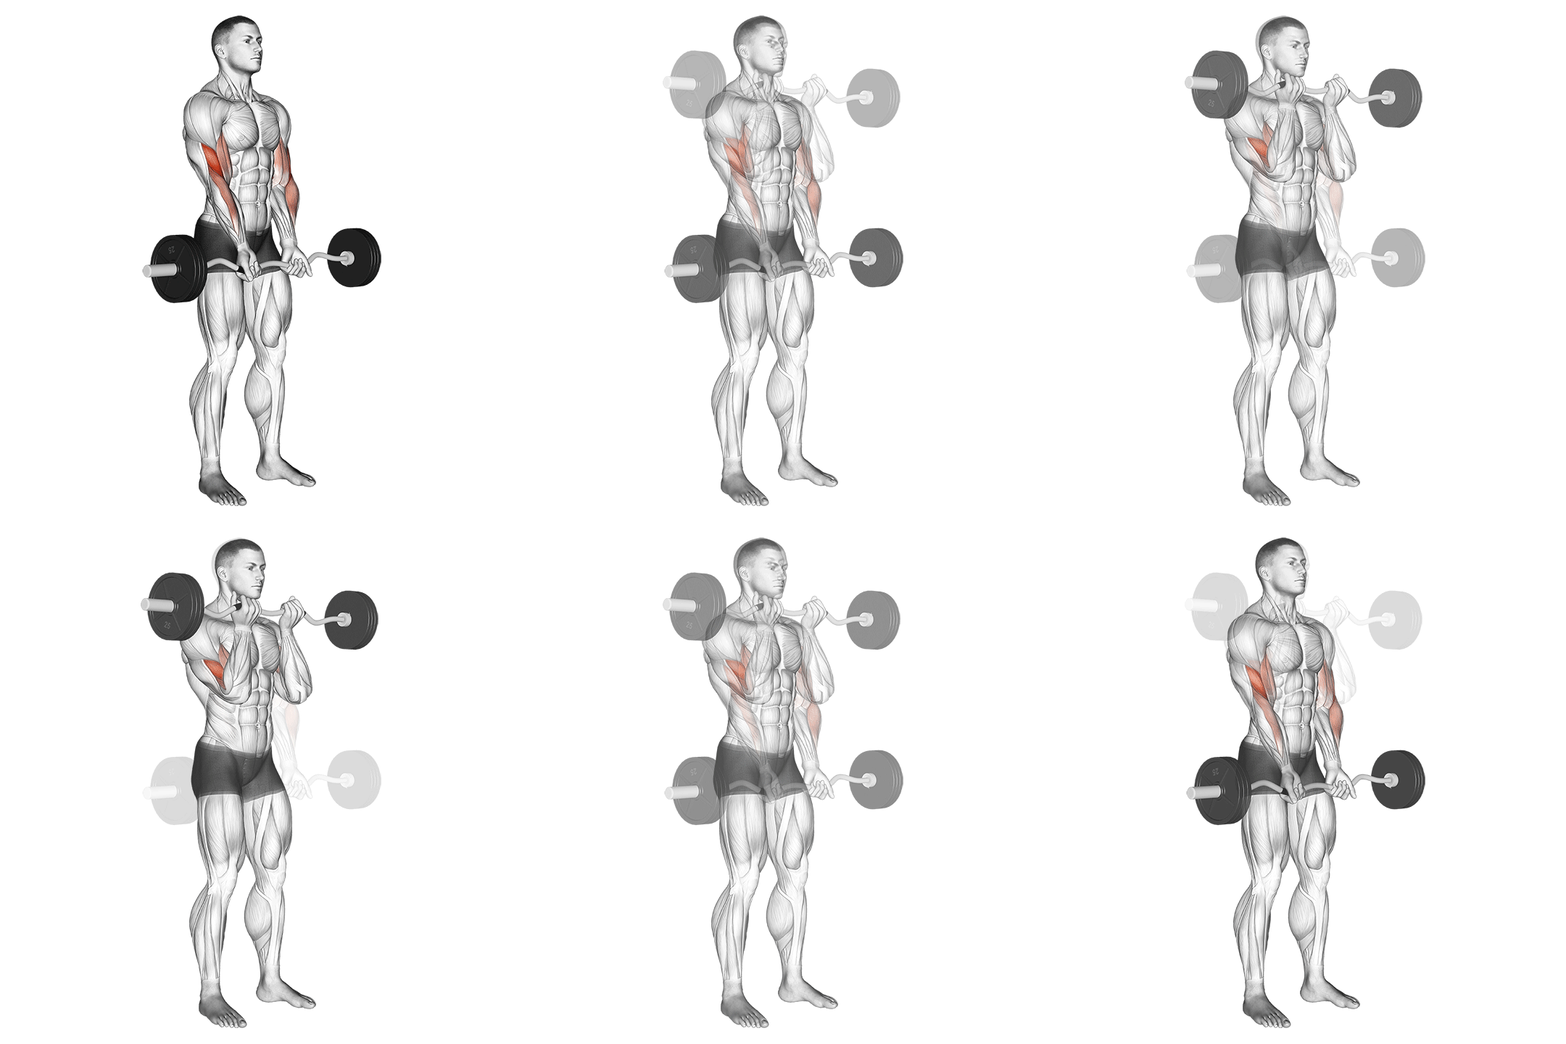
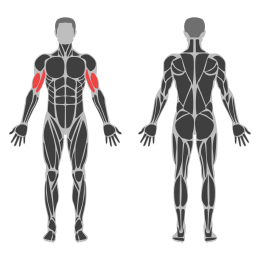
The Close-grip EZ Bar Curl is an isolation exercise targeting the biceps brachii, with additional engagement of the brachialis and forearm muscles. This exercise utilizes an EZ bar, which has a zigzag shape to reduce strain on the wrists and elbows, allowing for a more comfortable grip. The close grip specifically emphasizes the inner portion of the biceps, promoting muscle growth and strength development.
Muscle focus
Step-by-step cues
- Stand upright with your feet shoulder-width apart and hold an EZ bar with a close grip, palms facing up. Your hands should be approximately 6-8 inches apart.
- Keep your elbows close to your torso and maintain a slight bend in your knees for stability.
- Exhale as you curl the bar upward by flexing your elbows, keeping your upper arms stationary. Focus on contracting your biceps.
- Continue lifting until the bar is at shoulder level and your biceps are fully contracted.
- Pause briefly at the top of the movement, then inhale as you slowly lower the bar back to the starting position in a controlled manner.
- Repeat for the desired number of repetitions.
Technical tips
- Ensure that your elbows remain close to your body throughout the exercise to maximize bicep engagement.
- Avoid swinging or using momentum to lift the bar; focus on controlled movements to effectively target the biceps.
- Keep your wrists straight to prevent unnecessary strain and reduce the risk of injury.
- Engage your core muscles to maintain balance and stability during the exercise.
- Adjust your grip width slightly if you experience discomfort in your wrists; find a position that feels natural and comfortable.
Dumbbell Neutral Grip Incline Bench Row
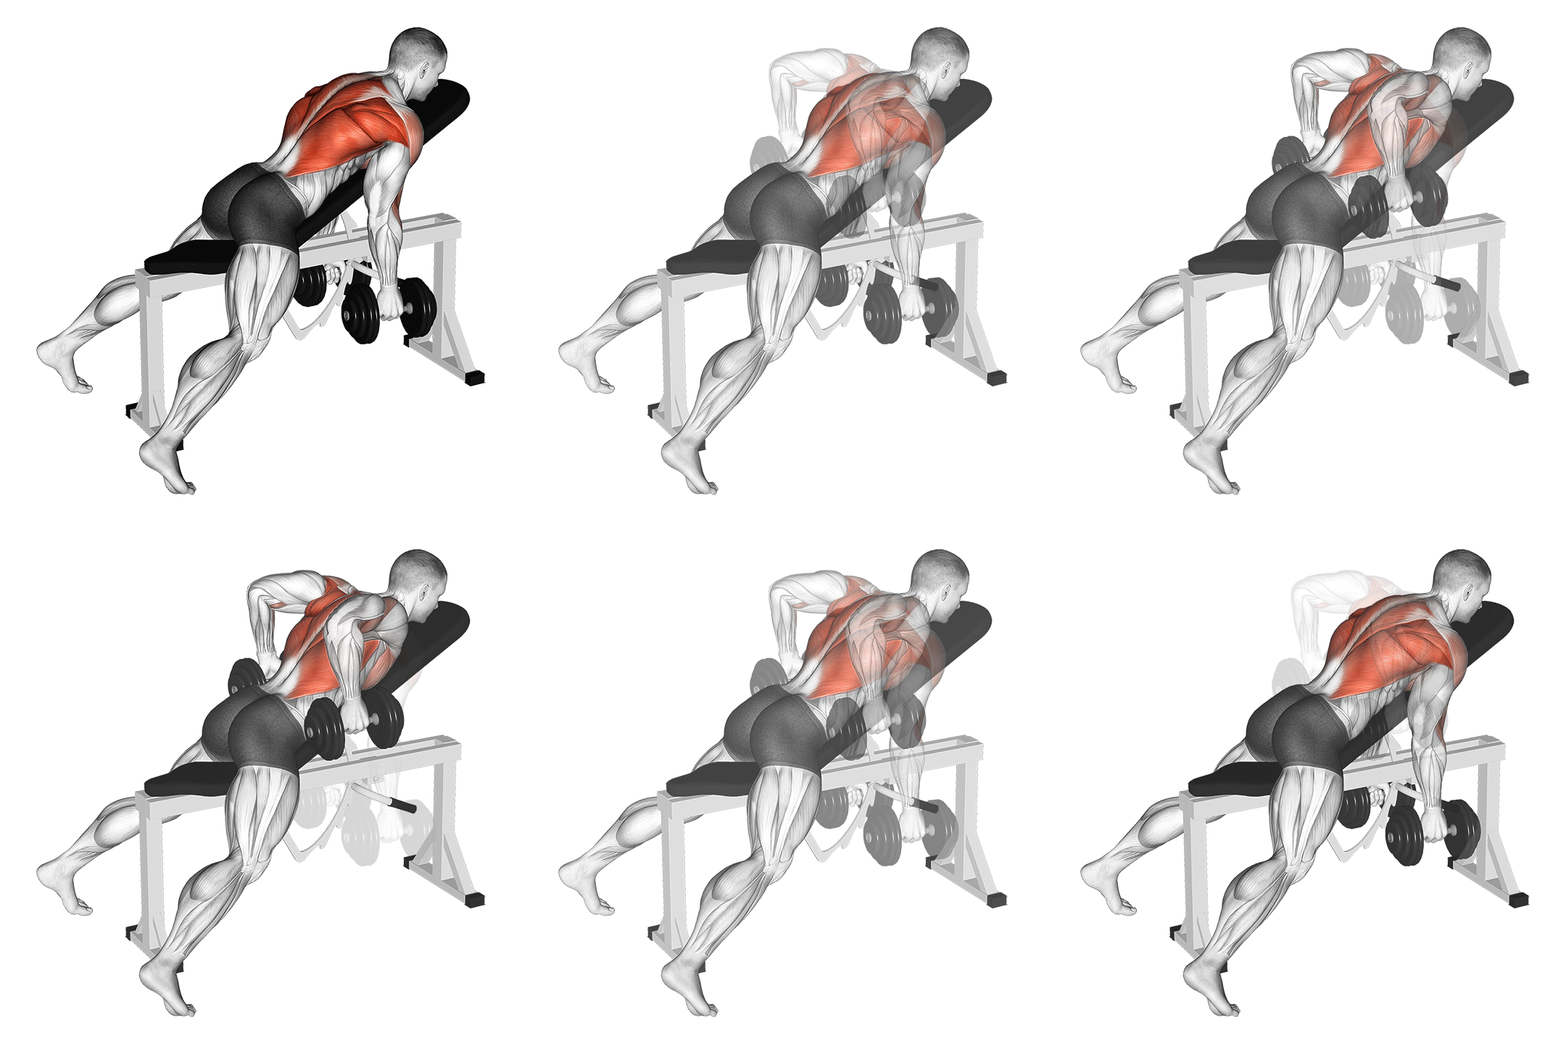
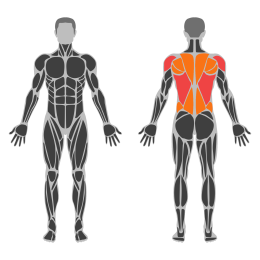
The Dumbbell Hammer Grip Incline Bench Row is an upper body exercise targeting the back muscles, specifically the latissimus dorsi, rhomboids, and trapezius. It also engages the biceps and forearms due to the hammer grip. This exercise is performed on an incline bench, which helps isolate the back muscles by minimizing lower body involvement.
Muscle focus
Step-by-step cues
- Set an incline bench to a 30-45 degree angle.
- Hold a dumbbell in each hand with a neutral grip (palms facing each other).
- Lie face down on the bench, ensuring your chest is supported and feet are firmly planted on the floor.
- Extend your arms fully downward, allowing the dumbbells to hang naturally.
- Engage your core and keep your back straight throughout the movement.
- Pull the dumbbells towards your torso by retracting your shoulder blades and bending your elbows.
- Pause briefly at the top of the movement, squeezing your shoulder blades together.
- Slowly lower the dumbbells back to the starting position with control.
- Repeat for the desired number of repetitions.
Technical tips
- Maintain a neutral spine to prevent strain on your lower back.
- Focus on pulling with your back muscles rather than your arms.
- Keep your elbows close to your body throughout the movement.
- Control the weight during both lifting and lowering phases to maximize muscle engagement.
- Avoid using momentum; perform each rep with deliberate motion.
- Ensure your head is aligned with your spine to avoid neck strain.
Barbell Standing Wrist Curl
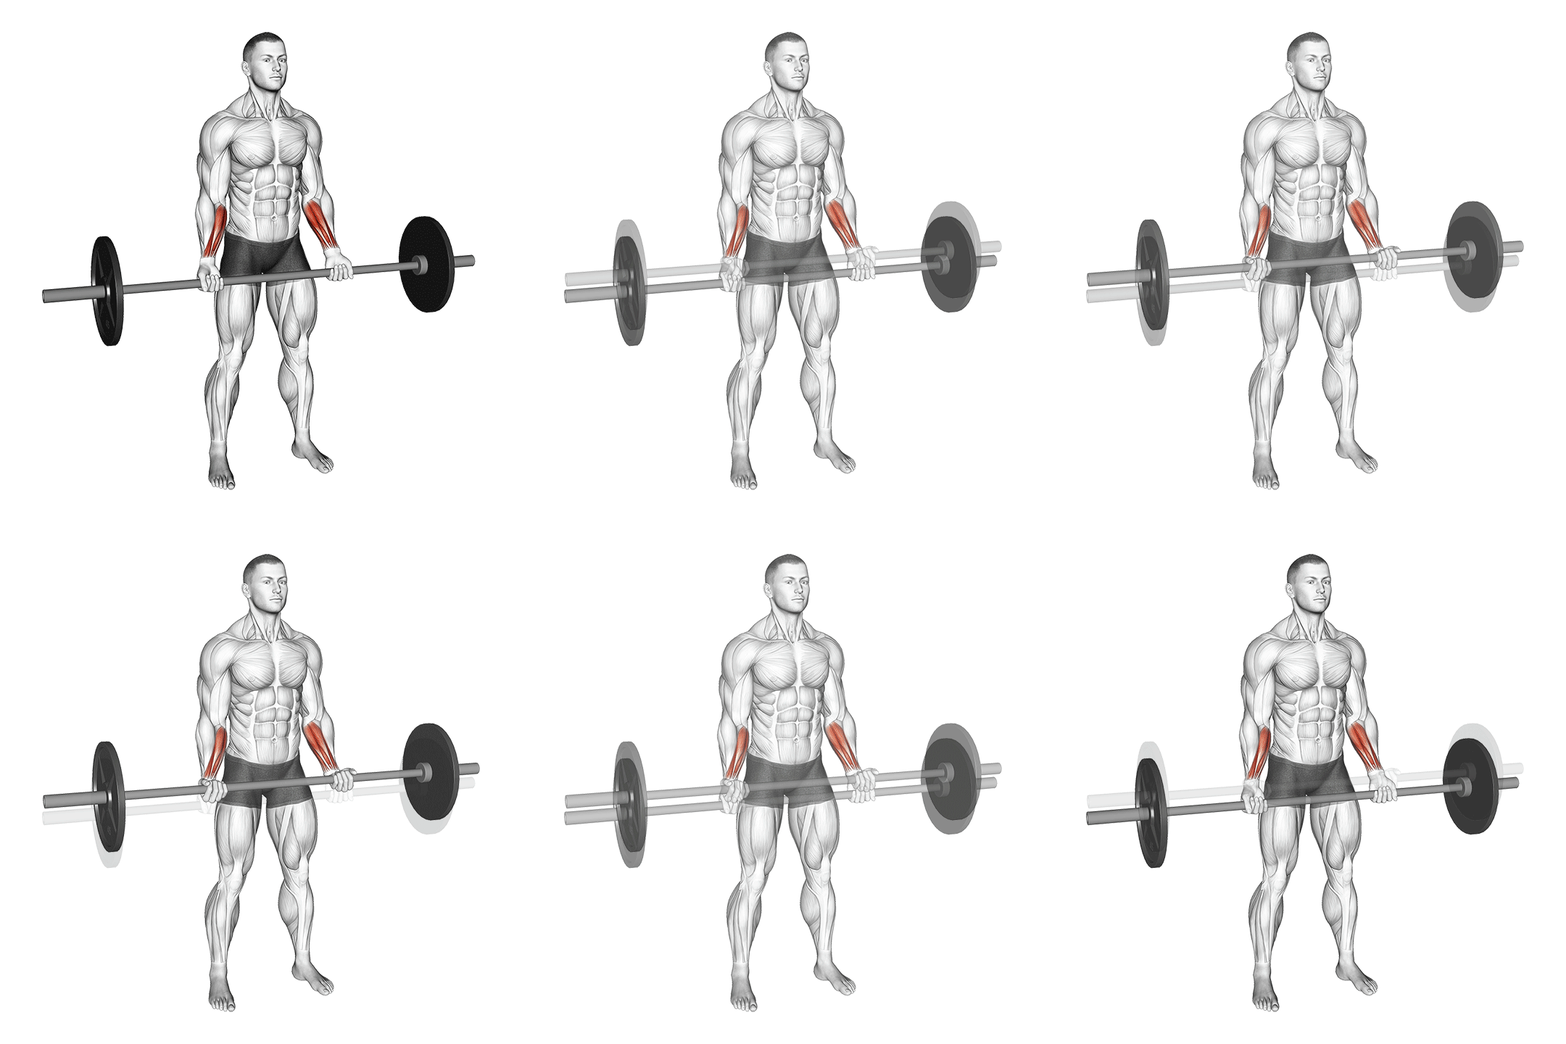
The Standing Barbell Wrist Curl is an isolation exercise targeting the forearm muscles, specifically the wrist flexors. It involves holding a barbell with an underhand grip and curling the wrists upward while standing, to strengthen and build endurance in the forearms.
Muscle focus
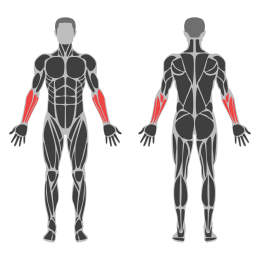
Step-by-step cues
- Stand upright with your feet shoulder-width apart, holding a barbell with an underhand grip.
- Keep your arms straight and close to your body, allowing the barbell to rest against your thighs.
- Flex your wrists upward, curling the barbell as high as possible while keeping your arms stationary.
- Pause briefly at the top of the movement, feeling the contraction in your forearms.
- Slowly lower the barbell back to the starting position, maintaining control throughout.
- Repeat for the desired number of repetitions.
Technical tips
- Use a moderate weight that allows you to perform the exercise with proper form.
- Focus on moving only your wrists; keep your arms and shoulders stable.
- Maintain a slight bend in your knees to support balance and reduce strain on your lower back.
- Exhale as you curl the barbell upwards and inhale as you lower it back down.
- Avoid using momentum; control the movement for maximum muscle engagement.
- Ensure a full range of motion by fully extending and flexing your wrists.
Tuesday
Legs and Core
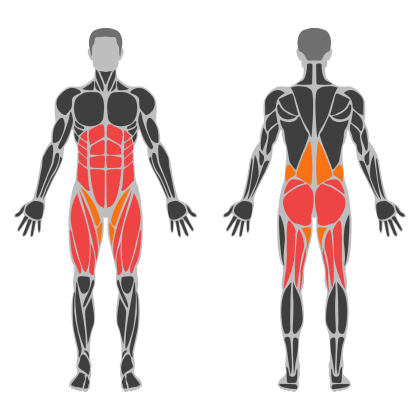
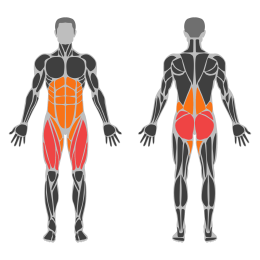
Legs and Core muscle focus
Red marks the primary training focus. Orange marks supporting muscle groups used throughout this session.
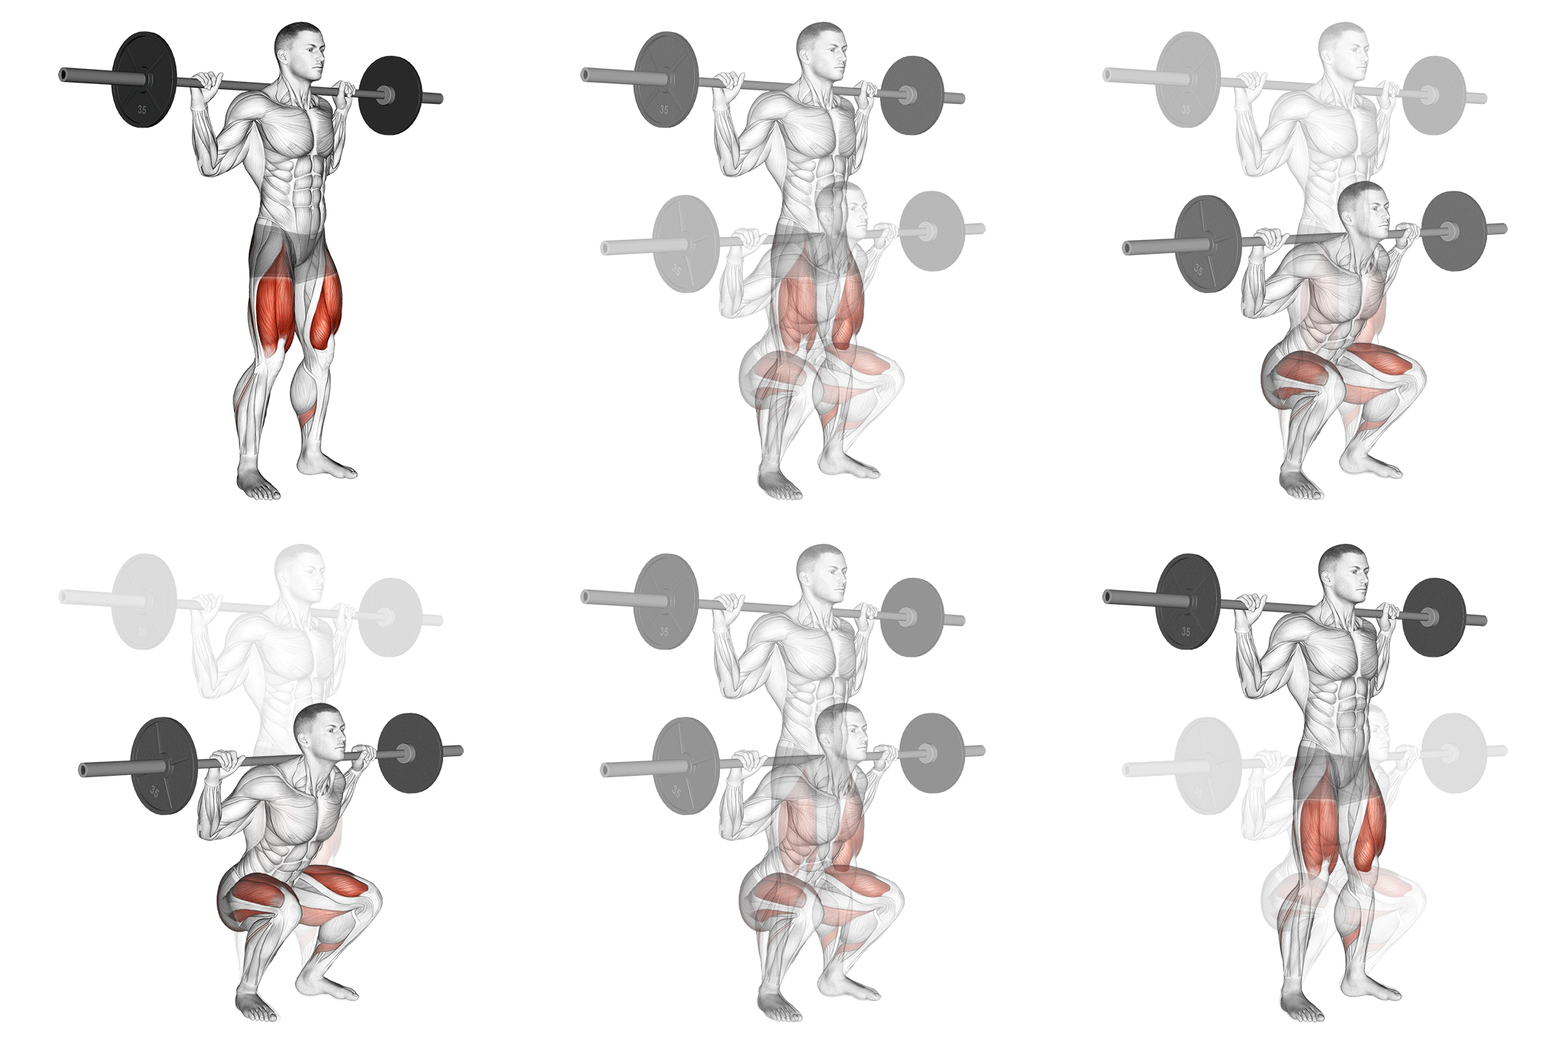
High-Bar Squat
The Highbar Squat is a compound lower body exercise that primarily targets the quadriceps, glutes, and hamstrings. It involves placing the barbell on the upper traps, maintaining an upright torso, and descending into a squat position while keeping the knees aligned with the toes.
Muscle focus
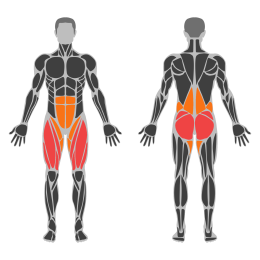
Step-by-step cues
- Position a barbell on a squat rack at shoulder height.
- Step under the bar and place it on your upper traps, ensuring it is centered.
- Grip the bar slightly wider than shoulder-width and lift your elbows to create a stable shelf.
- Unrack the bar by standing up straight and take a step back.
- Set your feet shoulder-width apart with toes slightly pointed out.
- Engage your core and keep your chest up.
- Initiate the squat by bending at the hips and knees simultaneously.
- Descend until your thighs are parallel to the ground or slightly below.
- Ensure your knees track over your toes throughout the movement.
- Drive through your heels to return to the starting position, extending your hips and knees.
Technical tips
- Keep your core tight to maintain stability and prevent lower back strain.
- Focus on keeping an upright torso to emphasize quadriceps engagement.
- Ensure your knees do not cave inward; they should align with your toes.
- Control the descent to maintain balance and prevent injury.
- Use a full range of motion for maximum muscle activation.
- Warm up properly before performing heavy squats to prepare your muscles and joints.
- Start with lighter weights to perfect form before progressing to heavier loads.
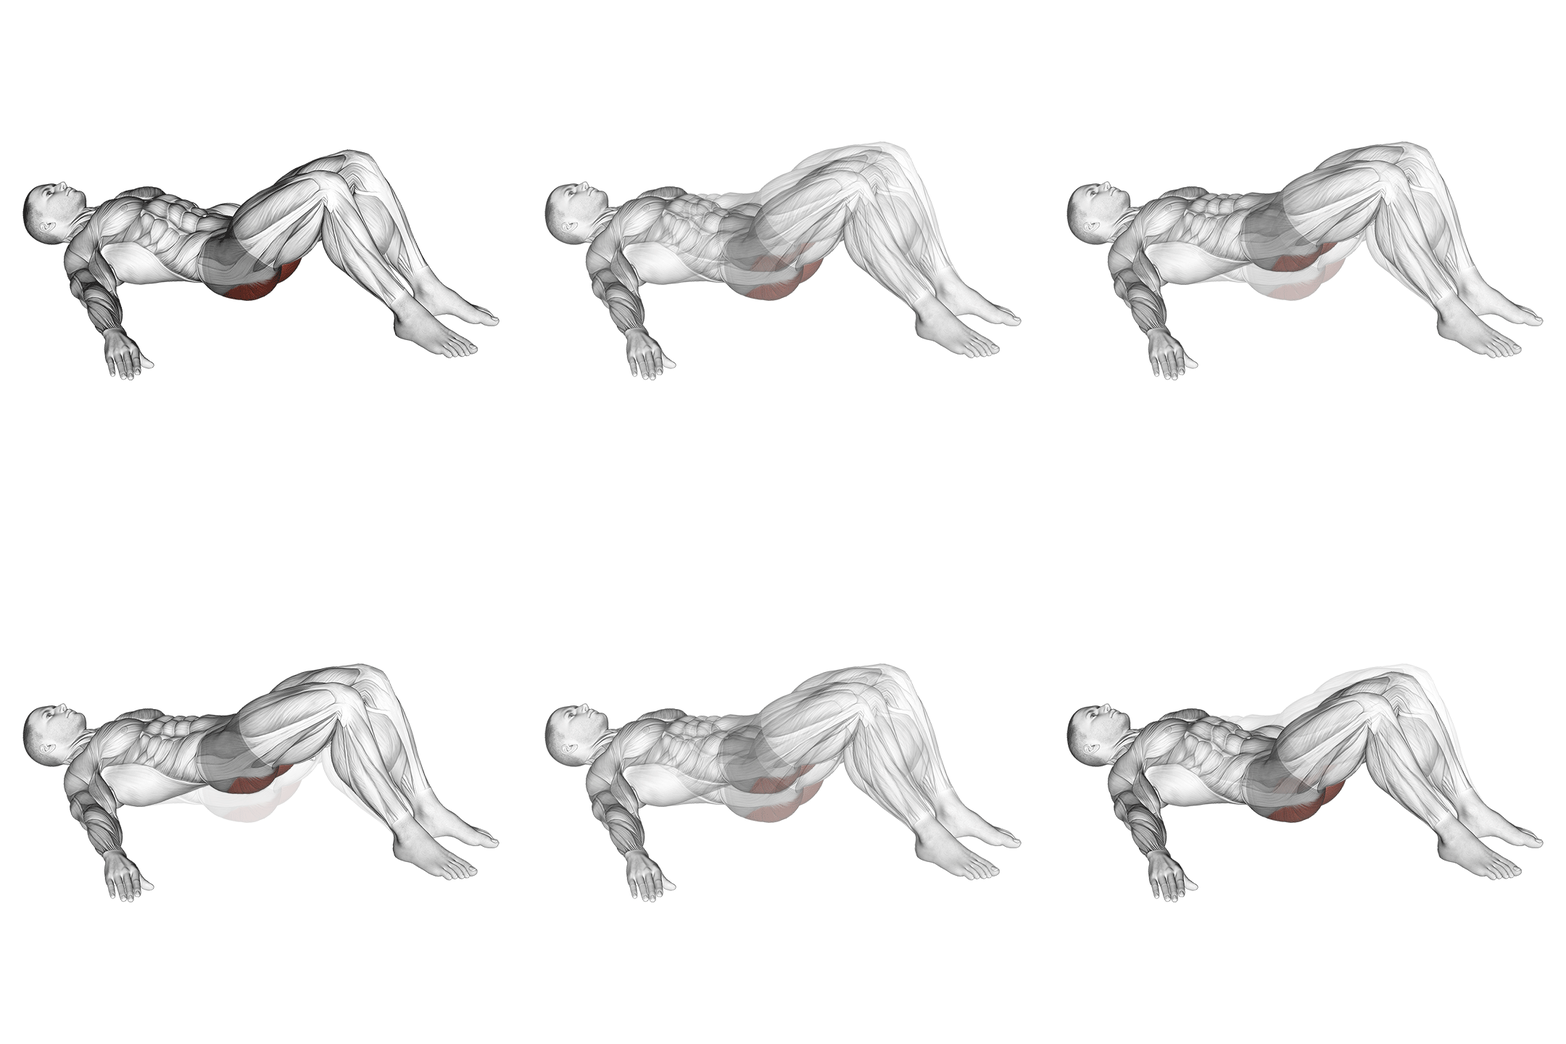
Glute Bridge
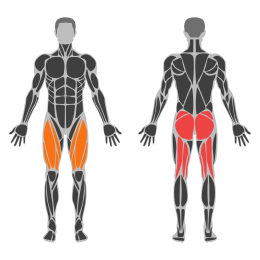
The Glute Bridge is a strength exercise that primarily targets the gluteal muscles, while also engaging the hamstrings and core. It is performed by lying on your back and lifting your hips towards the ceiling, creating a bridge-like position with your body.
Muscle focus
Step-by-step cues
- Lie flat on your back with your knees bent and feet flat on the floor, hip-width apart.
- Place your arms at your sides with palms facing down.
- Engage your core and squeeze your glutes as you lift your hips off the ground.
- Lift until your body forms a straight line from shoulders to knees.
- Hold the position for a moment, then slowly lower your hips back to the starting position.
- Repeat for the desired number of repetitions.
Technical tips
- Ensure your feet are placed firmly on the ground to maintain stability.
- Focus on squeezing your glutes at the top of the movement for maximum activation.
- Keep your core engaged throughout the exercise to protect your lower back.
- Avoid arching your lower back; maintain a neutral spine position.
- Control the movement both when lifting and lowering your hips to enhance muscle engagement.
- If you feel strain in your lower back, adjust your foot placement or reduce the range of motion.
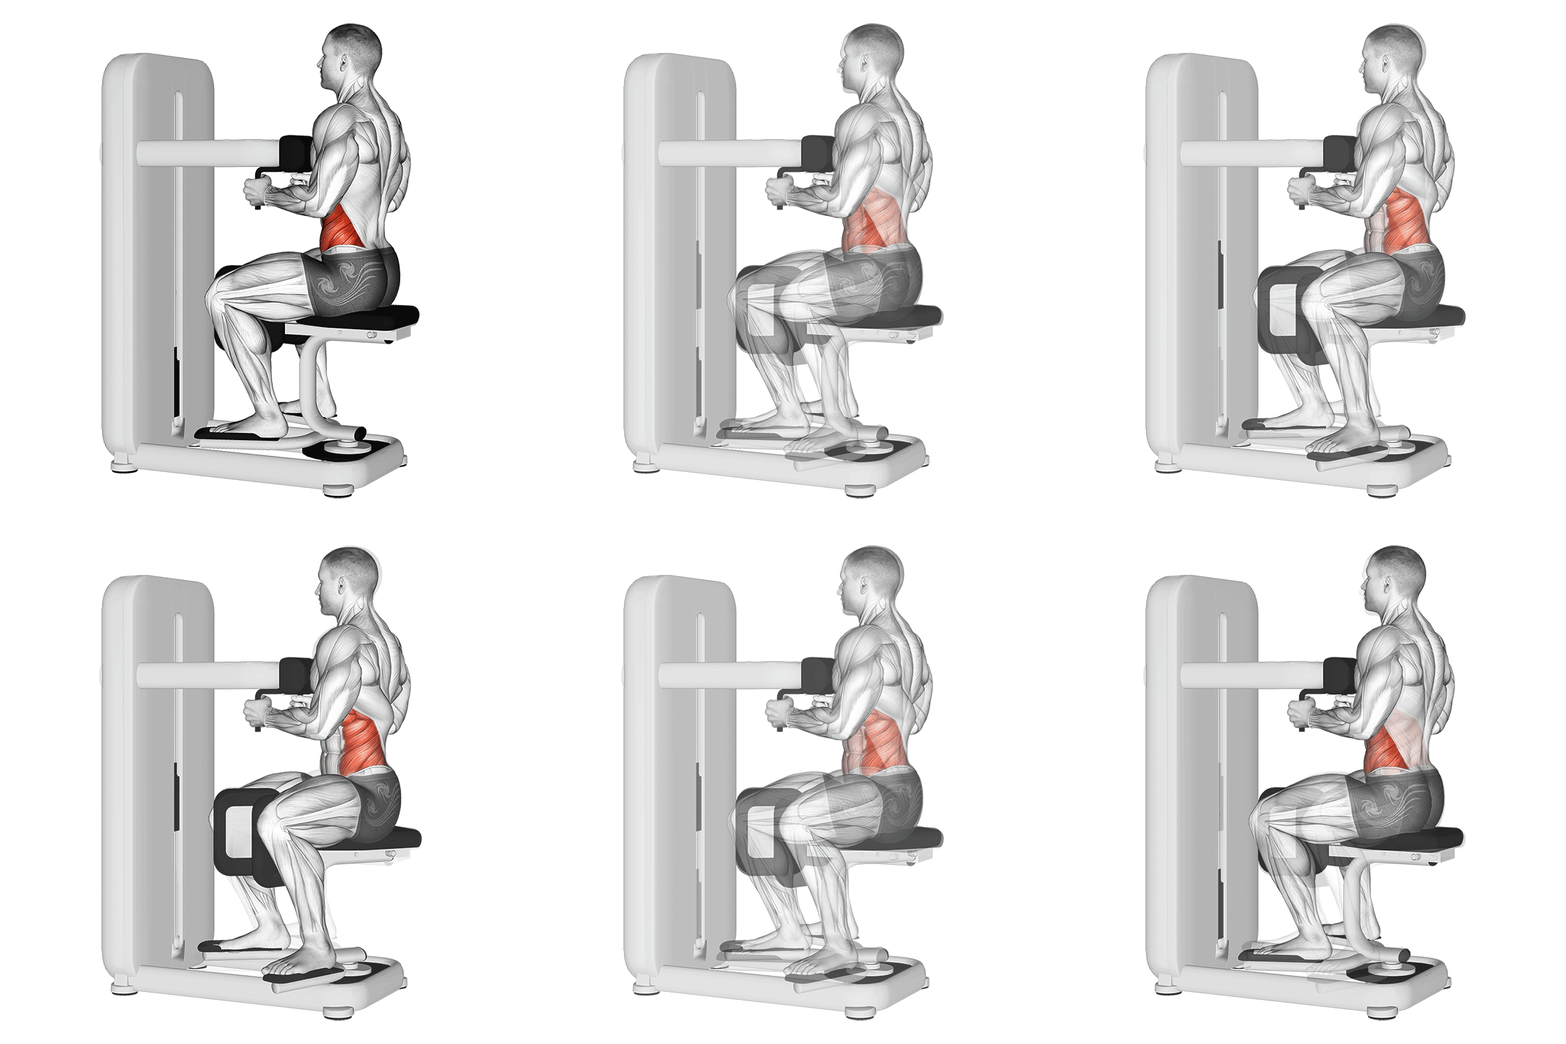
Seated Machine Trunk Rotation
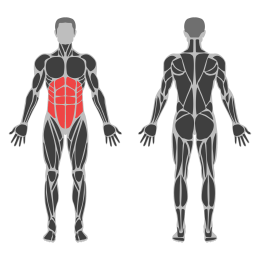
The Seated Machine Trunk Rotation is an isolation exercise targeting the oblique muscles of the core. It involves rotating the torso against resistance while seated, helping to improve core strength and stability.
Muscle focus
Step-by-step cues
- Adjust the seat height so that your knees are at a 90-degree angle when seated.
- Sit on the machine with your back straight and feet flat on the floor.
- Place your arms across your chest or hold onto the handles if available.
- Engage your core muscles by pulling your navel towards your spine.
- Rotate your torso to one side as far as comfortable, keeping your hips stable.
- Return to the starting position in a controlled manner.
- Repeat the movement on the opposite side.
- Perform equal repetitions for both sides.
Technical tips
- Maintain a slow and controlled motion to maximize muscle engagement.
- Avoid using momentum; focus on using your oblique muscles to drive the movement.
- Keep your shoulders relaxed and avoid hunching them during the exercise.
- Ensure that your hips remain stationary throughout the rotation to isolate the core effectively.
- Start with a lighter resistance to master the form before increasing weight.
- Exhale as you rotate and inhale as you return to the center position.
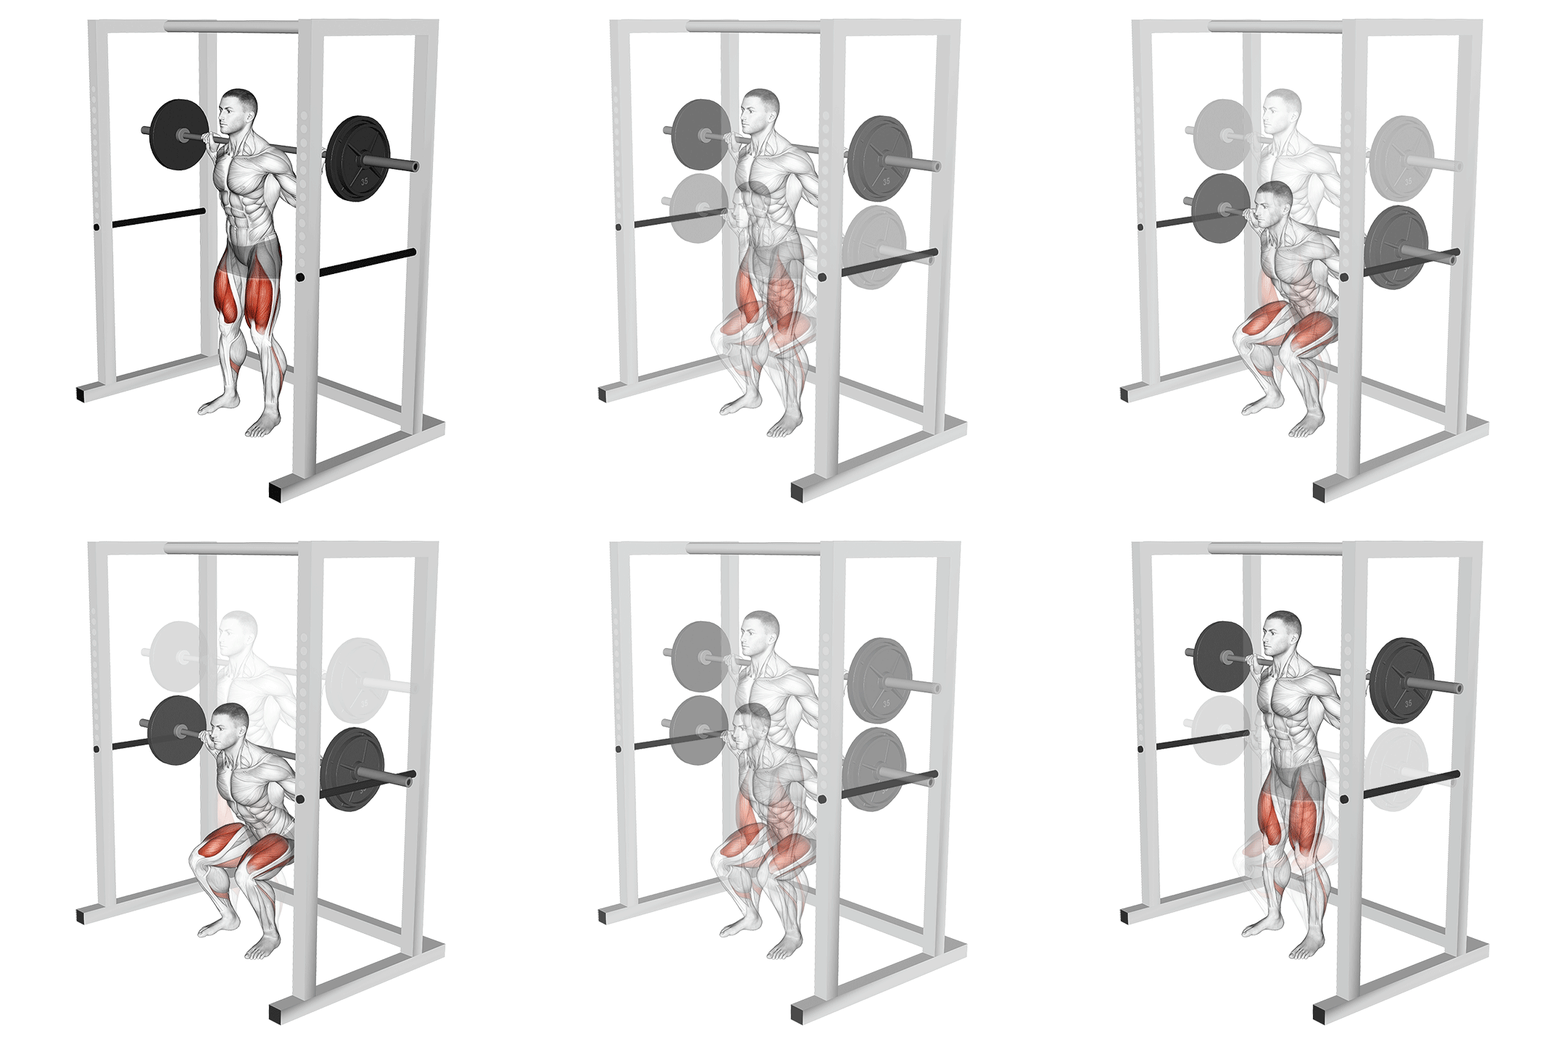
Pin Squat
The Pin Squat is a variation of the traditional squat where the barbell is lifted from a set of safety pins or supports within a power rack. This exercise focuses on building strength and power by eliminating the stretch reflex, forcing the lifter to generate force from a dead stop. It is particularly useful for improving sticking points in the squat and enhancing overall squat performance.
Muscle focus
Step-by-step cues
- Set the safety pins in a power rack at the desired height, typically at or just below parallel to your squat depth.
- Position the barbell on the pins and load it with an appropriate weight.
- Stand under the bar with your feet shoulder-width apart and position it across your upper back, ensuring it is centered.
- Grip the bar firmly with your hands slightly wider than shoulder-width apart.
- Engage your core, retract your shoulder blades, and maintain a neutral spine.
- Lift the bar off the pins by driving through your heels and extending your hips and knees simultaneously.
- Pause briefly at the top, then lower the bar back to the pins by bending your hips and knees, maintaining control throughout.
- Ensure that each rep starts from a dead stop on the pins to maximize effectiveness.
Technical tips
- Focus on maintaining a strong core throughout the movement to protect your lower back.
- Use a controlled tempo when lowering the bar to ensure proper form and reduce injury risk.
- Start with a lighter weight to master technique before progressing to heavier loads.
- Ensure that your knees track over your toes to avoid unnecessary strain on the joints.
- Experiment with different pin heights to target specific weaknesses in your squat.
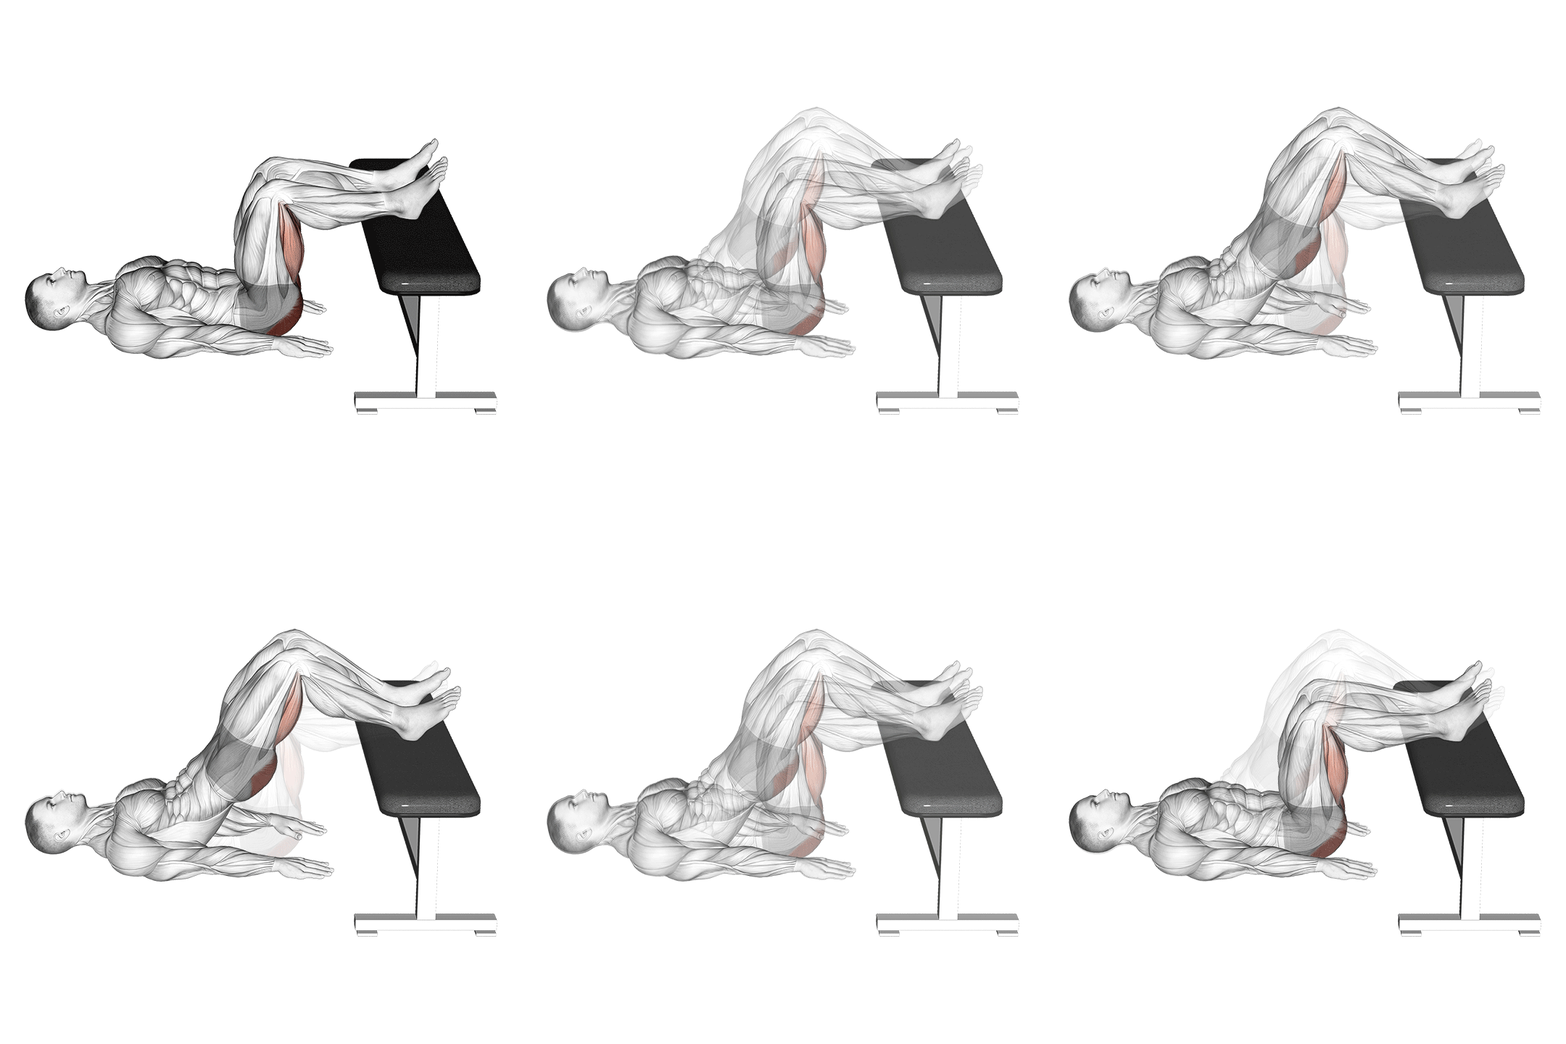
Glute Bridge on Bench
The Glute Bridge on Bench is an effective exercise targeting the gluteal muscles, hamstrings, and core. By elevating the shoulders on a bench, this variation increases the range of motion, providing a greater challenge and more significant muscle activation compared to the standard glute bridge.
Muscle focus
Step-by-step cues
- Sit on the ground with your upper back resting against a bench, knees bent, and feet flat on the floor.
- Place your feet hip-width apart and position them so that your shins are vertical when you lift your hips.
- Rest your arms on the bench for stability or cross them over your chest.
- Engage your core and squeeze your glutes as you lift your hips toward the ceiling until your body forms a straight line from shoulders to knees.
- Hold the top position for a moment, ensuring maximum contraction in the glutes.
- Slowly lower your hips back to the starting position without letting them touch the ground.
- Repeat for the desired number of repetitions.
Technical tips
- Ensure that your feet are positioned correctly; they should be directly under your knees at the top of the movement.
- Focus on squeezing your glutes throughout the exercise to maximize muscle activation.
- Keep your core engaged to maintain stability and prevent arching of the lower back.
- Avoid pushing through your heels excessively; aim for balanced pressure across your entire foot.
- Control the movement during both lifting and lowering phases to enhance muscle engagement and prevent injury.
Wednesday
Recovery
Walk, stretch the forearms and shoulders, and avoid hard gripping work.
Thursday
Triceps and Chest
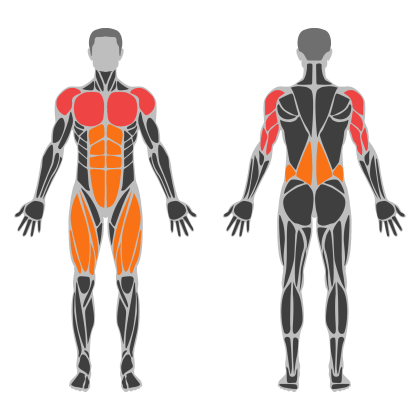
Triceps and Chest muscle focus
Red marks the primary training focus. Orange marks supporting muscle groups used throughout this session.
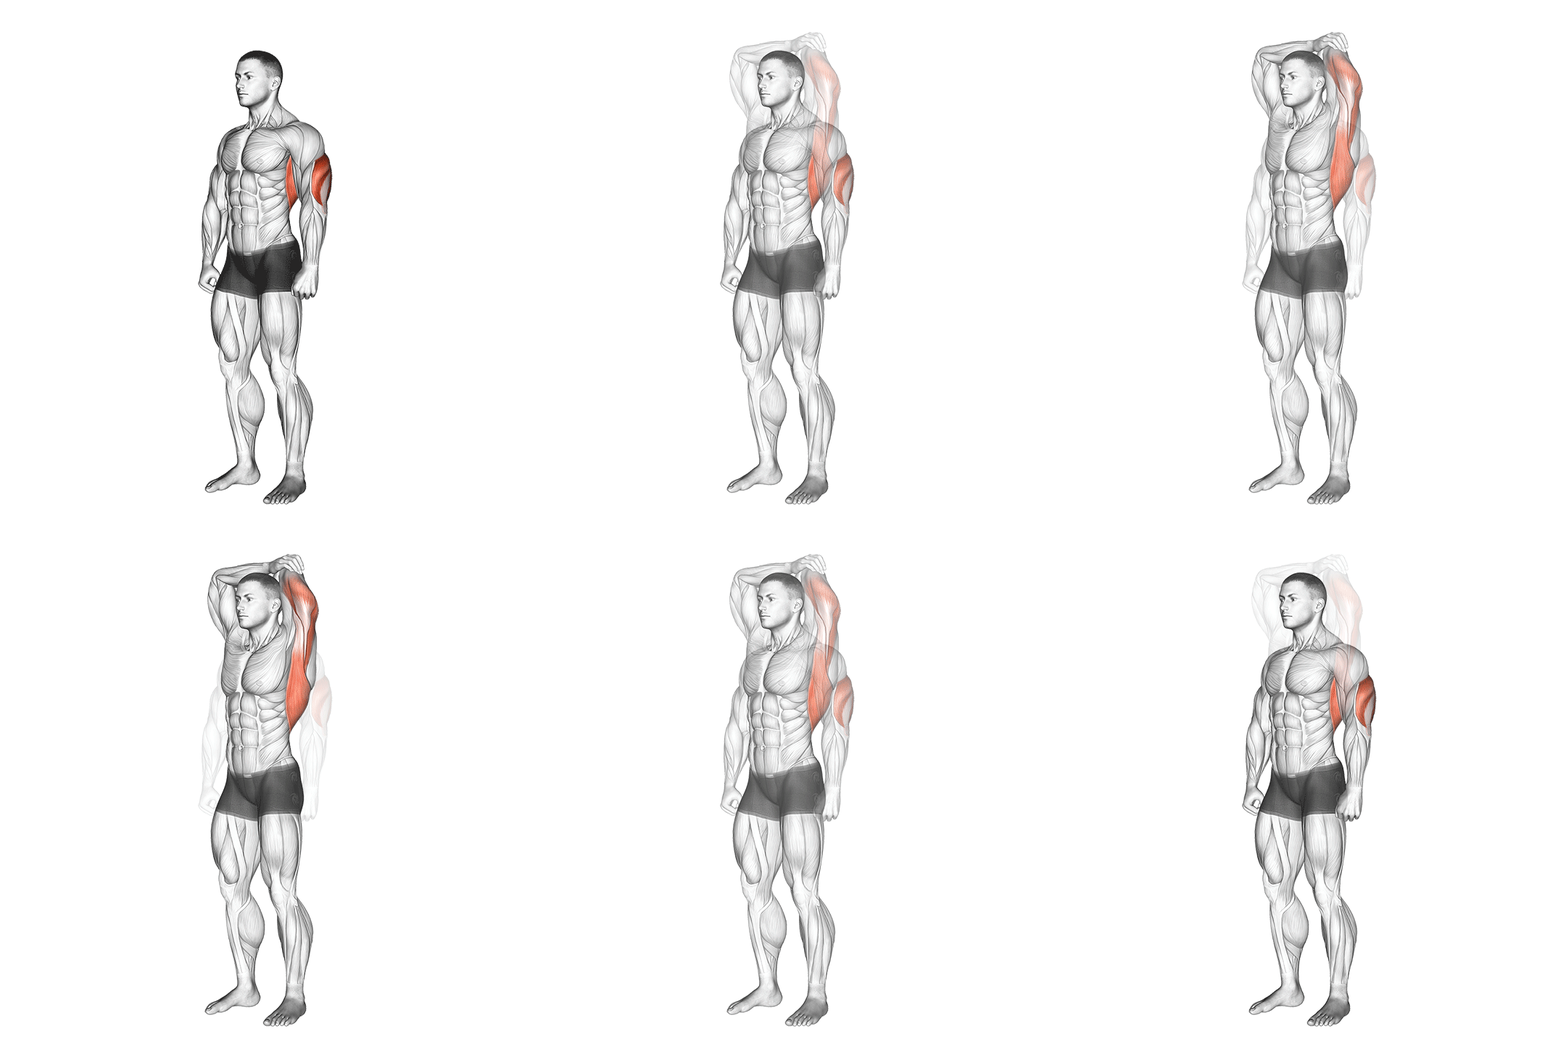
Overhead Triceps Stretch
The Overhead Triceps Stretch is a static stretch exercise targeting the triceps brachii muscles. It helps improve flexibility and range of motion in the shoulders and arms, reducing the risk of injury and aiding in muscle recovery.
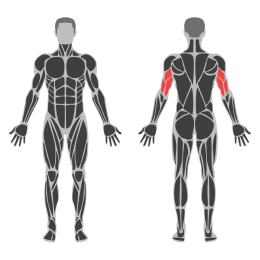
Muscle focus
Step-by-step cues
- Stand or sit with your back straight and feet shoulder-width apart.
- Raise your right arm overhead, bending the elbow to bring your right hand down towards the middle of your upper back.
- Use your left hand to gently push on your right elbow, deepening the stretch.
- Hold the position for 15-30 seconds, feeling the stretch in your triceps and shoulder.
- Release and switch arms, repeating the stretch on the opposite side.
Technical tips
- Keep your core engaged to maintain a stable posture throughout the stretch.
- Avoid arching your back; keep it straight to prevent strain.
- Breathe deeply and consistently to help relax your muscles during the stretch.
- If you feel any pain or discomfort, ease off slightly until you find a comfortable stretch.
- Perform this stretch after workouts to aid in muscle recovery and flexibility.
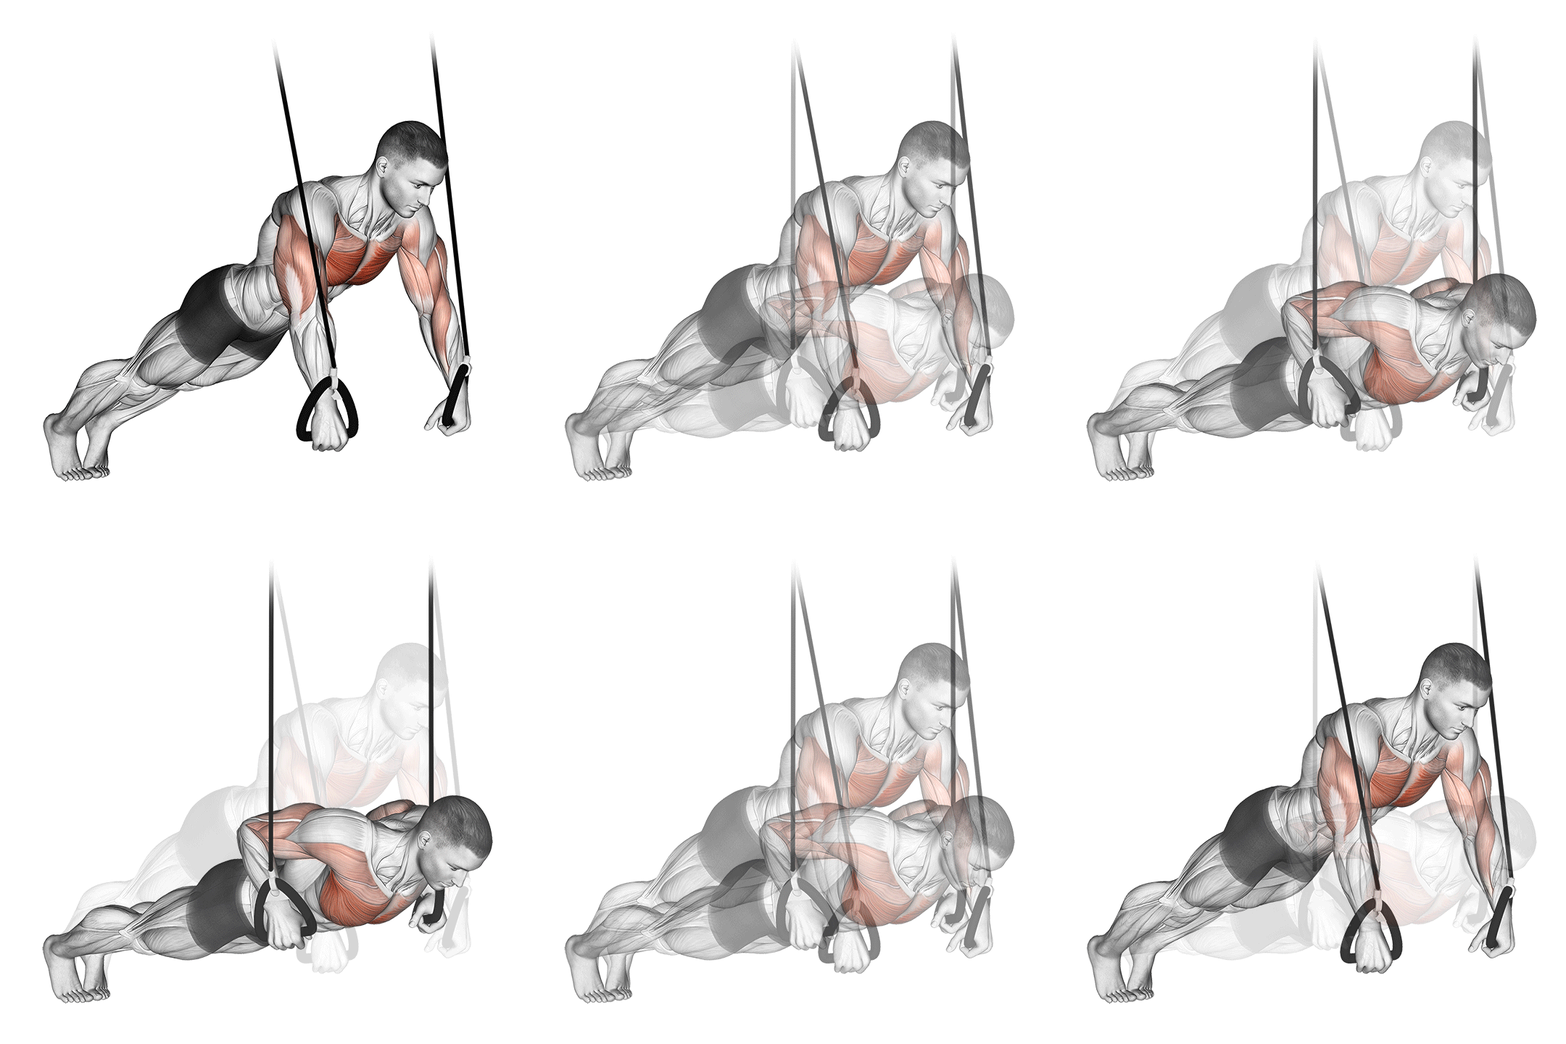
Ring Push-Up
The Ring Push Up is an advanced upper body exercise that targets the chest, shoulders, and triceps while engaging the core for stability. It involves performing push-ups using gymnastic rings, which adds an element of instability, requiring greater muscle activation and control.
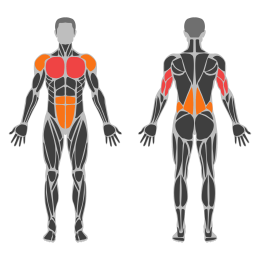
Muscle focus
Step-by-step cues
- Adjust the rings to hang just above the ground.
- Position yourself in a plank position with hands gripping the rings, arms fully extended, and feet together.
- Engage your core and maintain a straight line from head to heels.
- Lower your body by bending your elbows, keeping them close to your body.
- Descend until your chest is in line with your hands.
- Push through the rings to extend your arms and return to the starting position.
- Repeat for the desired number of repetitions.
Technical tips
- Ensure the rings are securely fastened before starting.
- Keep your wrists neutral to avoid strain.
- Focus on keeping your body stable throughout the movement.
- Control the descent to maximize muscle engagement.
- Avoid letting your elbows flare out too much; keep them at a 45-degree angle to your body.
- Maintain a tight core to prevent sagging in the lower back.
- Start with fewer repetitions if you're new to ring exercises.
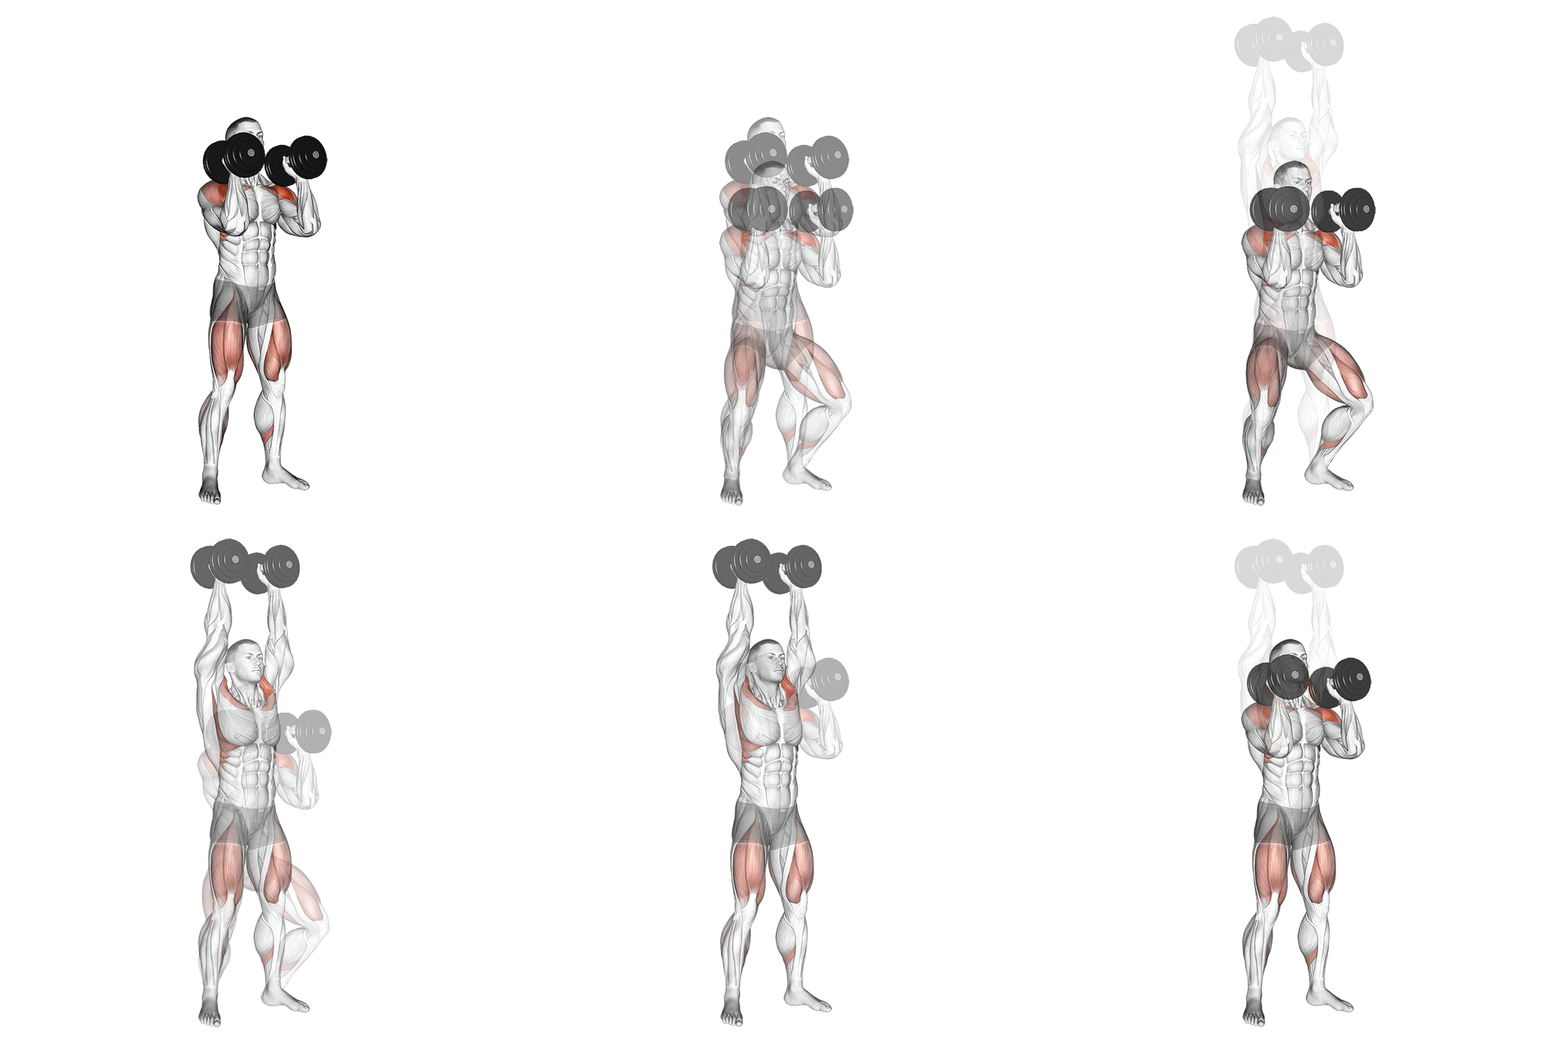
Dumbbell Push Press
The Dumbbell Push Press is a compound exercise that targets the shoulders, triceps, and upper chest. It involves a slight dip of the knees followed by an explosive push to press the dumbbells overhead. This exercise enhances power and strength in the upper body and improves coordination and balance.
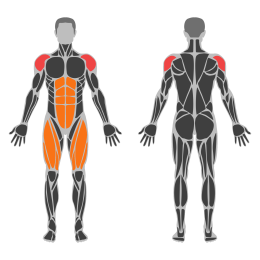
Muscle focus
Step-by-step cues
- Stand with your feet shoulder-width apart, holding a dumbbell in each hand at shoulder height with palms facing forward.
- Engage your core and keep your back straight.
- Slightly bend your knees to initiate a small dip.
- Explosively extend your legs while simultaneously pressing the dumbbells overhead.
- Fully extend your arms at the top of the movement without locking your elbows.
- Slowly lower the dumbbells back to shoulder height while controlling the descent.
- Repeat for the desired number of repetitions.
Technical tips
- Maintain a neutral spine throughout the exercise to prevent lower back strain.
- Use your legs to generate power during the initial phase of the lift.
- Focus on a controlled descent to maximize muscle engagement.
- Keep your elbows slightly in front of your body rather than flaring out to maintain shoulder stability.
- Start with lighter weights to perfect your form before progressing to heavier loads.
- Ensure your head is aligned with your spine; avoid tilting it forward or backward during the press.
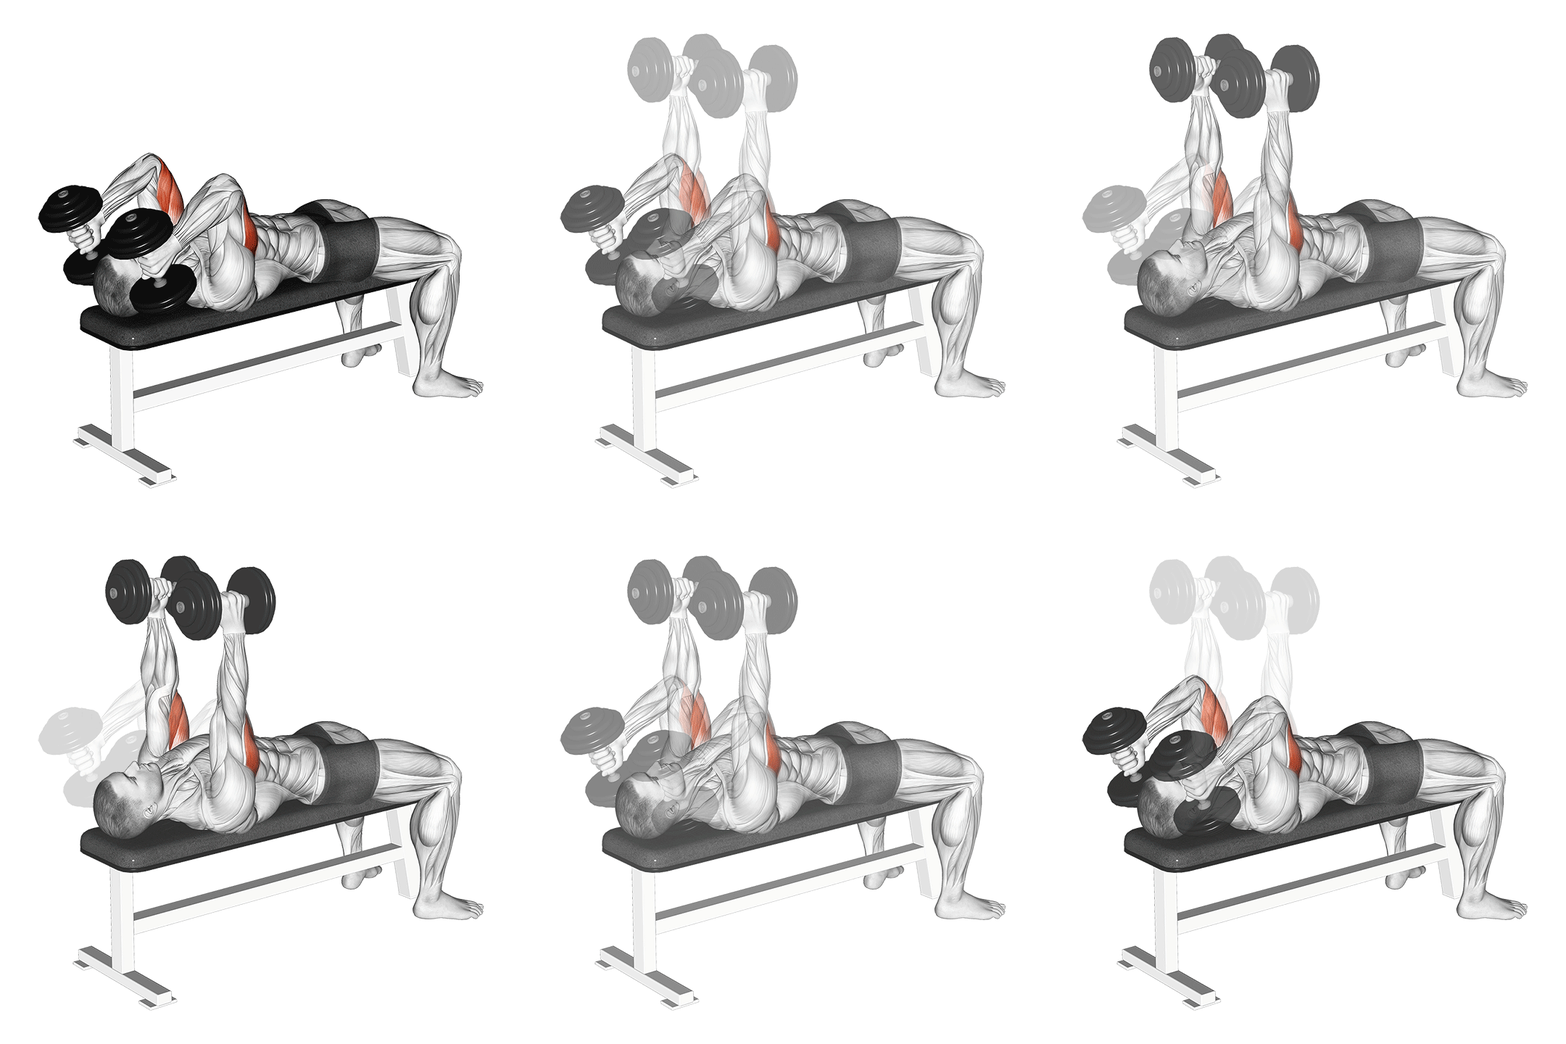
Dumbbell Lying Triceps Extension
The Dumbbell Lying Triceps Extension, also known as the 'skull crusher', is an isolation exercise targeting the triceps brachii. It is performed lying on a bench with a dumbbell in each hand, extending the arms to work the triceps through a full range of motion.
Muscle focus
Step-by-step cues
- Lie flat on a bench with your feet firmly planted on the floor.
- Hold a dumbbell in each hand with an overhand grip, arms fully extended above your chest.
- Keep your elbows stationary and close to your head throughout the movement.
- Slowly lower the dumbbells by bending your elbows until they are just above your forehead.
- Pause briefly at the bottom of the movement.
- Extend your arms back to the starting position by contracting your triceps.
- Repeat for the desired number of repetitions.
Technical tips
- Maintain a controlled motion to avoid using momentum.
- Keep your elbows tucked in to maximize triceps engagement.
- Avoid locking out your elbows at the top of the movement to keep tension on the triceps.
- Use a spotter if lifting heavy weights to ensure safety.
- Start with lighter weights to master form before progressing to heavier loads.
- Focus on squeezing the triceps at the top of each repetition for maximum contraction.
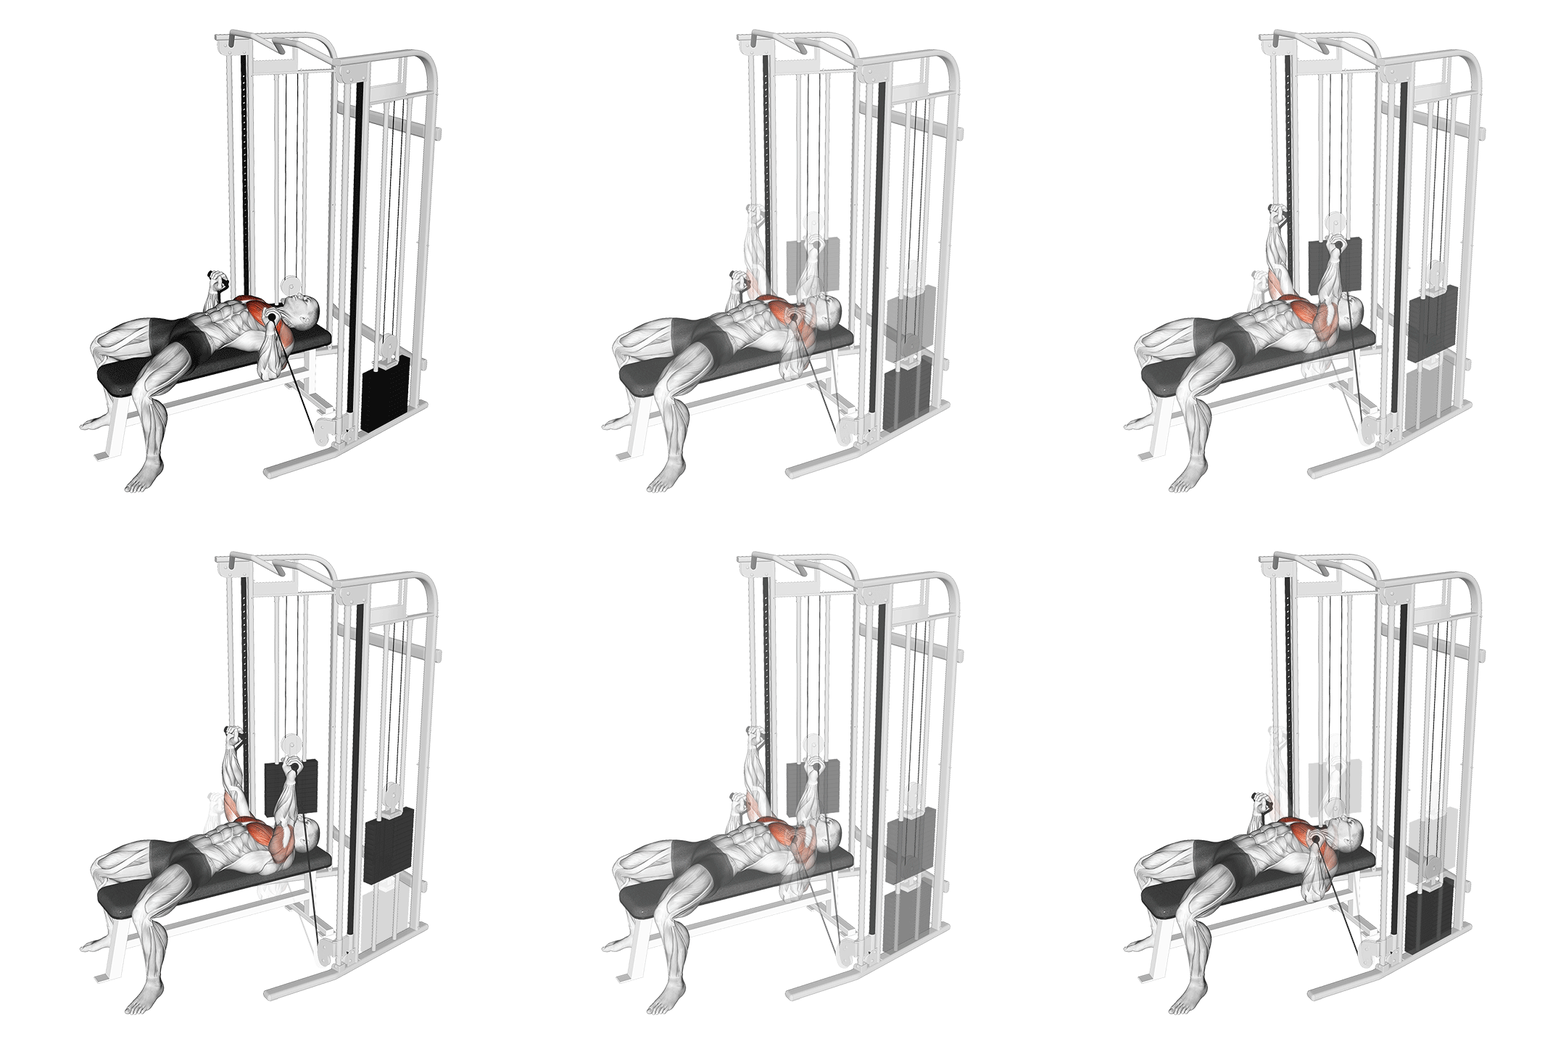
Cable Bench Press
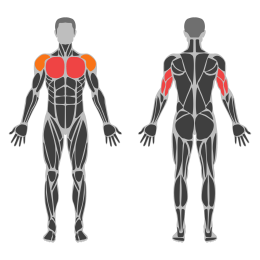
The Cable Bench Press is a variation of the traditional bench press that utilizes a cable machine to provide constant tension throughout the movement. This exercise targets the pectoral muscles, triceps, and anterior deltoids. It is performed on a flat bench with cables attached to a low pulley system, allowing for a controlled and smooth range of motion.
Muscle focus
Step-by-step cues
- Set up a flat bench between two low pulley machines. Attach D-handle attachments to each cable.
- Lie on the bench with your feet flat on the floor, ensuring your back is in contact with the bench.
- Grab each handle with an overhand grip and position your hands at chest level, elbows bent at approximately 90 degrees.
- Press the handles upward by extending your arms, keeping your wrists straight and aligned with your forearms.
- Pause briefly at the top of the movement, ensuring full contraction of the chest muscles.
- Slowly lower the handles back to the starting position, maintaining control and tension in the cables.
- Repeat for the desired number of repetitions.
Technical tips
- Maintain a neutral spine throughout the exercise to prevent lower back strain.
- Focus on squeezing your chest muscles as you press the handles upward for maximum engagement.
- Keep your elbows slightly tucked in to reduce stress on the shoulder joints.
- Control the movement both upwards and downwards to maximize muscle tension and effectiveness.
- Avoid locking out your elbows completely at the top of the movement to maintain continuous tension on the muscles.
- Ensure that your shoulder blades remain retracted and stable against the bench during the exercise.
Pike Push-Up
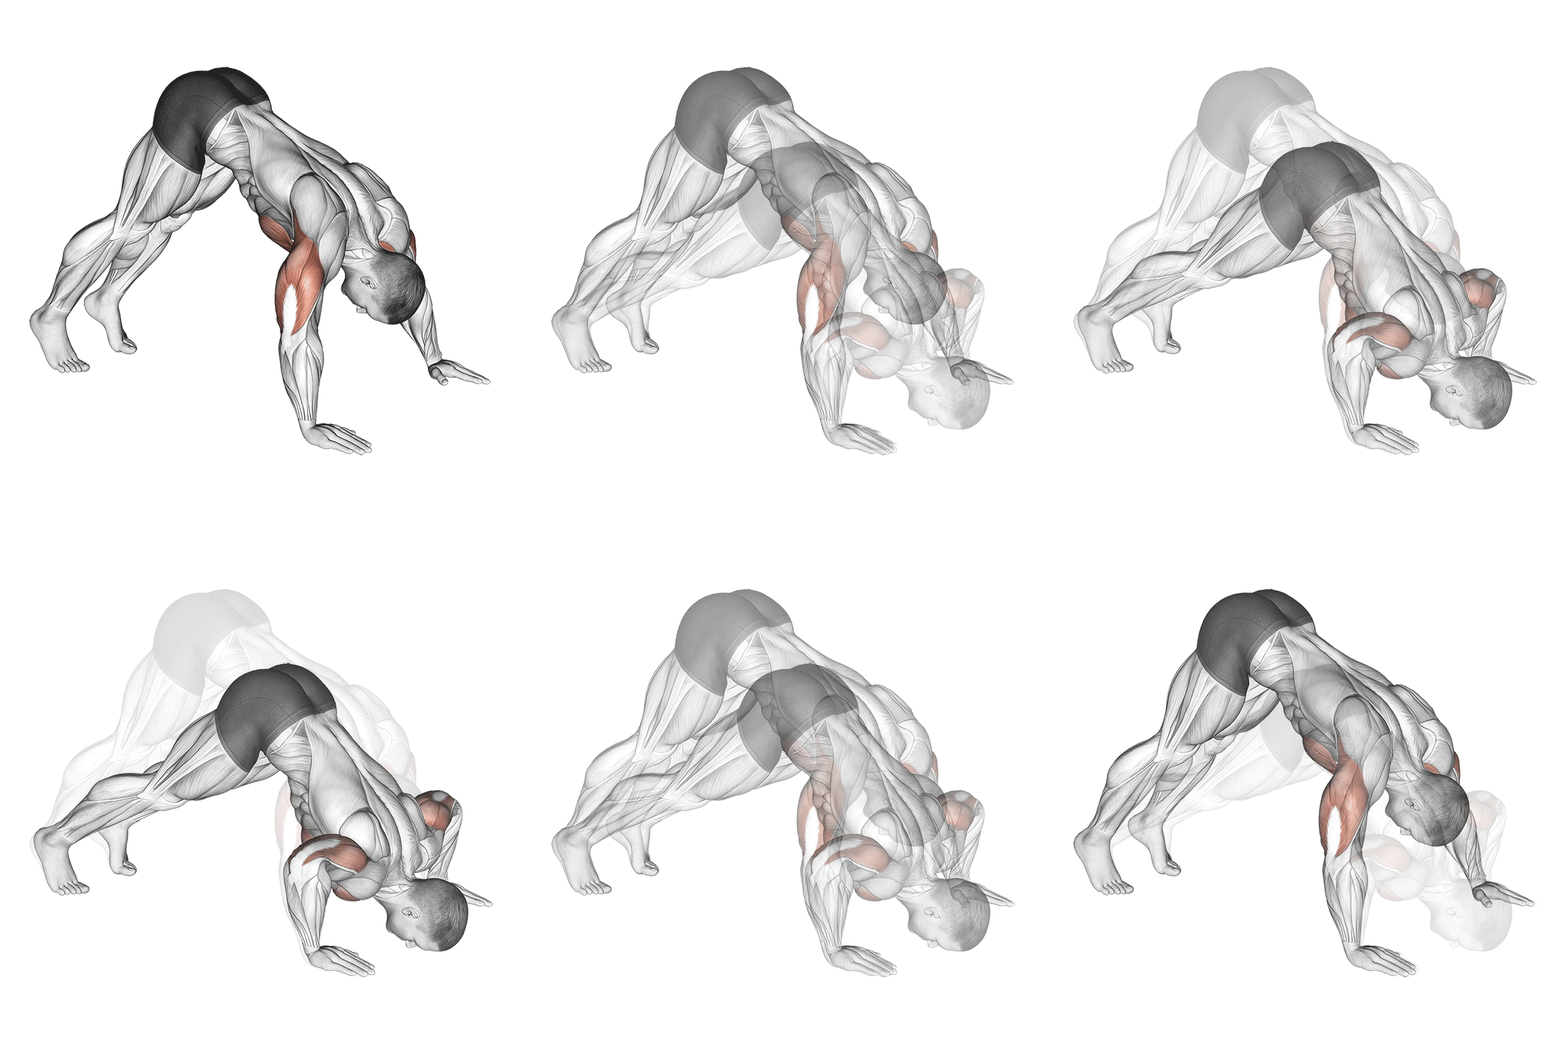
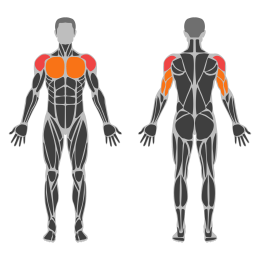
Pike Push Ups are a bodyweight exercise targeting the shoulders, triceps, and upper chest. This exercise mimics the overhead pressing movement and is performed in a pike position, which increases the load on the shoulders compared to regular push-ups.
Muscle focus
Step-by-step cues
- Begin in a downward dog position with your hands shoulder-width apart and your feet hip-width apart.
- Walk your feet closer to your hands to form an inverted V shape with your body.
- Keep your legs straight and your hips high, ensuring your back is flat.
- Lower your head towards the ground by bending your elbows, keeping them pointed outwards.
- Stop when your head is just above the ground, then push through your palms to extend your arms and return to the starting position.
- Maintain a neutral neck position throughout the movement.
Technical tips
- Focus on keeping your core engaged to maintain balance and stability.
- Ensure that your elbows are not flaring out excessively; they should be at about a 45-degree angle from your body.
- If you're new to this exercise, start with a smaller range of motion and gradually increase as you build strength.
- Keep your movements controlled and avoid bouncing at the bottom of the push-up.
- Practice proper breathing by inhaling as you lower yourself and exhaling as you push back up.
Friday
Rest
Prioritize hydration and a protein-rich meal at each main meal.
Saturday
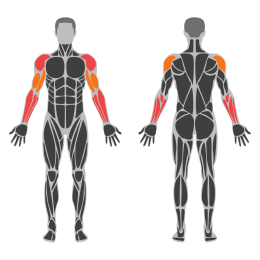
Arm Volume
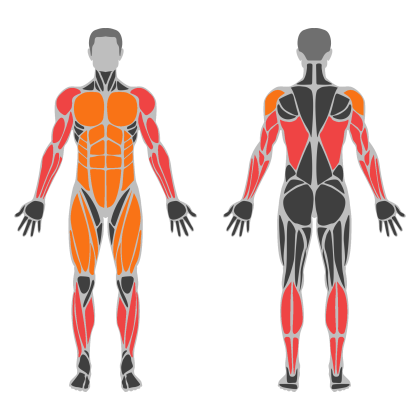
Arm Volume muscle focus
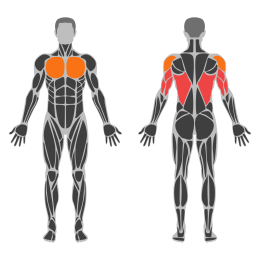
Red marks the primary training focus. Orange marks supporting muscle groups used throughout this session.
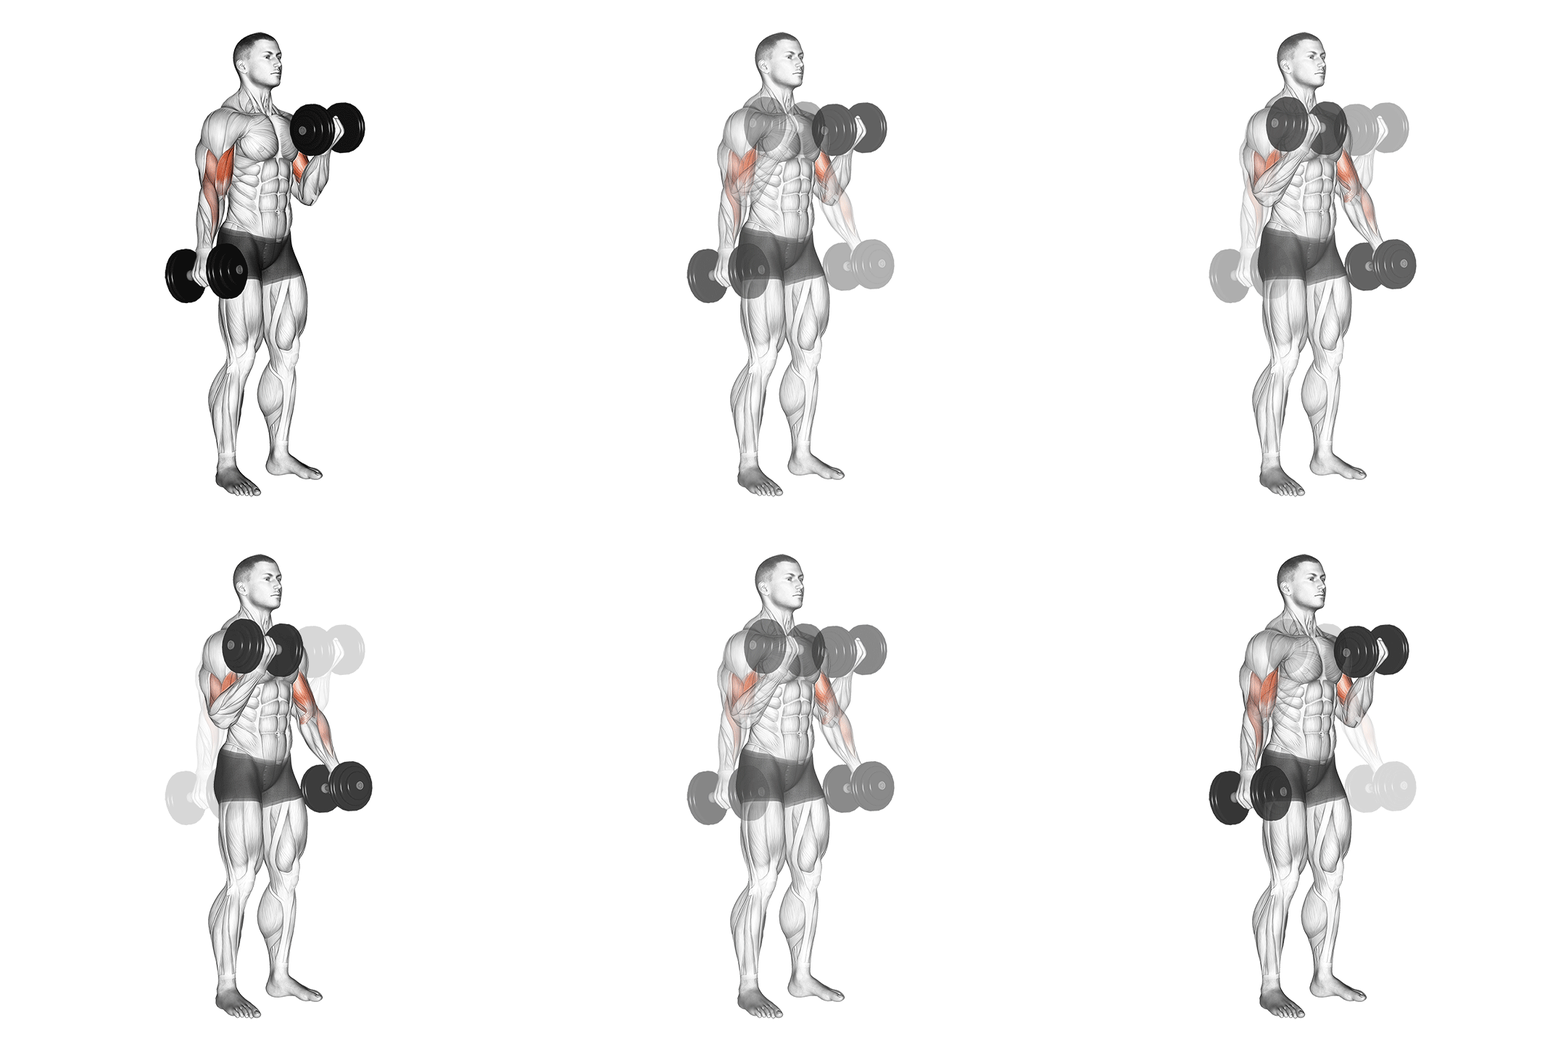
Dumbbell Alternate Supinated Curl
The Dumbbell Alternate Supinated Curl is an isolation exercise targeting the biceps brachii. This exercise involves curling a dumbbell with a supinated (palms up) grip, alternating arms, to enhance muscle symmetry and strength in the upper arm.
Muscle focus
Step-by-step cues
- Stand upright with a dumbbell in each hand, arms fully extended by your sides and palms facing forward.
- Keep your elbows close to your torso and maintain a straight back throughout the movement.
- Curl the right dumbbell by flexing your elbow while keeping your palm facing up.
- Continue lifting until your bicep is fully contracted and the dumbbell is at shoulder level.
- Pause briefly at the top of the movement, squeezing your bicep.
- Slowly lower the dumbbell back to the starting position.
- Repeat the movement with your left arm while keeping the right arm stationary.
- Continue alternating arms for the desired number of repetitions.
Technical tips
- Focus on controlled movements to maximize muscle engagement and minimize momentum.
- Avoid swinging your body or using your shoulders to lift the weights; isolate the biceps by keeping elbows stationary.
- Exhale as you lift the dumbbell and inhale as you lower it back down.
- Ensure a full range of motion by fully extending your arms at the bottom of each rep.
- Start with lighter weights to perfect form before progressing to heavier dumbbells.
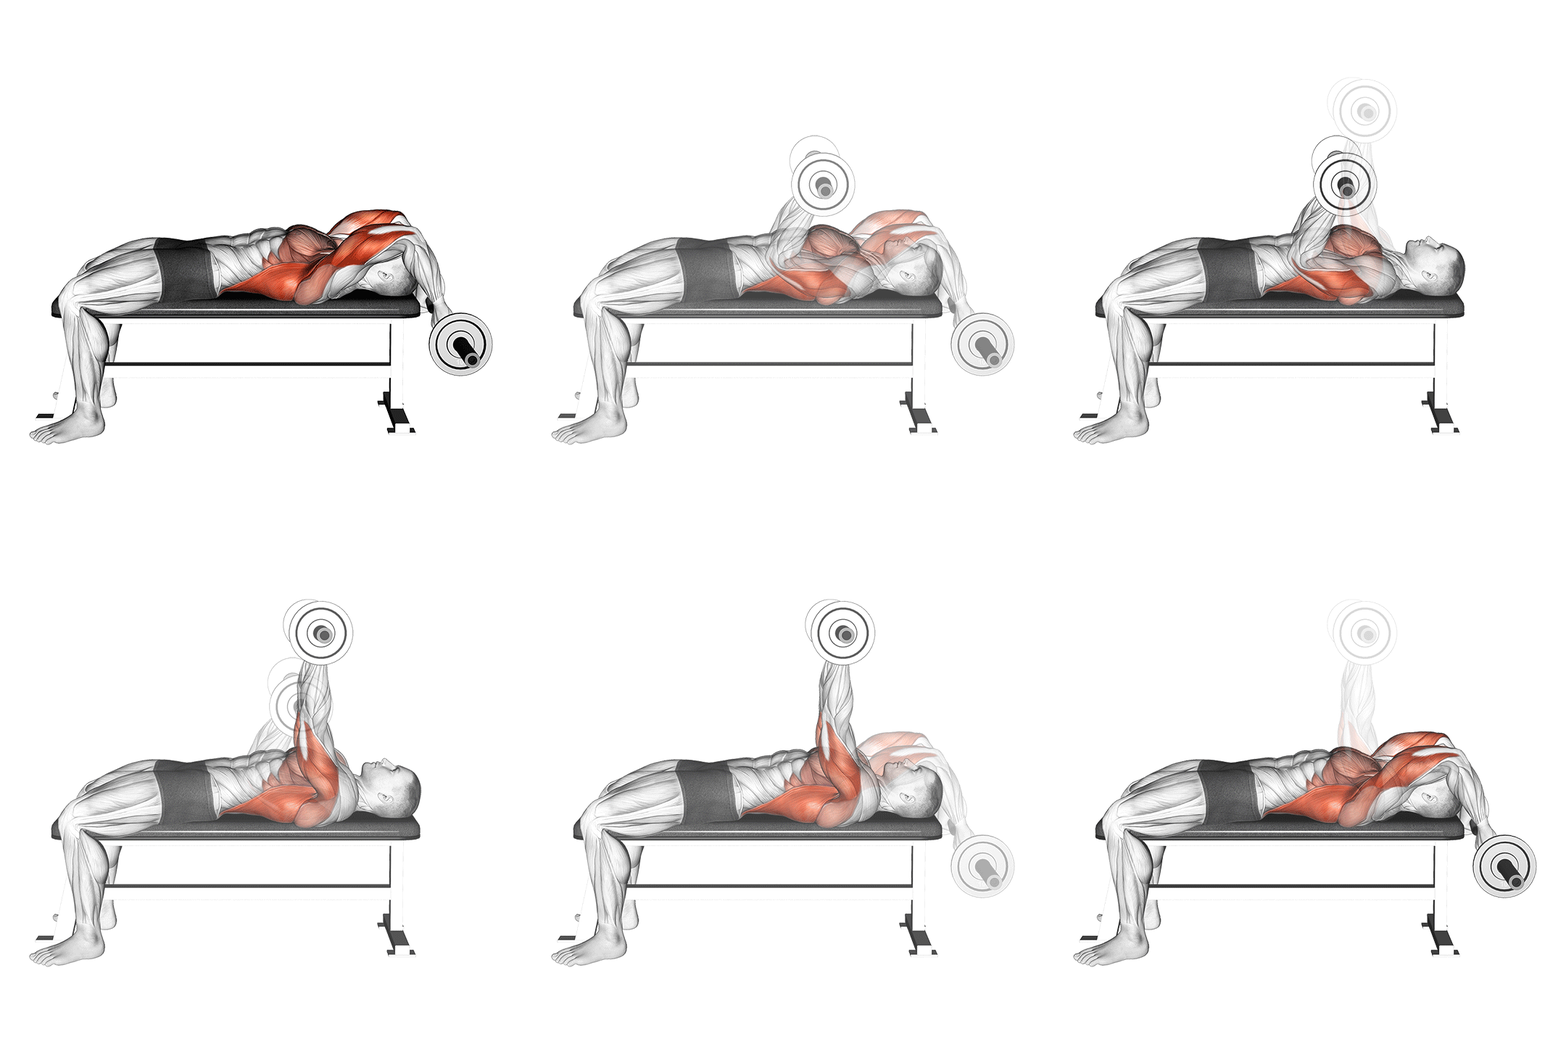
California Press
The California Press is a hybrid exercise combining elements of the close-grip bench press and the triceps extension. It targets the triceps, chest, and shoulders, providing a comprehensive upper body workout. This movement is particularly effective for developing triceps strength and size.
Muscle focus
Step-by-step cues
- Lie flat on a bench with your feet planted firmly on the ground. Grip the barbell with a close grip, slightly narrower than shoulder-width.
- Unrack the barbell and position it above your chest with arms fully extended.
- Lower the barbell towards your chest while keeping your elbows tucked close to your body.
- As the barbell approaches your chest, transition into a triceps extension by allowing your elbows to bend further, bringing the barbell towards your forehead or slightly above.
- Reverse the movement by extending your elbows and pressing the barbell back to the starting position above your chest.
- Repeat for the desired number of repetitions, maintaining control throughout the movement.
Technical tips
- Keep your core engaged throughout the exercise to maintain stability and support your lower back.
- Focus on keeping your elbows tucked in to maximize triceps engagement and reduce shoulder strain.
- Control the descent of the barbell to prevent it from dropping too quickly, which can increase injury risk.
- Ensure a smooth transition between the bench press and triceps extension phases for optimal muscle activation.
- Start with a lighter weight to master form and technique before progressing to heavier loads.
- Breathe in as you lower the barbell and exhale as you press it back up to maintain proper breathing rhythm.
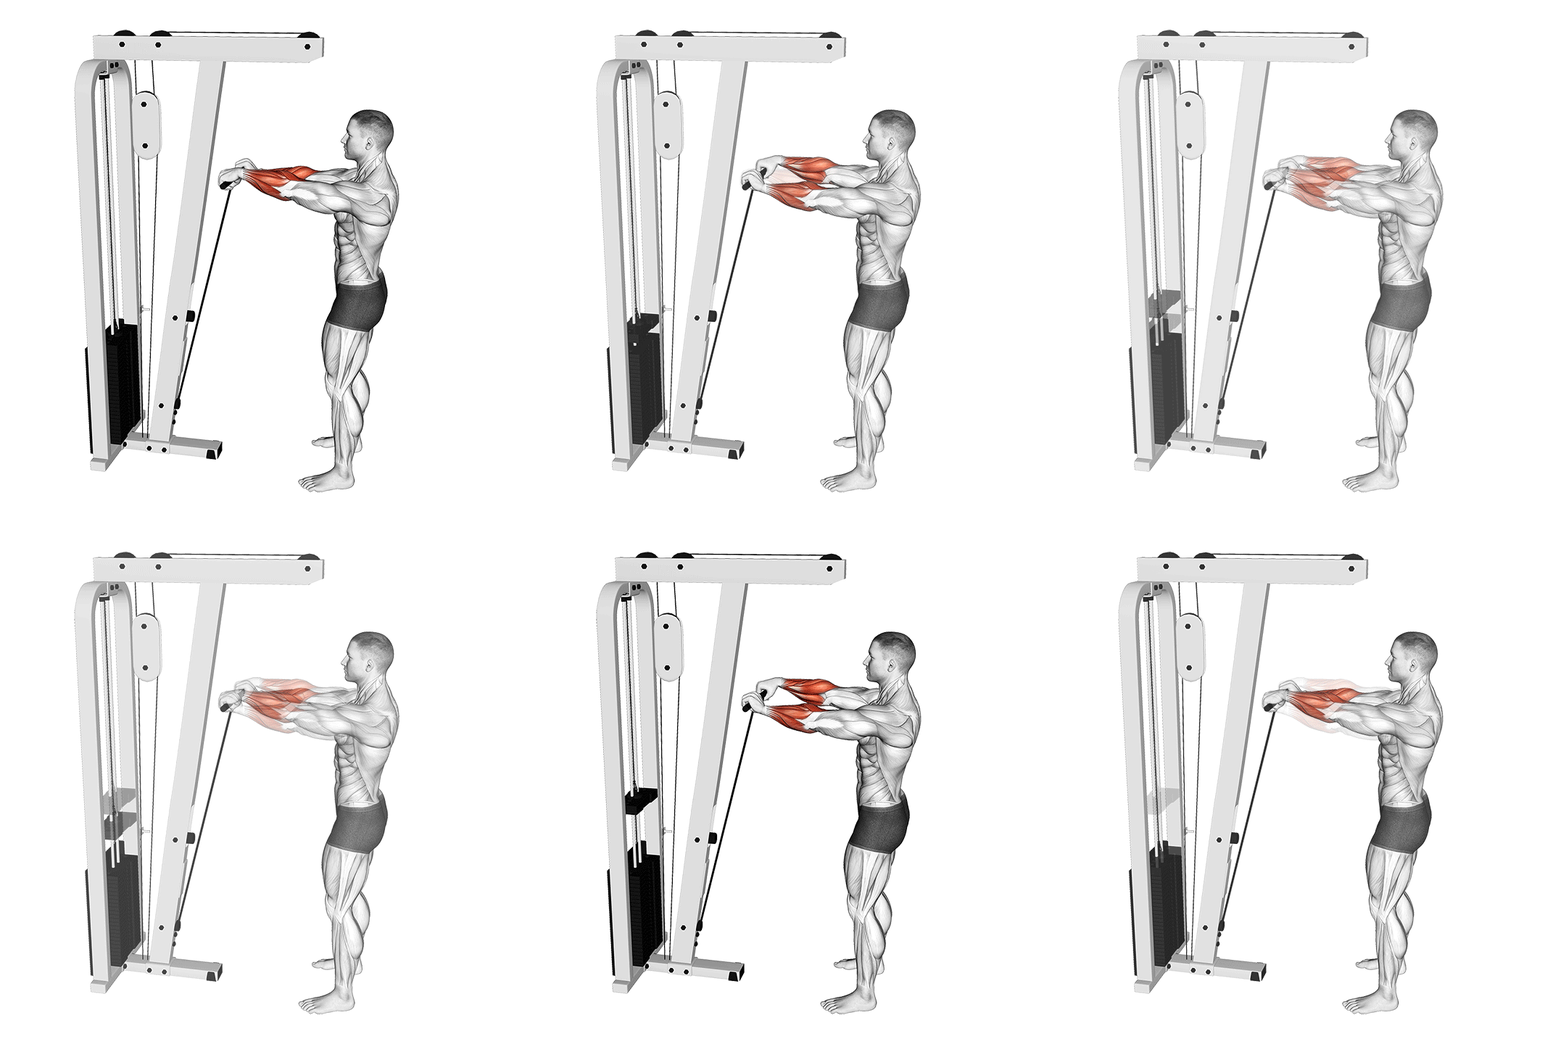
Cable Standing Wrist Roll
The Cable Standing Wrist Roll is an isolation exercise targeting the forearm muscles, specifically the wrist flexors and extensors. It involves using a cable machine to perform controlled wrist rotations, enhancing grip strength and forearm endurance.
Muscle focus
Step-by-step cues
- Attach a straight bar to the low pulley of a cable machine.
- Stand facing the machine with feet shoulder-width apart.
- Grasp the bar with both hands, palms facing down, and arms extended in front of you.
- Keep your elbows slightly bent and locked in position.
- Rotate your wrists upward to roll the bar towards you, engaging the forearm muscles.
- Slowly reverse the motion, rotating your wrists downward to return to the starting position.
- Perform the movement in a controlled manner, avoiding any jerking motions.
Technical tips
- Maintain a firm grip on the bar throughout the exercise to maximize forearm engagement.
- Focus on slow and controlled movements to effectively target the wrist flexors and extensors.
- Keep your core engaged and posture upright to prevent unnecessary strain on your back.
- Start with lighter weights to ensure proper form and gradually increase resistance as you build strength.
- Avoid using momentum; rely on muscle contraction for each wrist rotation.
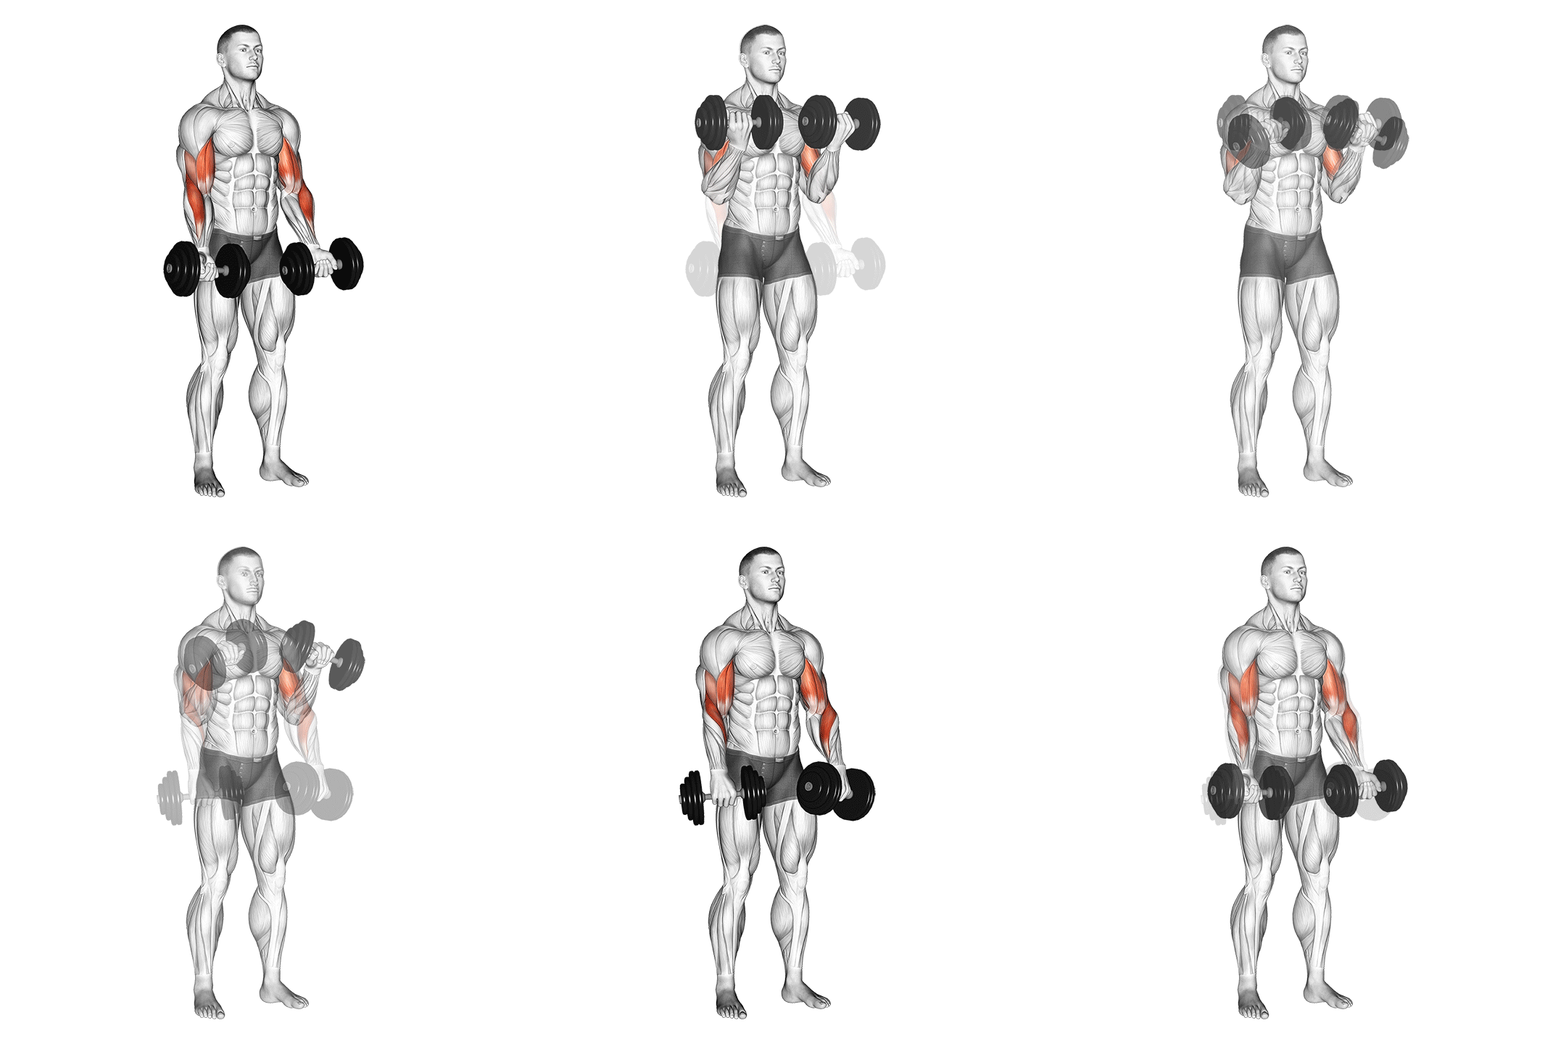
Zottman Curl
The Zottman Curl is a compound exercise targeting the biceps and forearms. It combines a standard bicep curl with a reverse curl, effectively working both the flexor and extensor muscles of the arm. This exercise is performed with dumbbells and is beneficial for developing arm strength and size.
Muscle focus
Step-by-step cues
- Stand upright with your feet shoulder-width apart, holding a dumbbell in each hand at your sides with a neutral grip (palms facing inward).
- Keep your elbows close to your torso and curl the weights upward by flexing your elbows, rotating your wrists so that your palms face up as you lift.
- At the top of the movement, pause briefly and then rotate your wrists so that your palms face downward.
- Slowly lower the dumbbells back to the starting position with this reverse grip.
- Rotate your wrists back to the neutral position to prepare for the next repetition.
Technical tips
- Maintain a controlled motion throughout the exercise to maximize muscle engagement.
- Avoid swinging or using momentum to lift the weights; focus on isolating the biceps and forearms.
- Keep your core engaged and back straight to maintain proper posture.
- Use a weight that allows you to perform the exercise with correct form; it's better to start lighter and increase gradually.
- Breath naturally, exhaling as you lift and inhaling as you lower the weights.
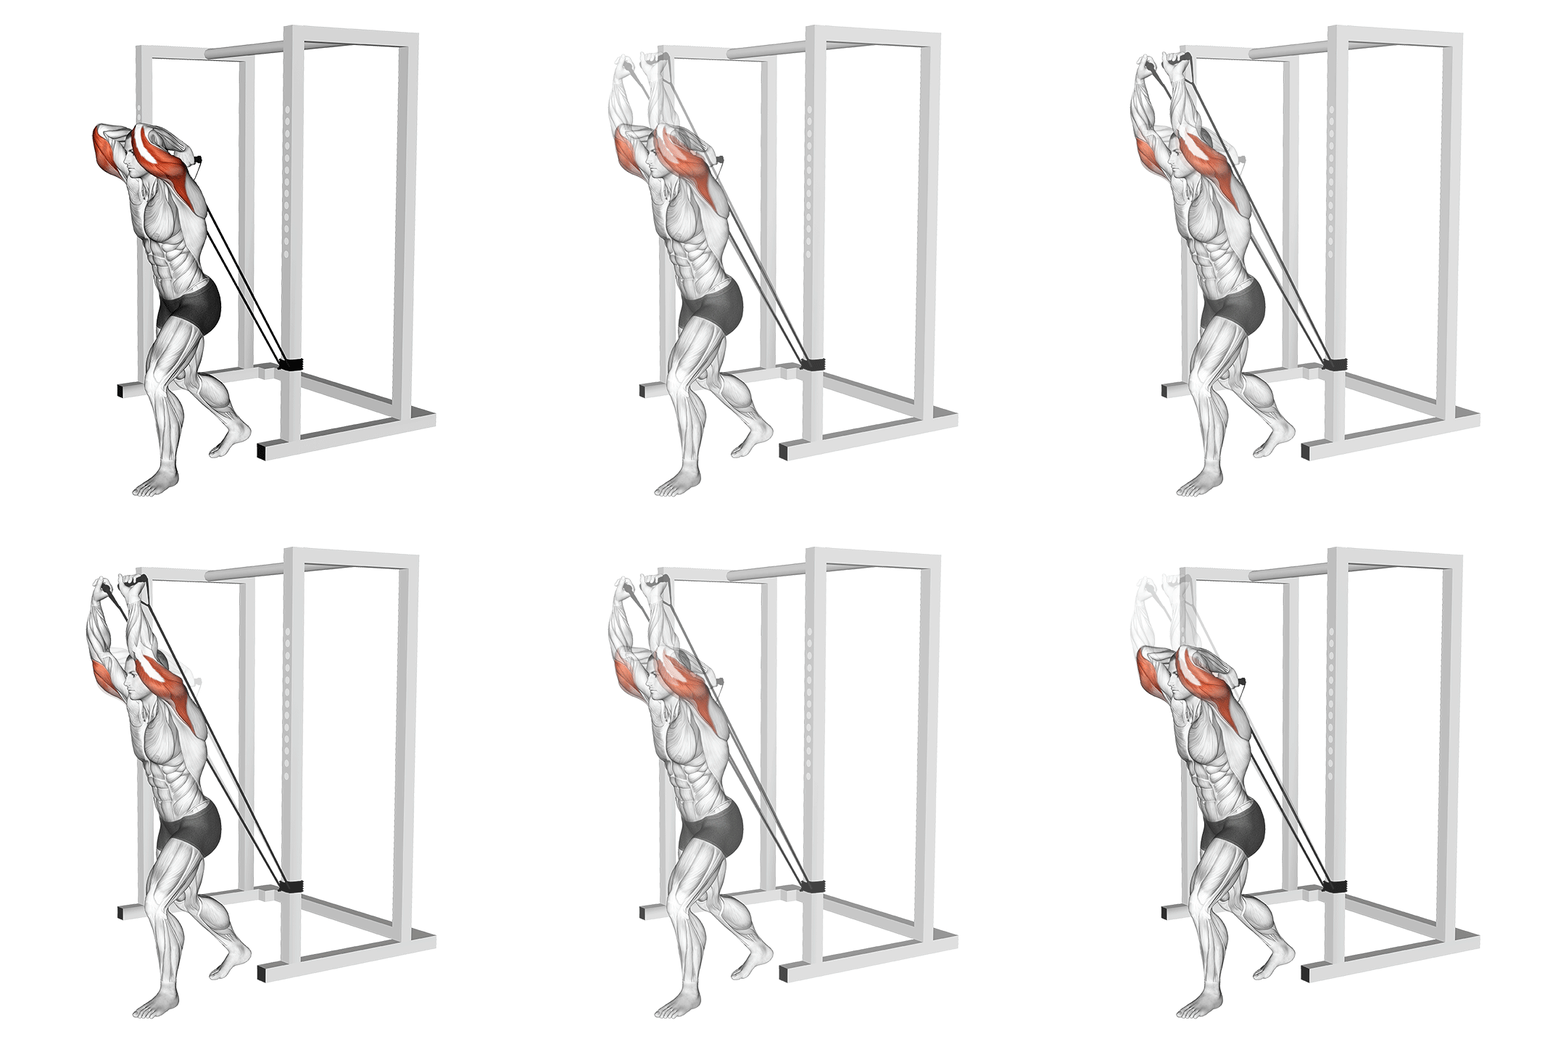
Overhead Band Triceps Extension
The Overhead Band Triceps Extension is an isolation exercise targeting the triceps brachii. It involves extending the arms overhead using a resistance band, which provides constant tension throughout the movement. This exercise is effective for building triceps strength and size, and can be performed with minimal equipment.
Muscle focus
Step-by-step cues
- Secure a resistance band to a stable anchor point at about waist height.
- Stand facing away from the anchor point, holding one end of the band in each hand.
- Step forward to create tension in the band, and raise your arms overhead with elbows bent and close to your head.
- Keep your core engaged and back straight throughout the exercise.
- Extend your arms fully overhead by straightening your elbows, squeezing your triceps at the top of the movement.
- Slowly return to the starting position by bending your elbows, maintaining control of the band.
- Repeat for the desired number of repetitions.
Technical tips
- Ensure that your elbows remain close to your head to effectively target the triceps.
- Maintain a slight bend in your knees to stabilize your stance.
- Focus on a slow and controlled movement to maximize muscle engagement.
- Avoid arching your back; keep your core tight to support proper posture.
- Experiment with different band tensions to find a level that challenges you without compromising form.
- Exhale as you extend your arms and inhale as you return to the starting position.
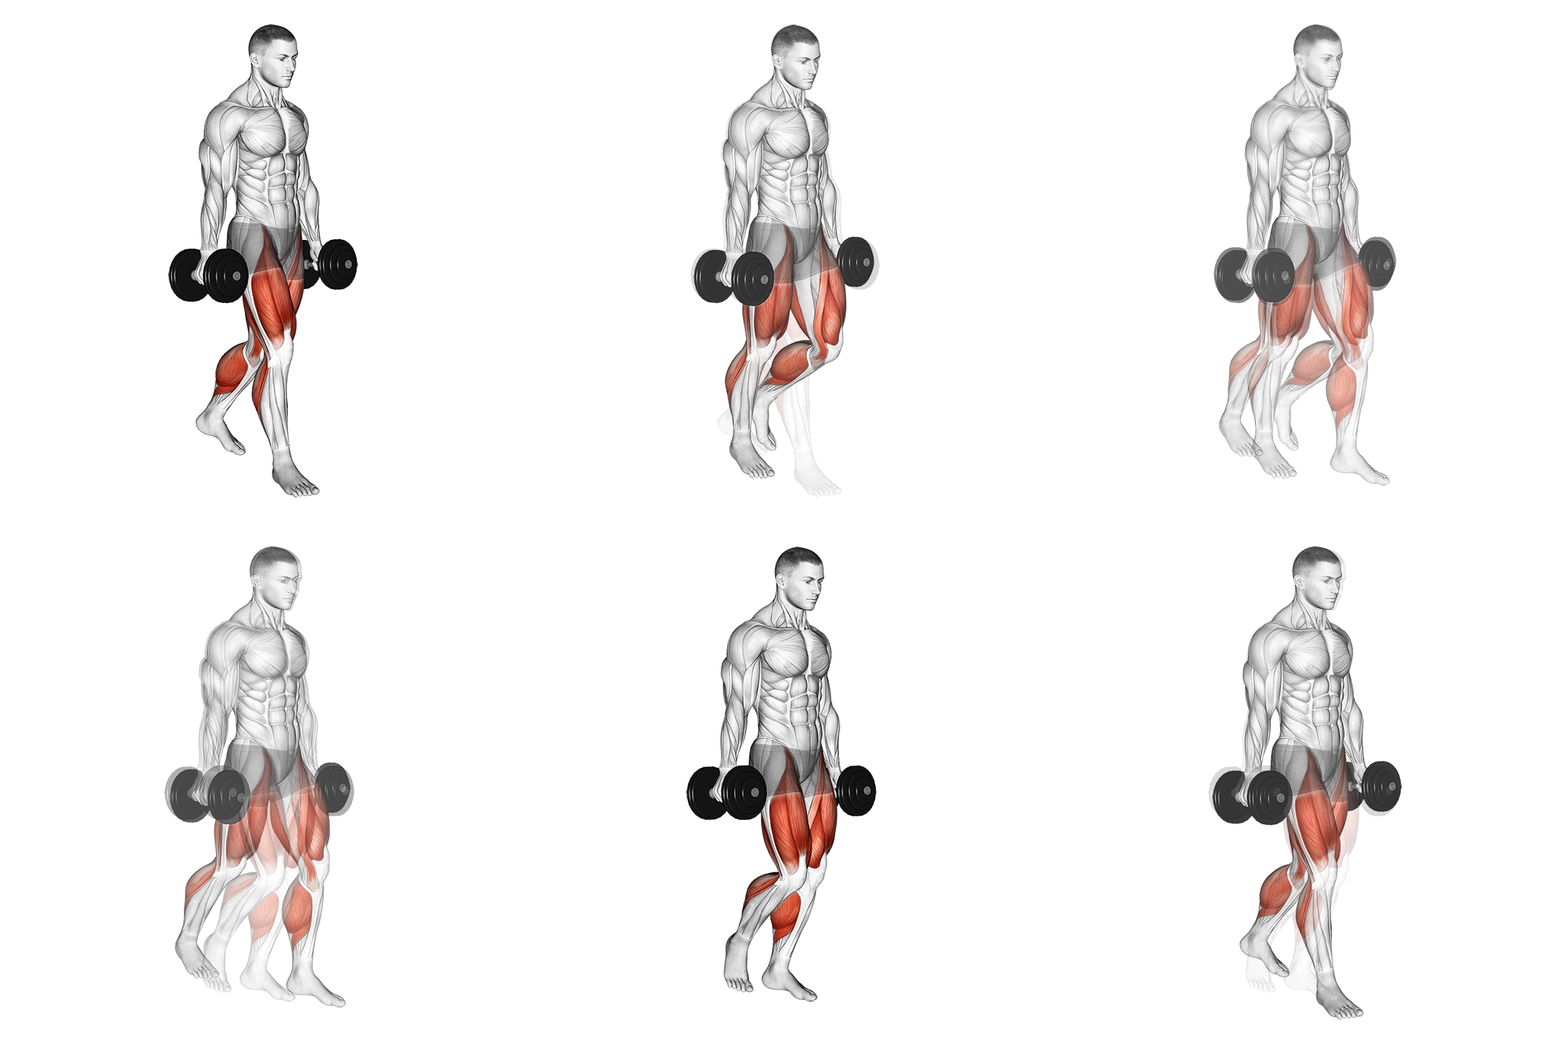
Dumbbell Farmer Carry
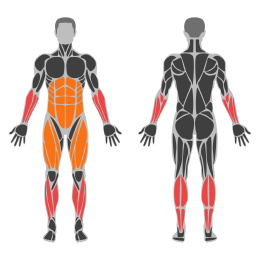
Dumbbell Farmer Carries are a functional strength exercise that targets the grip, forearms, shoulders, traps, and core. This exercise involves walking a set distance while holding a dumbbell in each hand, maintaining an upright posture. It improves overall stability and endurance.
Muscle focus
Step-by-step cues
- Select a pair of dumbbells with a challenging but manageable weight.
- Stand with your feet shoulder-width apart and place the dumbbells on the floor beside each foot.
- Bend your knees slightly and hinge at the hips to pick up the dumbbells with a firm grip.
- Engage your core and keep your chest up as you lift the dumbbells off the ground.
- Maintain an upright posture with shoulders back and head facing forward.
- Begin walking forward slowly and steadily for a set distance or time while keeping the dumbbells at your sides.
- Focus on keeping your core tight and avoiding any swaying or leaning.
- Once you reach the end of the distance or time, carefully set the dumbbells back down.
Technical tips
- Choose a weight that challenges your grip but allows you to maintain proper form throughout the exercise.
- Keep your shoulders relaxed and avoid shrugging them up towards your ears.
- Maintain a steady pace to ensure control and balance during the walk.
- Focus on breathing steadily; exhale as you step forward and inhale as you stabilize.
- If space is limited, perform the exercise in place by marching on the spot while holding the dumbbells.
- Ensure that your core is engaged throughout to protect your lower back from strain.
Sunday
Full Rest
Keep the day easy and prepare for progressive overload next week.
Four-week progression
Nutrition guidance

- Aim for a modest daily energy surplus of roughly 150-300 kcal rather than uncontrolled bulking.
- Build each main meal around protein and target roughly 1.6-2.2 g of protein per kg of body weight per day.
- Place a useful share of carbohydrates before and after training to support performance and recovery.
- Keep fruit, vegetables, whole grains and healthy fats in the plan instead of relying on supplements.
Use these numbers as practical starting ranges, not medical prescriptions. Adjust for your health, body size and activity, and consult a qualified professional when needed.