4-Week Bigger Chest Specialization Program: Progression Cycle 9
A four-week chest specialization block balancing heavy pressing, controlled volume, back work and recovery.
How to use this plan
Follow the days in order, log every working set, and finish each set with one to three good repetitions still available. Use the exercise animations to learn the movement and open the video when you need a full demonstration.
Monday
Chest Strength
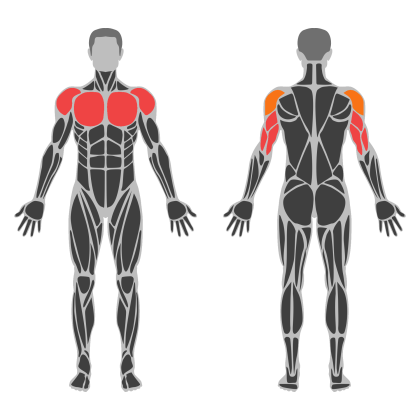
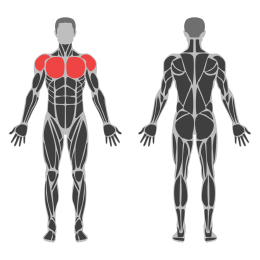
Chest Strength muscle focus
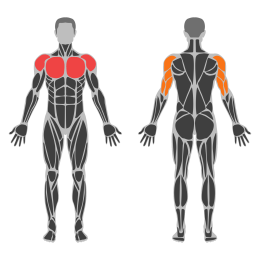
Red marks the primary training focus. Orange marks supporting muscle groups used throughout this session.
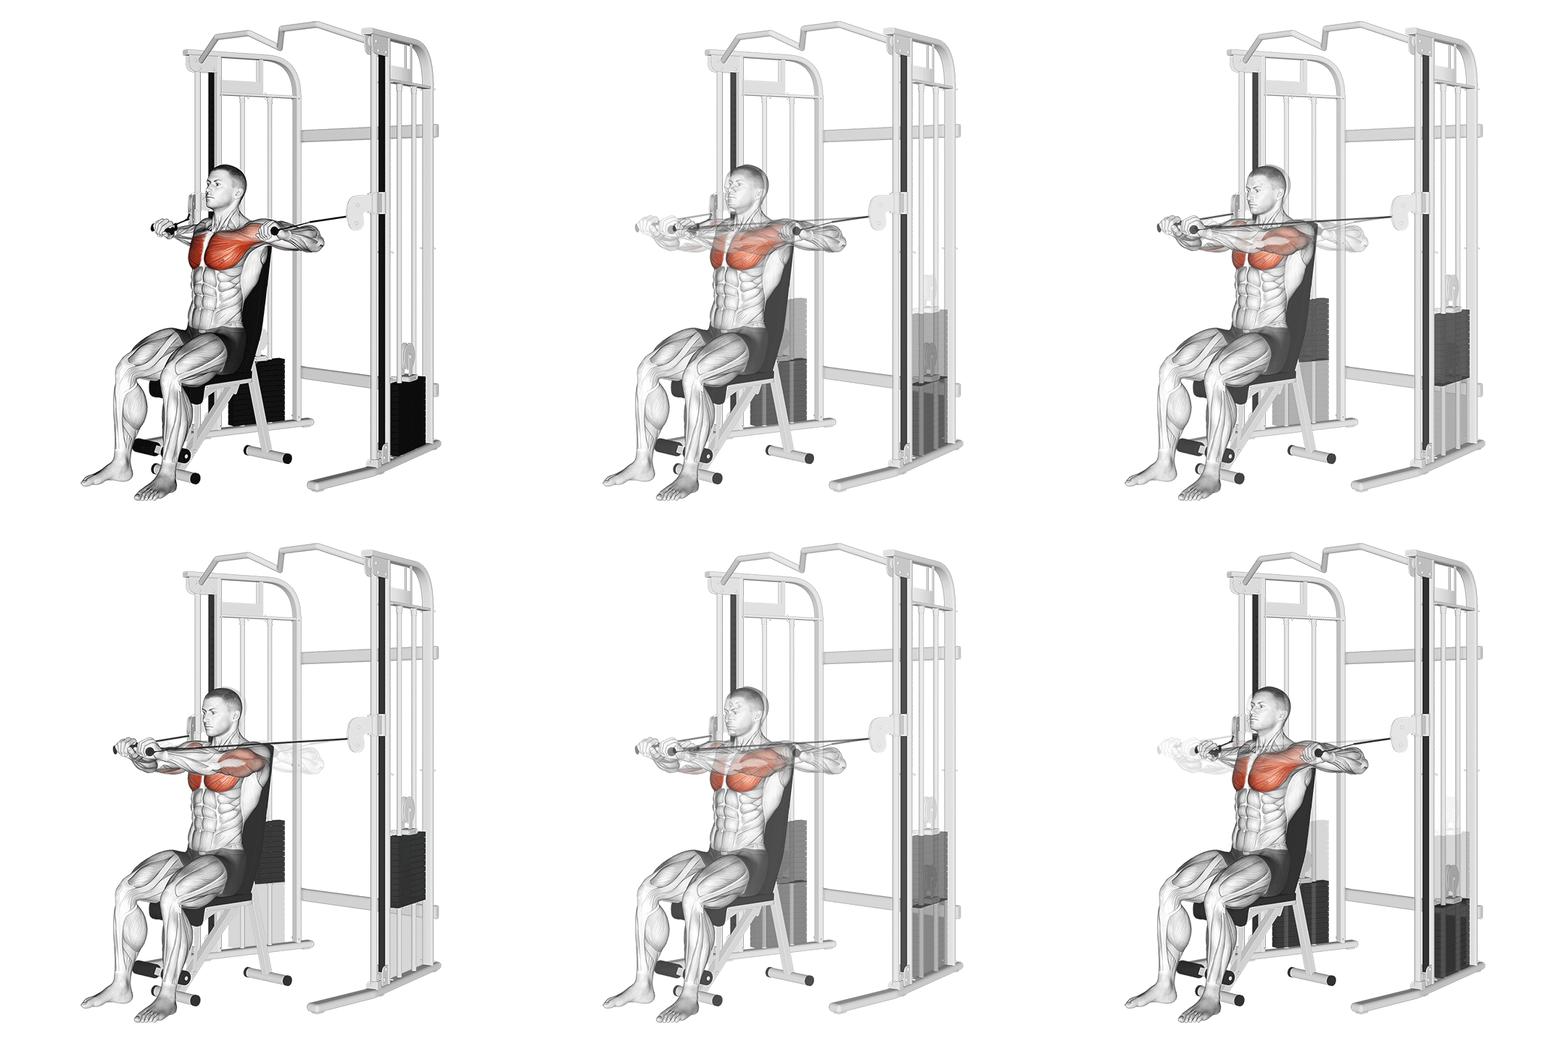
Seated Cable Chest Press
The Seated Cable Chest Press is a compound exercise targeting the pectoral muscles, triceps, and anterior deltoids. It involves pressing a weight forward using a cable machine while seated, providing constant tension throughout the movement.
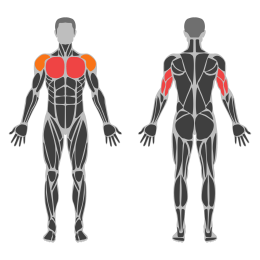
Muscle focus
Step-by-step cues
- Adjust the seat height so that the handles are at chest level when seated.
- Sit down with your back firmly against the pad and feet flat on the floor.
- Grasp the handles with an overhand grip, palms facing down.
- Engage your core and keep your elbows slightly below shoulder level.
- Press the handles forward by extending your arms until they are fully extended but not locked.
- Pause briefly at the top of the movement, squeezing your chest muscles.
- Slowly return to the starting position by bending your elbows and controlling the weight back.
Technical tips
- Ensure your back remains in contact with the pad throughout the exercise to maintain proper form.
- Keep your movements controlled; avoid using momentum to push the weight.
- Focus on squeezing your chest muscles at the peak of each repetition for maximum contraction.
- Adjust the weight to a manageable level that allows you to perform all repetitions with good form.
- Breathe out as you press forward and inhale as you return to the starting position.
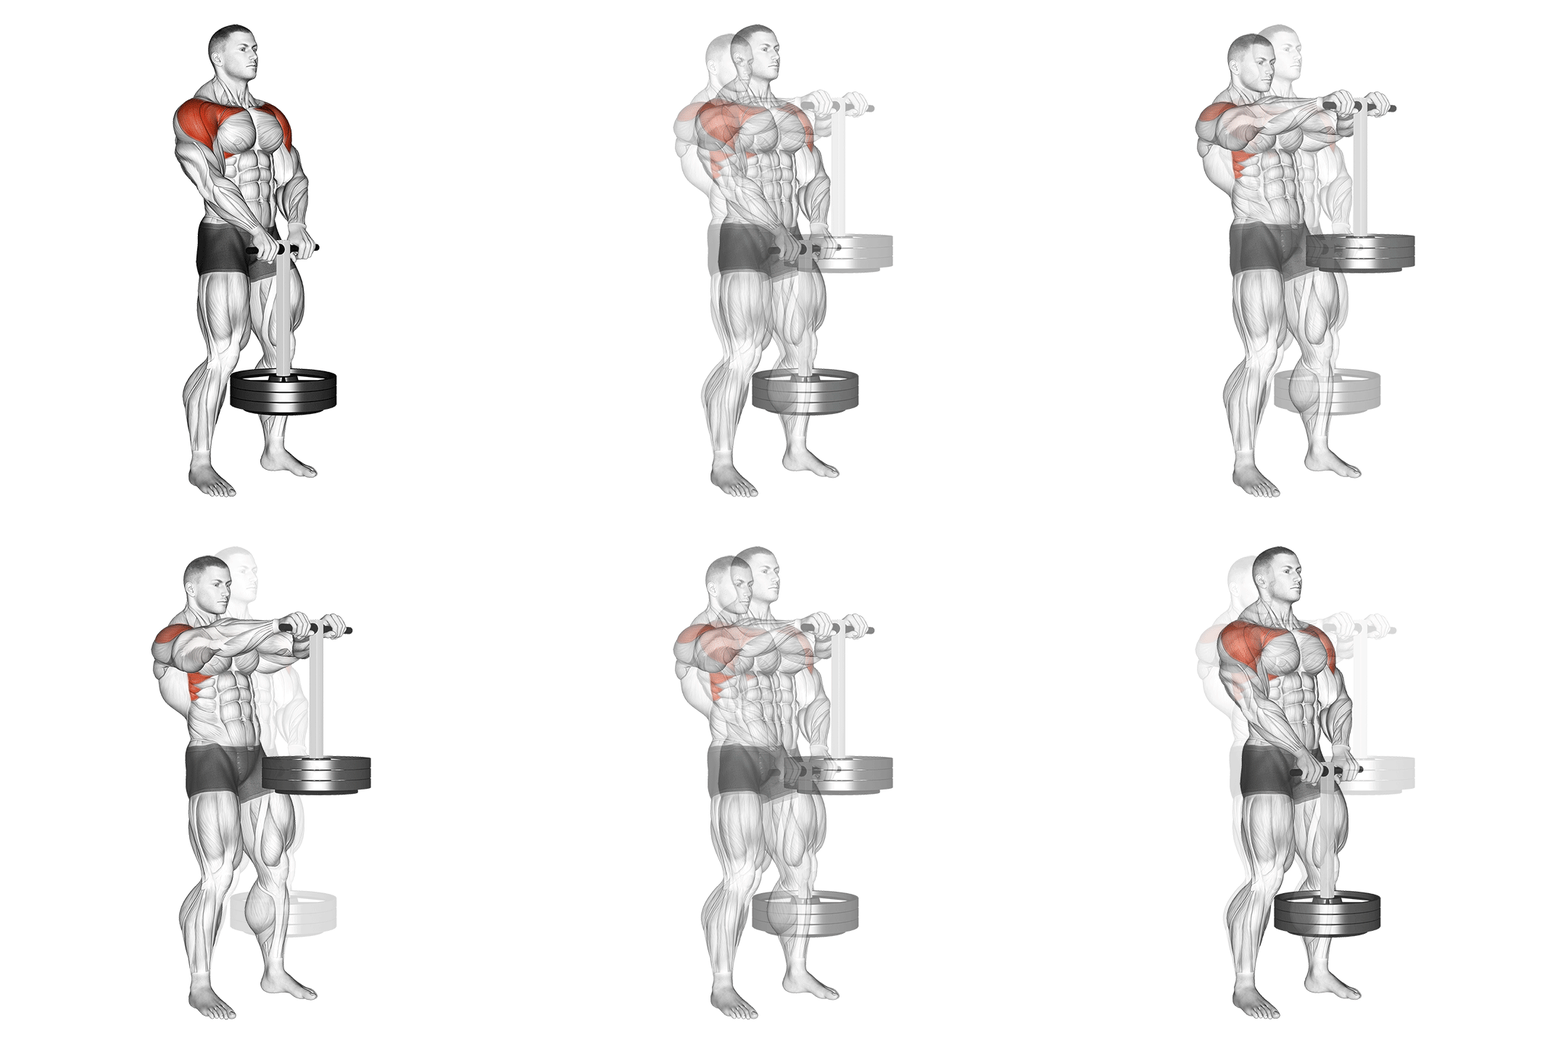
Static Front Hold
The Static Front Hold, also known as the Front Lever Hold, is an advanced isometric exercise targeting the core, shoulders, and back muscles. It requires significant strength and control to maintain a horizontal position while hanging from a bar.
Muscle focus
Step-by-step cues
- Begin by hanging from a pull-up bar with an overhand grip, hands shoulder-width apart.
- Engage your core and glutes to stabilize your body.
- Lift your legs and torso until your body is parallel to the ground, forming a straight line from head to heels.
- Keep your arms straight and shoulders engaged throughout the hold.
- Maintain the position for as long as possible, focusing on controlled breathing.
Technical tips
- Ensure your core is fully engaged to prevent sagging or arching of the back.
- Start with tuck holds if you're unable to maintain a full front hold initially.
- Focus on keeping your body rigid and aligned; imagine a straight line from head to heels.
- Practice regularly to build the necessary strength and endurance for longer holds.
- Use progressive overload by gradually increasing hold duration as you become stronger.
Triceps Pushdown V-Bar
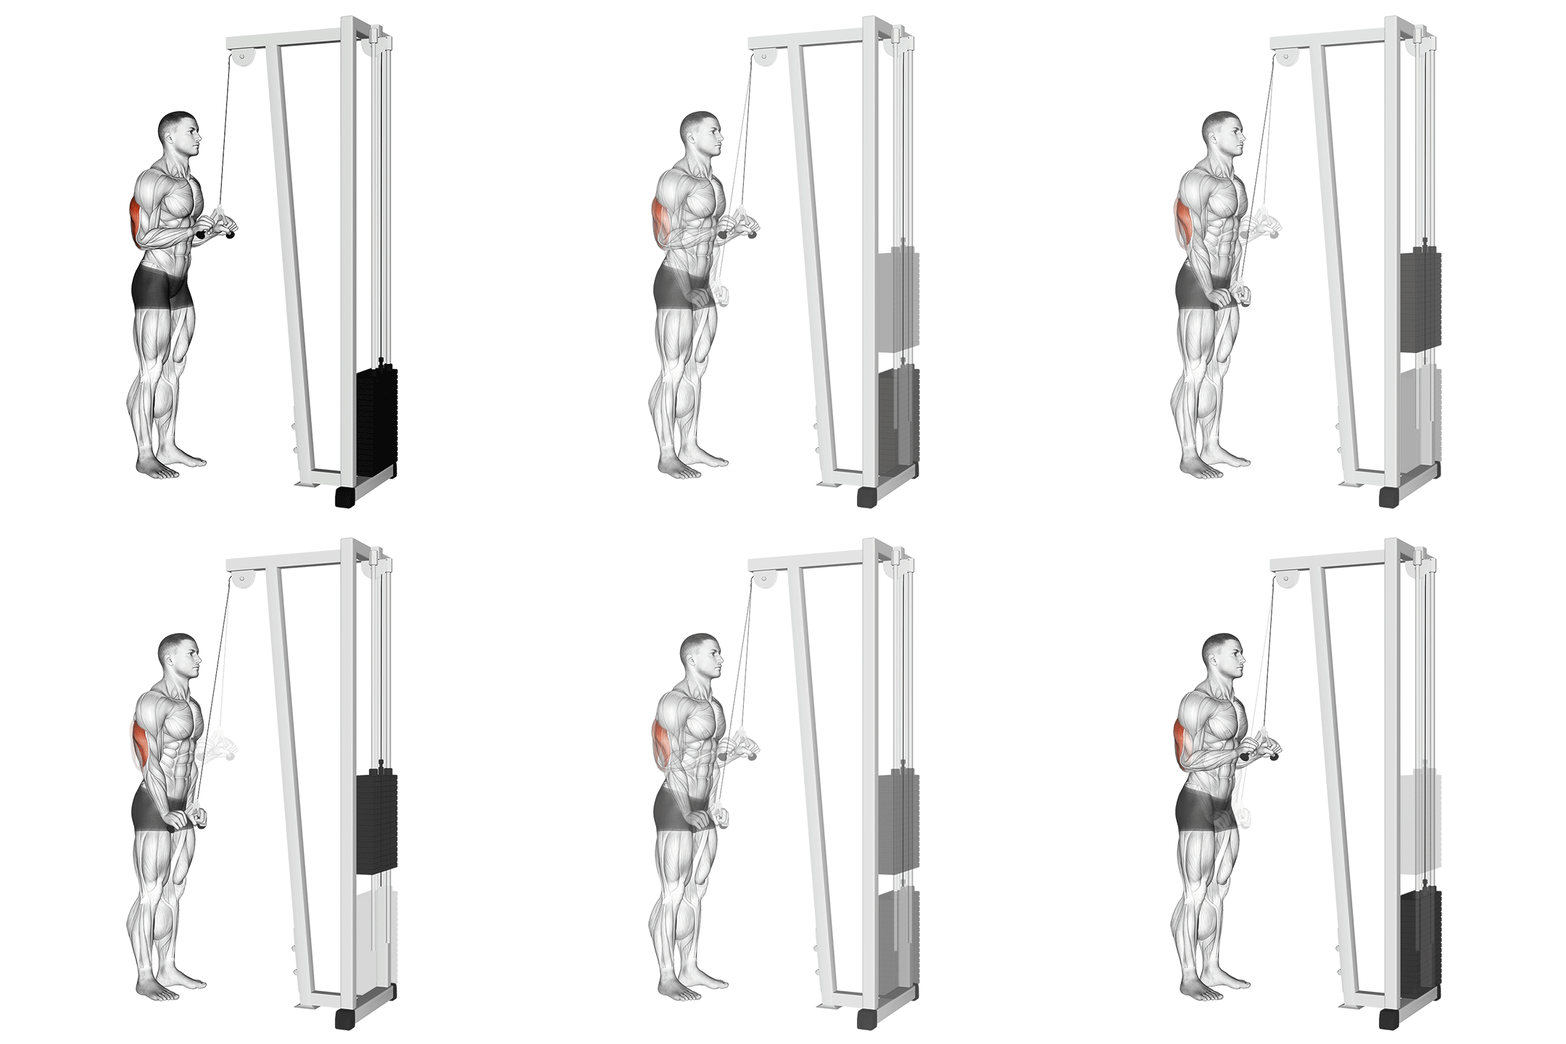
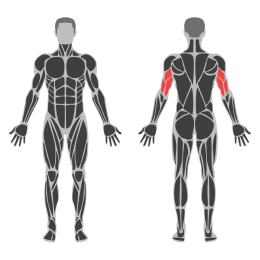
The Triceps Pushdown V-Bar is an isolation exercise targeting the triceps brachii. It involves extending the elbows to push a V-shaped bar downward using a cable machine. This exercise primarily focuses on the lateral and long heads of the triceps, promoting muscle growth and strength in the upper arm.
Muscle focus
Step-by-step cues
- Attach a V-bar to the high pulley of a cable machine.
- Stand facing the machine with your feet shoulder-width apart.
- Grasp the V-bar with an overhand grip, palms facing down, and hands shoulder-width apart.
- Keep your elbows close to your body and bend them at approximately 90 degrees.
- Engage your core and keep your back straight throughout the movement.
- Exhale as you push the bar down by extending your elbows until your arms are fully extended.
- Pause briefly at the bottom of the movement, ensuring your triceps are fully contracted.
- Inhale as you slowly return to the starting position with control, keeping tension on the triceps.
- Repeat for the desired number of repetitions.
Technical tips
- Keep your elbows stationary and close to your sides to maximize triceps engagement.
- Avoid using momentum; focus on controlled movements to effectively target the triceps.
- Maintain a neutral wrist position to prevent strain and ensure proper force distribution.
- Adjust the weight so that you can perform the exercise with proper form for all repetitions.
- Engage your core to stabilize your body and prevent swinging during the exercise.
- Ensure a full range of motion by fully extending and flexing at the elbows.
Cable Middle Chest Fly
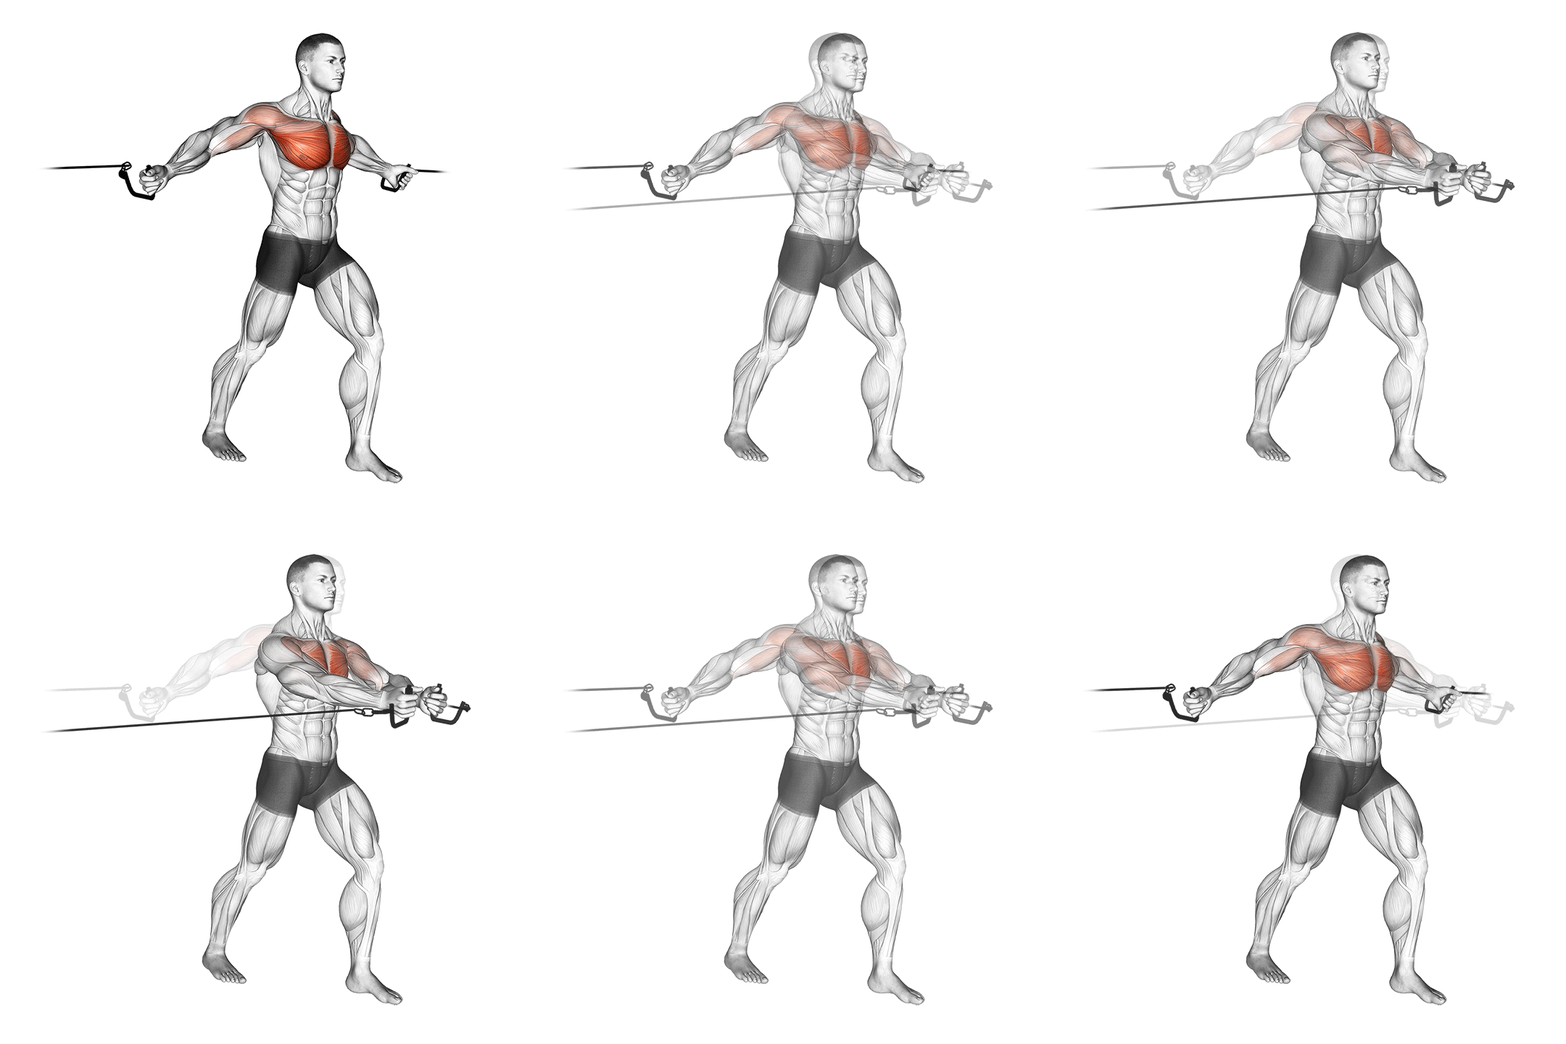
The Cable Middle Chest Fly is an isolation exercise targeting the pectoral muscles, specifically the sternal head of the pectoralis major. It is performed using a cable machine with handles set at shoulder height, allowing for a controlled and consistent tension throughout the movement.
Muscle focus
Step-by-step cues
- Set the cable pulleys to shoulder height and attach single grip handles.
- Stand in the center of the machine with feet shoulder-width apart and grasp the handles with an overhand grip.
- Step forward slightly to create tension on the cables, keeping a slight bend in your elbows.
- Position your arms out to the sides with palms facing forward, maintaining a slight bend in your elbows.
- Exhale and bring the handles together in front of your chest in a wide arc, keeping elbows slightly bent.
- Squeeze your chest muscles at the peak of the movement, ensuring handles meet at chest level.
- Inhale and slowly return to the starting position with control, allowing your arms to open back to the sides.
- Repeat for the desired number of repetitions.
Technical tips
- Maintain a slight bend in your elbows throughout the movement to protect your joints.
- Keep your core engaged to stabilize your body and prevent swaying.
- Focus on squeezing your chest muscles as you bring the handles together for maximum contraction.
- Avoid using momentum; perform each repetition with controlled movements.
- Adjust the weight so that you can complete all repetitions with proper form without straining.
- Ensure that your shoulders remain down and back to avoid unnecessary strain on your neck.
Decline Dumbbell Fly
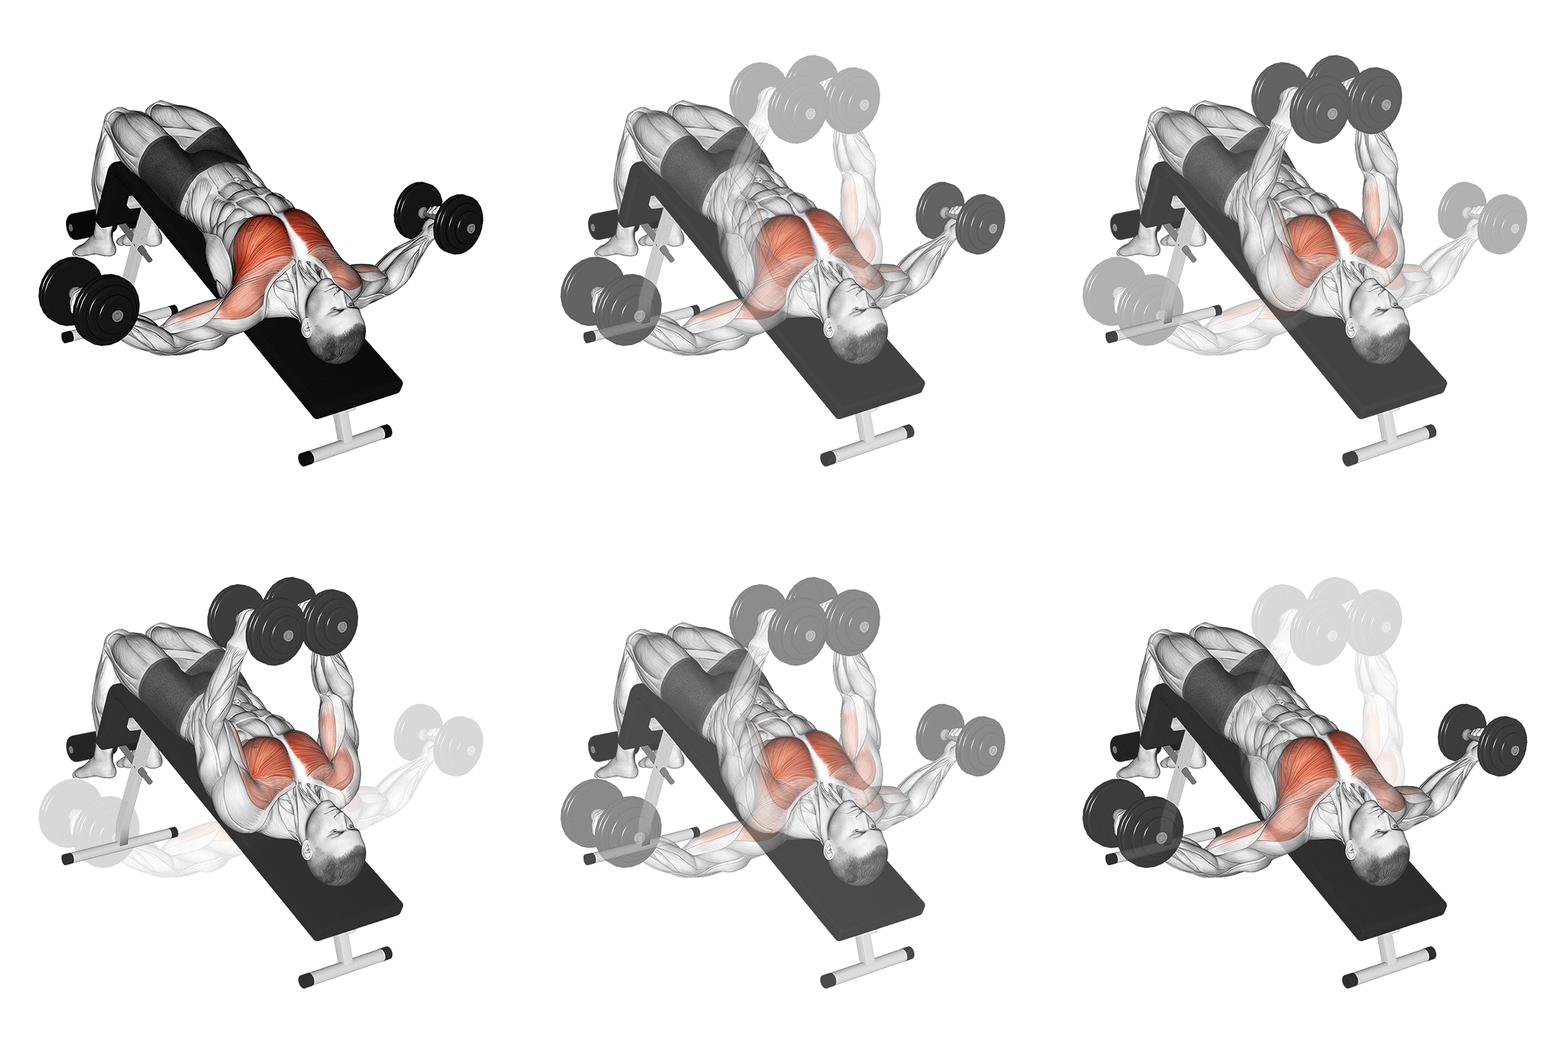
The Decline Dumbbell Fly is an isolation exercise targeting the pectoral muscles, particularly the lower chest. It involves lying on a decline bench and performing a fly motion with dumbbells, which helps in enhancing chest definition and strength.
Muscle focus
Step-by-step cues
- Set a decline bench at an angle of 15-30 degrees and lie back on it with a dumbbell in each hand.
- Position your feet securely under the foot pads to maintain stability.
- Hold the dumbbells above your chest with palms facing each other, arms slightly bent.
- Inhale and slowly lower the dumbbells in an arc motion to the sides until you feel a stretch in your chest.
- Keep your elbows slightly bent throughout the movement to reduce strain on the joints.
- Exhale and bring the dumbbells back to the starting position using the same arc motion.
- Repeat for the desired number of repetitions, maintaining control throughout each rep.
Technical tips
- Ensure your back is pressed against the bench to avoid unnecessary strain on your lower back.
- Focus on using your chest muscles to move the weights rather than relying on momentum.
- Maintain a slight bend in your elbows throughout to protect them from hyperextension.
- Control the movement speed, especially when lowering the weights, to maximize muscle engagement.
- Avoid letting the dumbbells touch at the top of the movement to keep tension on the chest muscles.
- Start with lighter weights to perfect your form before progressing to heavier loads.
Lying Barbell Triceps Extension (Skullcrusher)
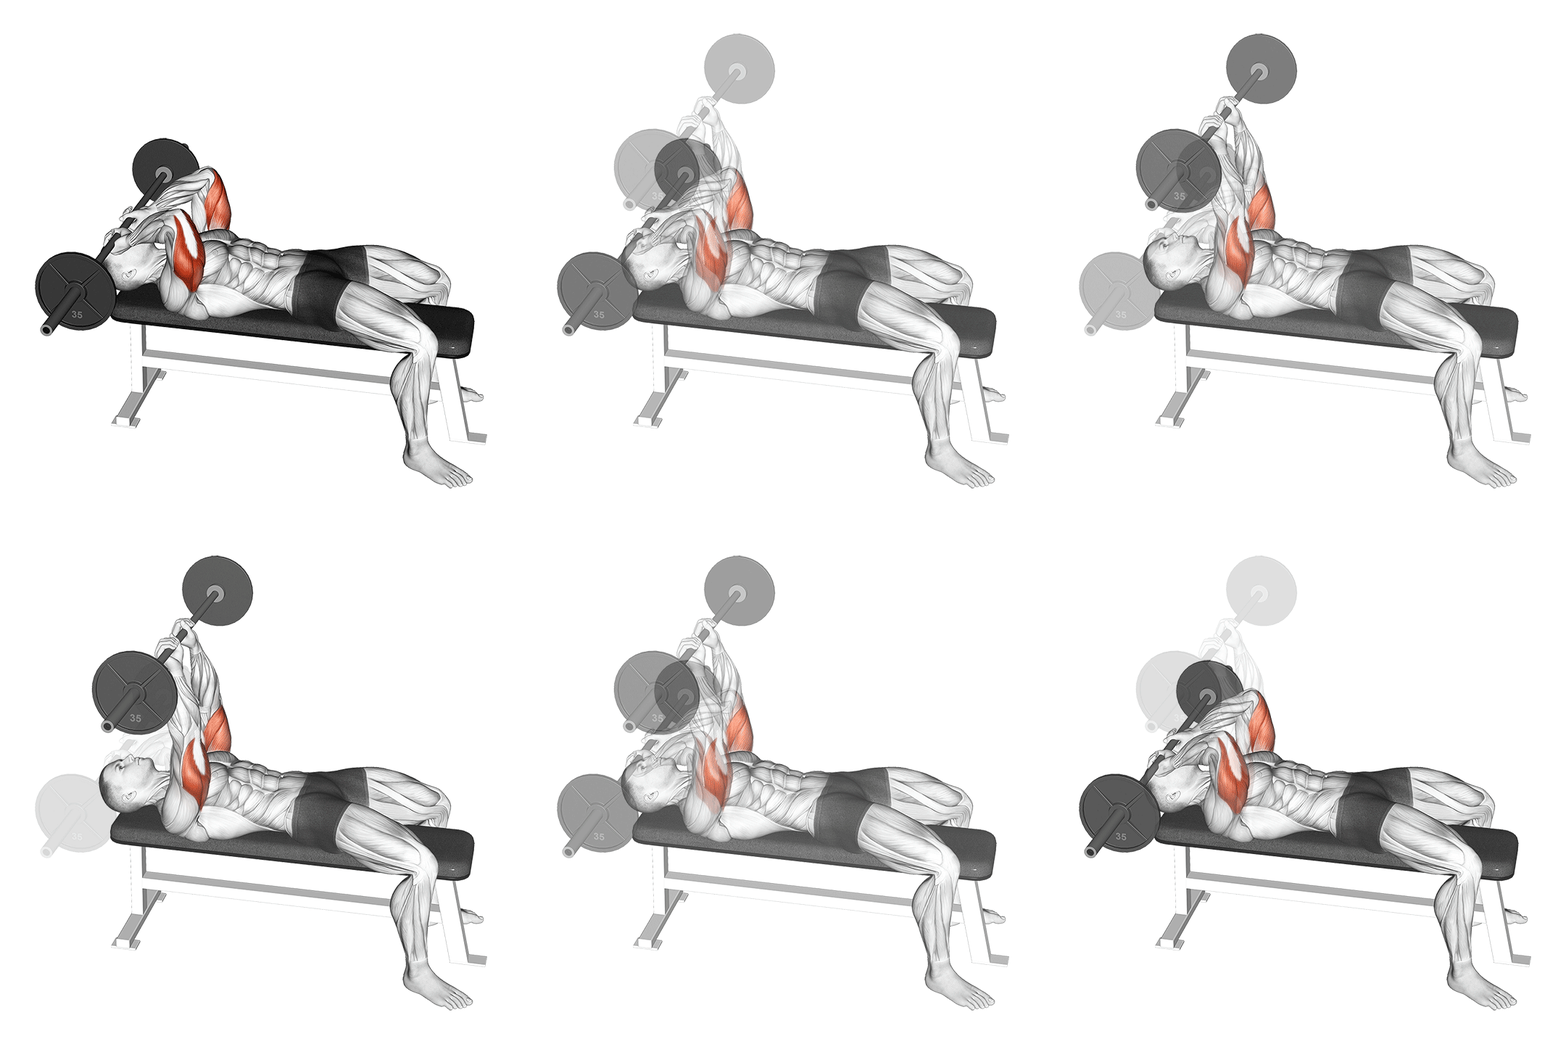
The Lying Barbell Triceps Extension, commonly known as the Skullcrusher, is an isolation exercise targeting the triceps brachii. It involves extending the elbows to lift a barbell from behind the head to above the chest while lying on a flat bench. This exercise emphasizes the long head of the triceps and is effective for building muscle mass and strength in the upper arm.
Muscle focus
Step-by-step cues
- Lie flat on a bench with your feet firmly planted on the ground.
- Grip a barbell with an overhand grip, hands shoulder-width apart.
- Extend your arms fully, holding the barbell directly above your chest.
- Slowly lower the barbell towards your forehead by bending your elbows.
- Keep your upper arms stationary and close to your head throughout the movement.
- Pause briefly when the barbell is just above your forehead.
- Extend your elbows to lift the barbell back to the starting position.
- Repeat for the desired number of repetitions.
Technical tips
- Ensure your elbows remain stationary to maximize triceps engagement.
- Use a spotter if lifting heavy weights to ensure safety.
- Control the descent of the barbell to prevent injury and maintain tension on the triceps.
- Avoid flaring your elbows out to maintain proper form and focus on the triceps.
- Start with a lighter weight to master form before progressing to heavier loads.
- Keep your core engaged and back flat on the bench for stability.
Tuesday
Recovery Walk
Walk for 30-45 minutes and perform gentle shoulder mobility.
Wednesday
Back and Legs Support
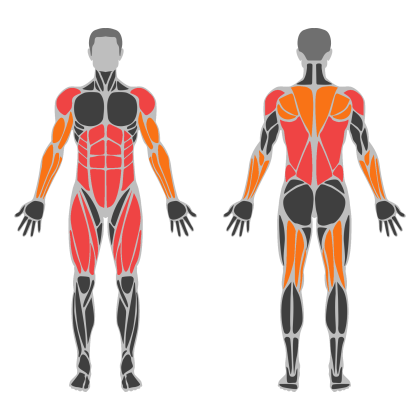
Back and Legs Support muscle focus
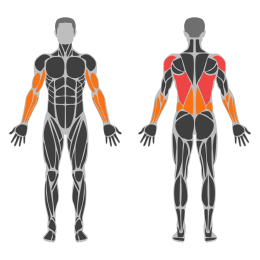
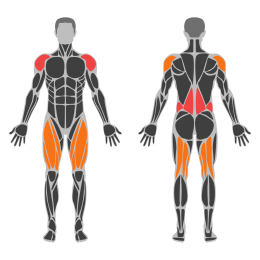
Red marks the primary training focus. Orange marks supporting muscle groups used throughout this session.
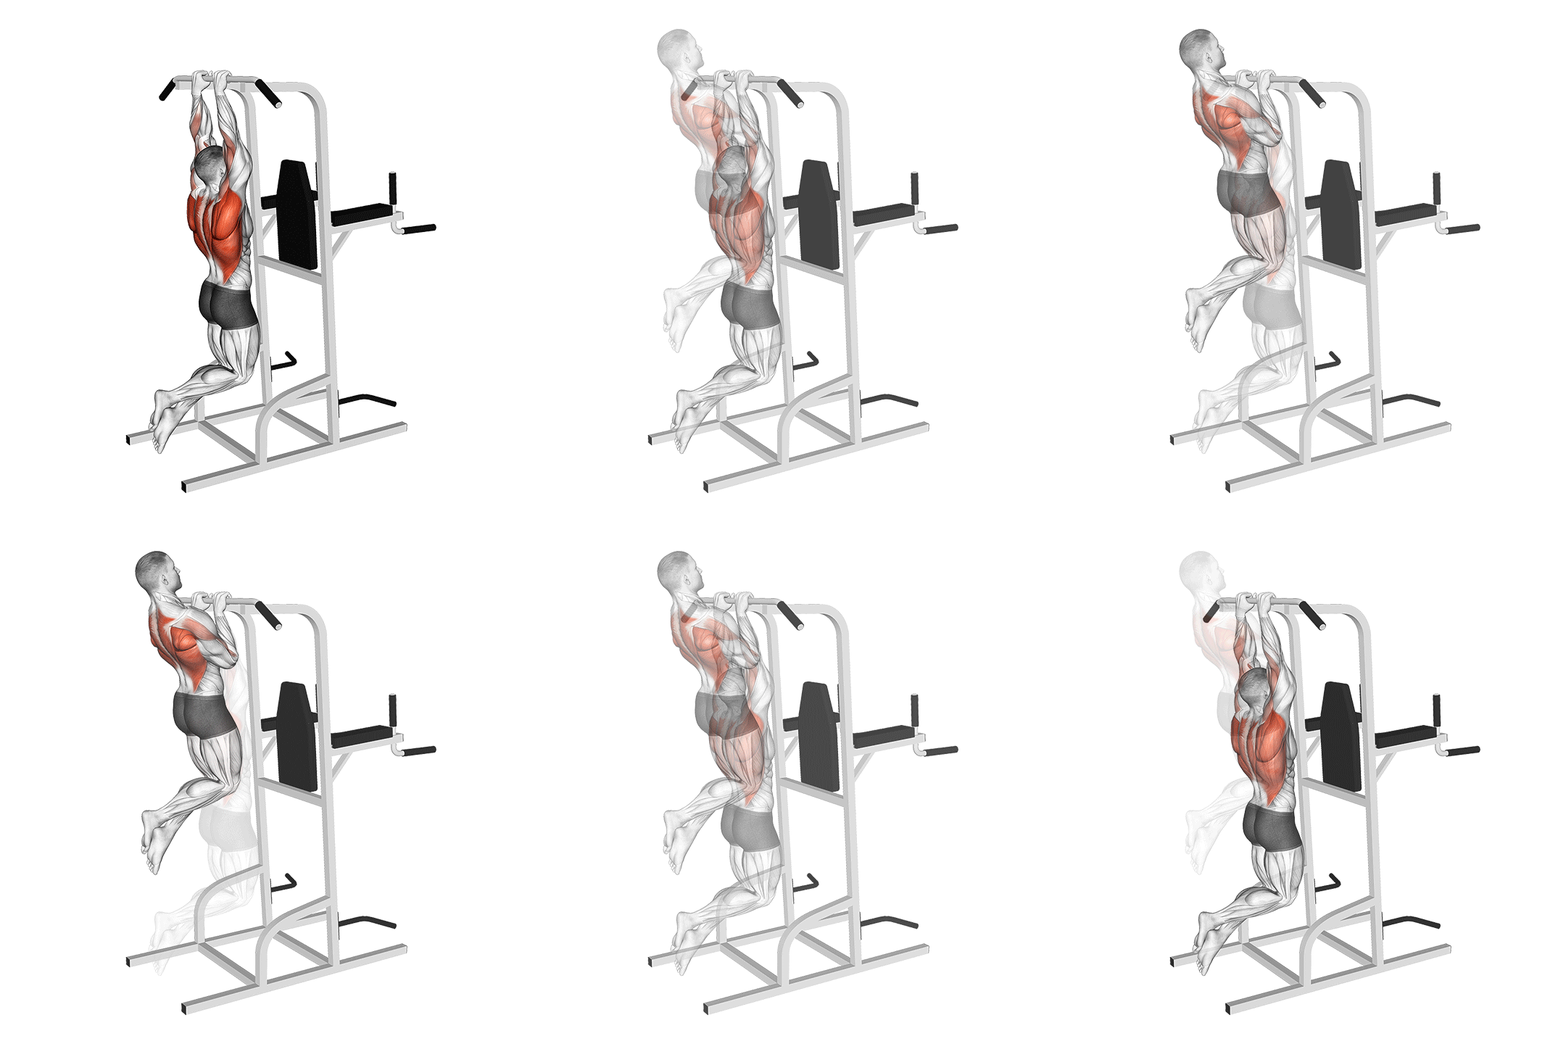
Close Grip Pull Up
The Close Grip Pull-Up is a bodyweight exercise targeting the upper back, biceps, and forearms. It involves pulling your body upward using a narrow grip on a pull-up bar, emphasizing the inner back muscles and arm flexors.
Muscle focus
Step-by-step cues
- Stand under a pull-up bar and reach up to grasp it with a close grip, palms facing away from you, hands about shoulder-width apart.
- Hang from the bar with your arms fully extended and feet off the ground. Engage your core and keep your body straight.
- Initiate the pull by squeezing your shoulder blades together and pulling your elbows down towards your sides.
- Continue to pull until your chin is above the bar, keeping your elbows close to your body.
- Pause briefly at the top of the movement, then slowly lower yourself back to the starting position with control.
- Repeat for the desired number of repetitions.
Technical tips
- Ensure a full range of motion by fully extending your arms at the bottom of each rep.
- Focus on engaging your lats and biceps throughout the movement for maximum effectiveness.
- Avoid swinging or using momentum to lift yourself; maintain control throughout the exercise.
- If you're unable to perform a full pull-up, use resistance bands or an assisted pull-up machine to build strength.
- Keep your core tight to prevent excessive arching of the lower back during the exercise.
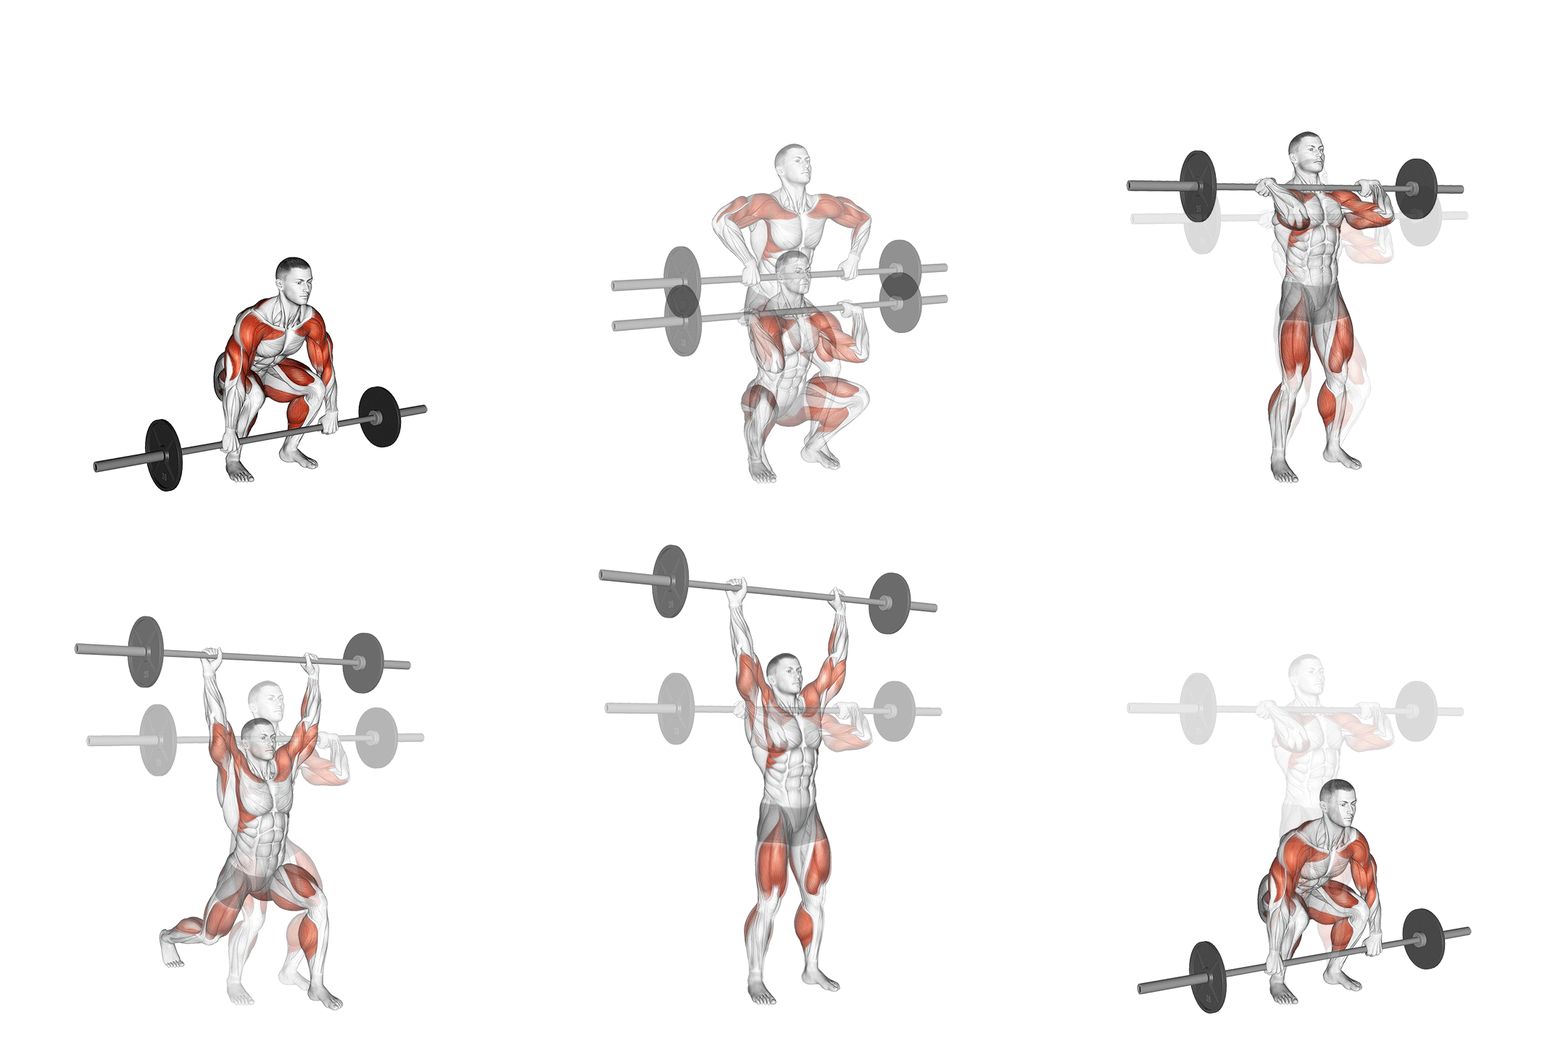
Clean and Jerk
The Clean and Jerk is a two-part Olympic weightlifting exercise that involves lifting a barbell from the floor to an overhead position. It combines strength, power, coordination, and technique, making it a comprehensive full-body workout. The exercise is divided into two phases: the Clean, where the barbell is lifted from the floor to the shoulders, and the Jerk, where the barbell is driven overhead.
Muscle focus
Step-by-step cues
- Start with your feet shoulder-width apart, barbell over mid-foot.
- Grip the barbell with a hook grip, hands slightly wider than shoulder-width.
- Lower your hips with a straight back and chest up.
- Initiate the lift by extending your knees and hips explosively.
- Pull the bar close to your body, shrugging your shoulders as it passes your knees.
- Drop under the bar into a front squat position as you catch it on your shoulders.
- Stand up from the squat to complete the Clean phase.
- For the Jerk, dip slightly by bending your knees and then drive upward explosively.
- Push the bar overhead while splitting your legs into a lunge position.
- Lock out your arms with the barbell overhead and stabilize.
- Bring your feet together to finish in a standing position with control.
Technical tips
- Focus on keeping the barbell close to your body throughout the lift to maintain control and efficiency.
- Use a hook grip for better grip security during heavy lifts.
- Engage your core throughout both phases to maintain stability and prevent injury.
- Practice each phase separately before combining them to ensure proper technique.
- Ensure proper warm-up and mobility exercises before attempting heavy lifts to prevent injury.
- Keep your elbows high during the Clean catch to secure the bar on your shoulders effectively.
- During the Jerk, ensure a quick transition from dip to drive for maximum power transfer.
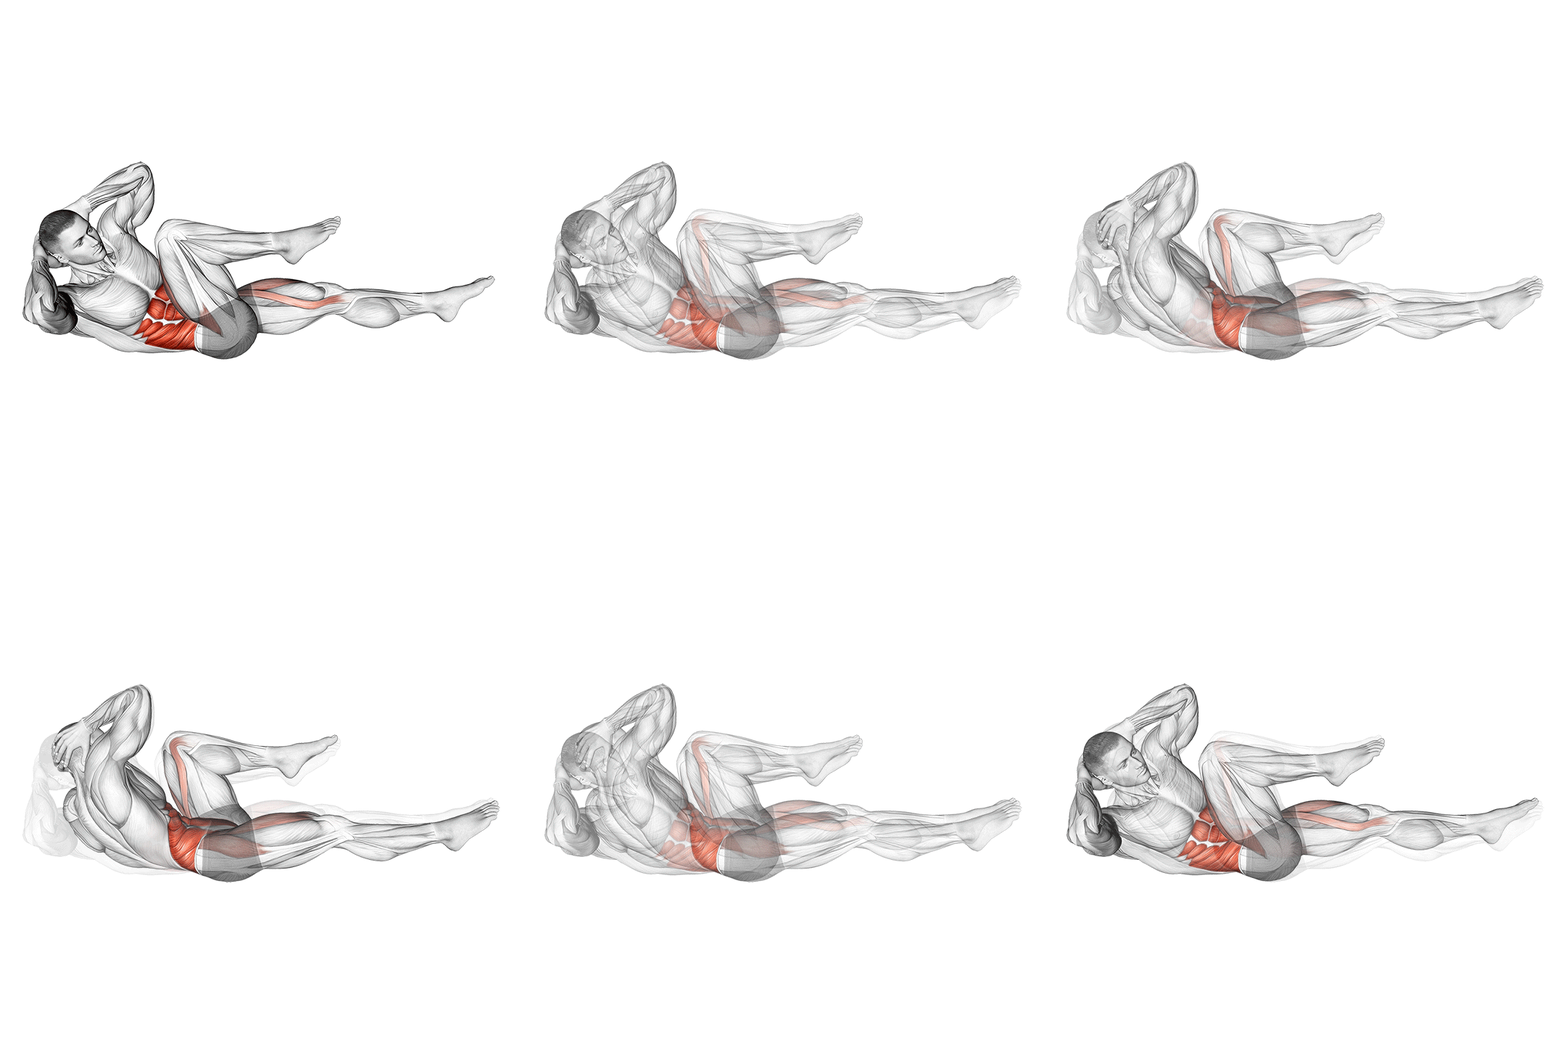
Bicycle Crunches
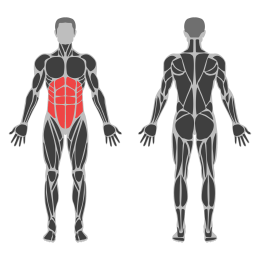
Bicycle Crunches are a core exercise targeting the rectus abdominis and obliques. This dynamic movement mimics a pedaling motion while engaging the abdominal muscles, promoting strength and endurance in the core region.
Muscle focus
Step-by-step cues
- Lie flat on your back on a mat with your lower back pressed to the ground.
- Place your hands behind your head, elbows wide, without pulling on your neck.
- Lift your knees to a 90-degree angle, keeping your feet off the ground.
- Engage your core and lift your shoulder blades off the mat.
- Simultaneously extend your right leg out while bringing your right elbow towards your left knee.
- Switch sides by extending your left leg and bringing your left elbow towards your right knee.
- Continue alternating sides in a controlled manner, simulating a pedaling motion.
- Perform for the desired number of repetitions or time.
Technical tips
- Focus on slow and controlled movements to maximize muscle engagement.
- Keep your lower back pressed against the mat to avoid strain.
- Avoid pulling on your neck with your hands; use your core to lift.
- Ensure that your elbows stay wide and do not collapse inward.
- Maintain steady breathing throughout the exercise for better endurance.
- Visualize pedaling a bicycle to help coordinate the movement.
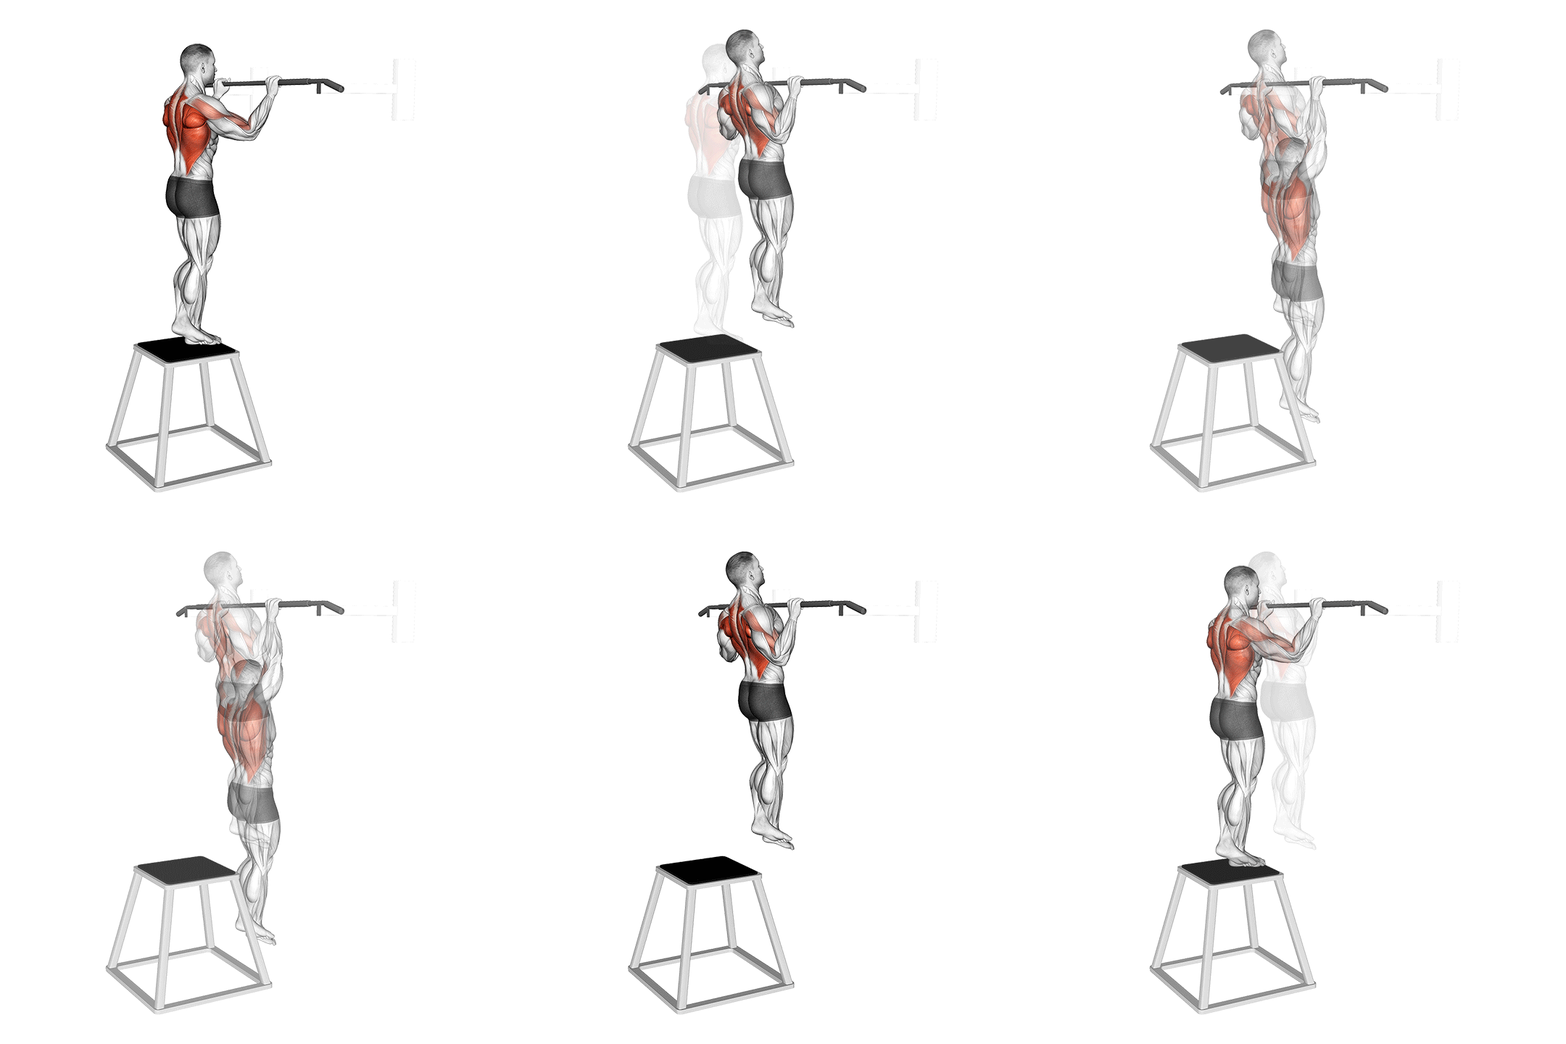
Negative Pull-Up
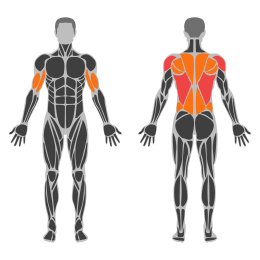
The Negative Pull-Up is an exercise focused on building strength in the upper body, particularly targeting the latissimus dorsi, biceps, and forearms. It involves controlling the descent from the top position of a pull-up, emphasizing eccentric muscle contraction. This exercise is beneficial for those who are working towards achieving their first full pull-up or looking to increase their pull-up repetitions.
Muscle focus
Step-by-step cues
- Start by using a box or step to position yourself at the top of a pull-up bar with your chin above the bar.
- Grip the bar with your hands shoulder-width apart, using an overhand grip.
- Engage your core and maintain a straight body alignment.
- Slowly lower yourself in a controlled manner, taking 3-5 seconds to descend until your arms are fully extended.
- Step back onto the box or step and repeat for the desired number of repetitions.
Technical tips
- Focus on controlling the descent to maximize muscle engagement.
- Keep your shoulders down and back to maintain proper form and avoid strain.
- Use a box or step that allows you to start at the top position comfortably.
- Breathe steadily throughout the exercise, exhaling as you lower yourself.
- If you're new to this exercise, start with fewer repetitions and gradually increase as you build strength.
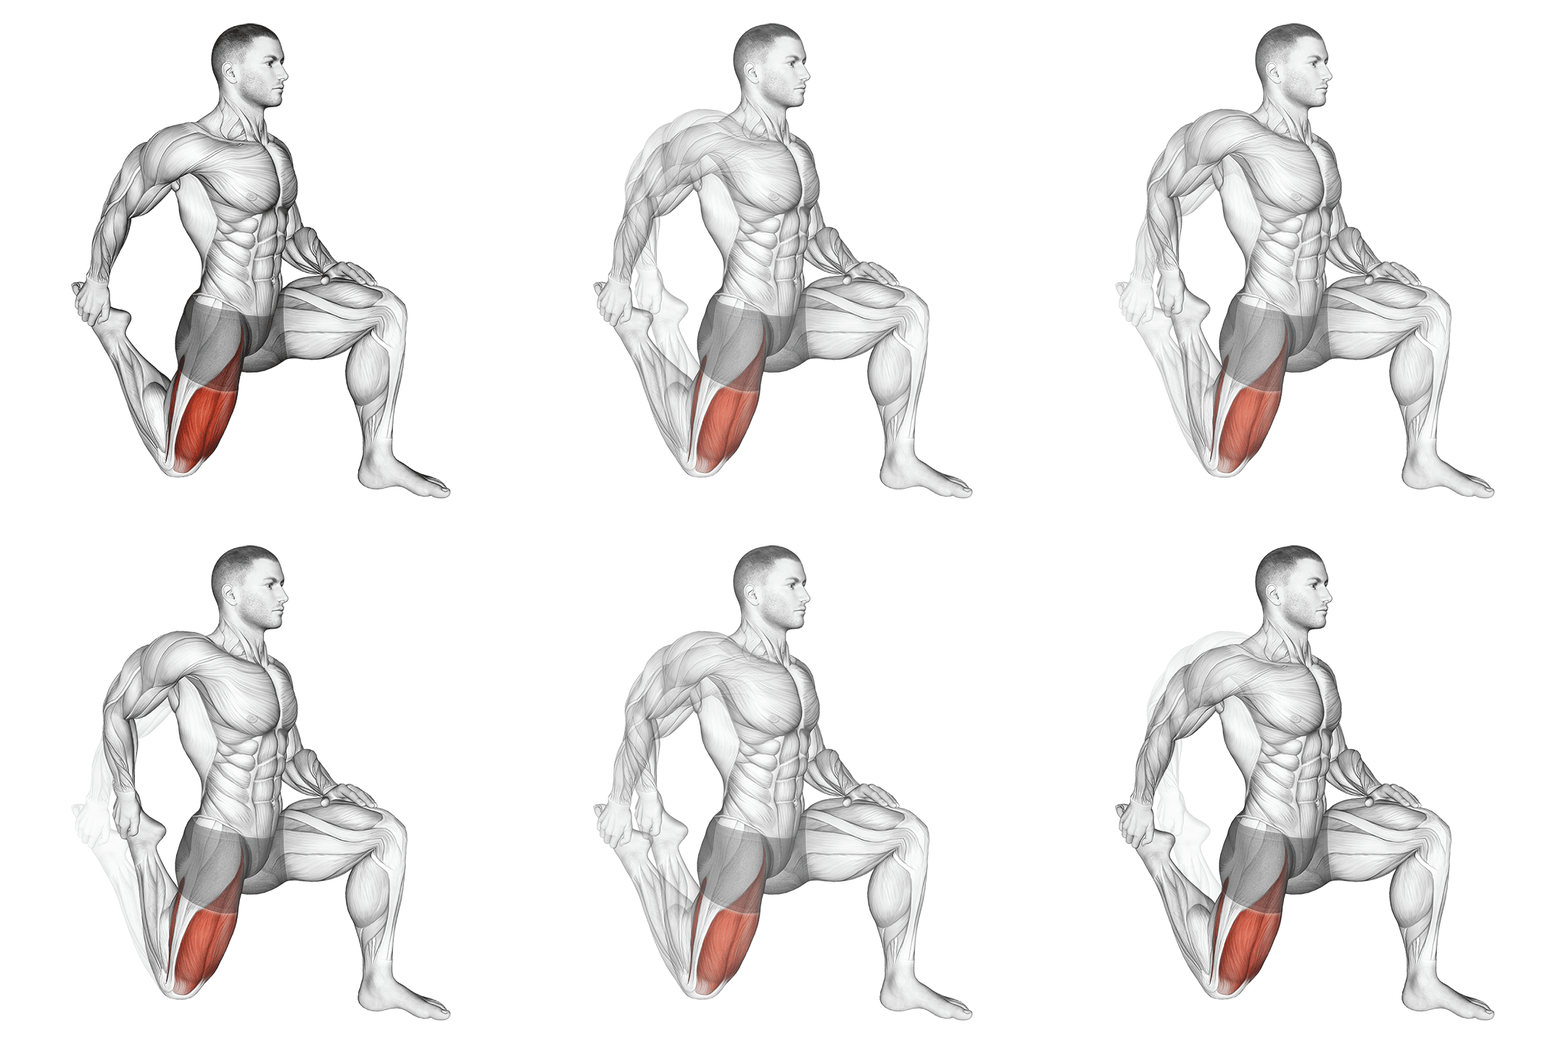
Half Kneeling Quad Stretch
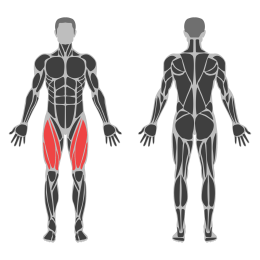
The Half Kneeling Quad Stretch is a flexibility exercise targeting the quadriceps muscles. It is performed in a half-kneeling position, which allows for a deep stretch of the front thigh muscles while also engaging the hip flexors. This stretch is beneficial for improving flexibility, reducing muscle tightness, and enhancing overall lower body mobility.
Muscle focus
Step-by-step cues
- Begin in a half-kneeling position with your right knee on the ground and your left foot flat in front of you, forming a 90-degree angle at both knees.
- Keep your torso upright and engage your core muscles to maintain balance.
- Reach back with your right hand and gently grasp your right ankle or foot.
- Slowly pull your right foot towards your glutes, feeling a stretch in the front of your right thigh.
- Hold the stretch for 20-30 seconds, ensuring you maintain steady breathing.
- Release the stretch and switch sides to repeat with the left leg.
Technical tips
- Ensure your front knee is aligned over your ankle to maintain proper form and prevent strain.
- Keep your hips square and facing forward to maximize the effectiveness of the stretch.
- If you have difficulty reaching your ankle, use a strap or towel looped around your foot for assistance.
- Focus on keeping your back straight and avoid arching to prevent lower back strain.
- Perform this stretch after workouts or during cool-downs to help reduce muscle tightness.
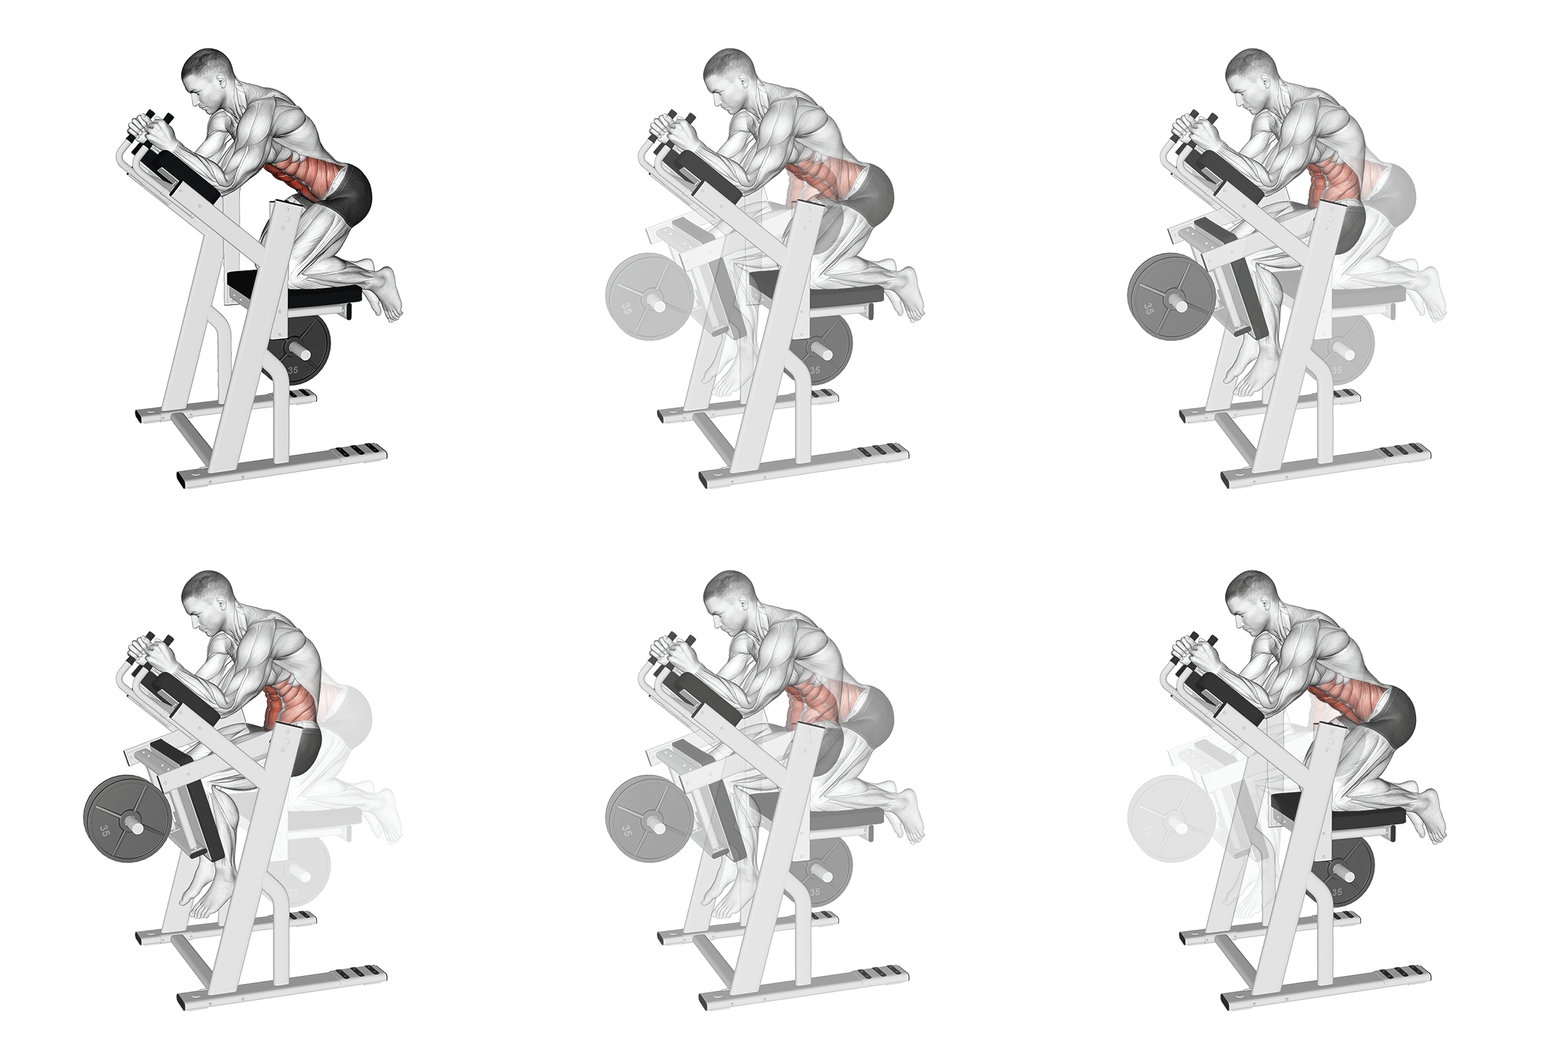
Knee Raise Ab Coaster
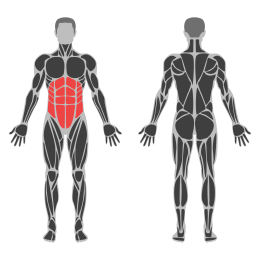
The Knee Raise Ab Coaster is an abdominal exercise performed on a specialized machine designed to target the lower abs. It involves a controlled movement where the knees are raised towards the chest while maintaining a stable core. This exercise helps in strengthening the abdominal muscles, particularly focusing on the lower region, and can also engage the hip flexors.
Muscle focus
Step-by-step cues
- Adjust the seat height on the ab coaster machine so that your forearms can rest comfortably on the pads.
- Grip the handles firmly and ensure your back is pressed against the backrest.
- Position your knees on the knee pad, keeping your feet off the ground.
- Engage your core by tightening your abdominal muscles.
- Slowly lift your knees towards your chest in a controlled motion, exhaling as you raise them.
- Pause briefly at the top of the movement, ensuring maximum contraction of the abs.
- Inhale as you slowly lower your knees back to the starting position without letting them touch the ground.
- Repeat for the desired number of repetitions.
Technical tips
- Maintain a slow and controlled movement to maximize muscle engagement.
- Focus on using your abdominal muscles to lift your knees rather than relying on momentum.
- Keep your head and neck relaxed throughout the exercise to avoid unnecessary strain.
- Ensure that your back remains pressed against the backrest to stabilize your body.
- Avoid swinging or jerking motions to prevent injury and ensure effective targeting of the abs.
- Start with a manageable number of repetitions and gradually increase as your strength improves.
Thursday
Chest Volume
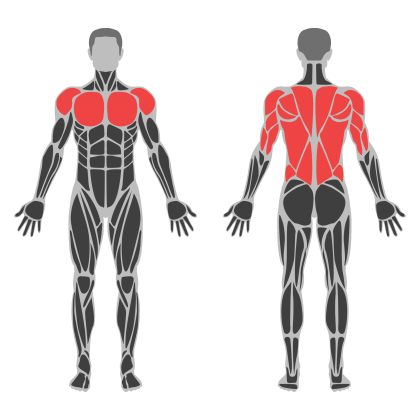
Chest Volume muscle focus
Red marks the primary training focus. Orange marks supporting muscle groups used throughout this session.
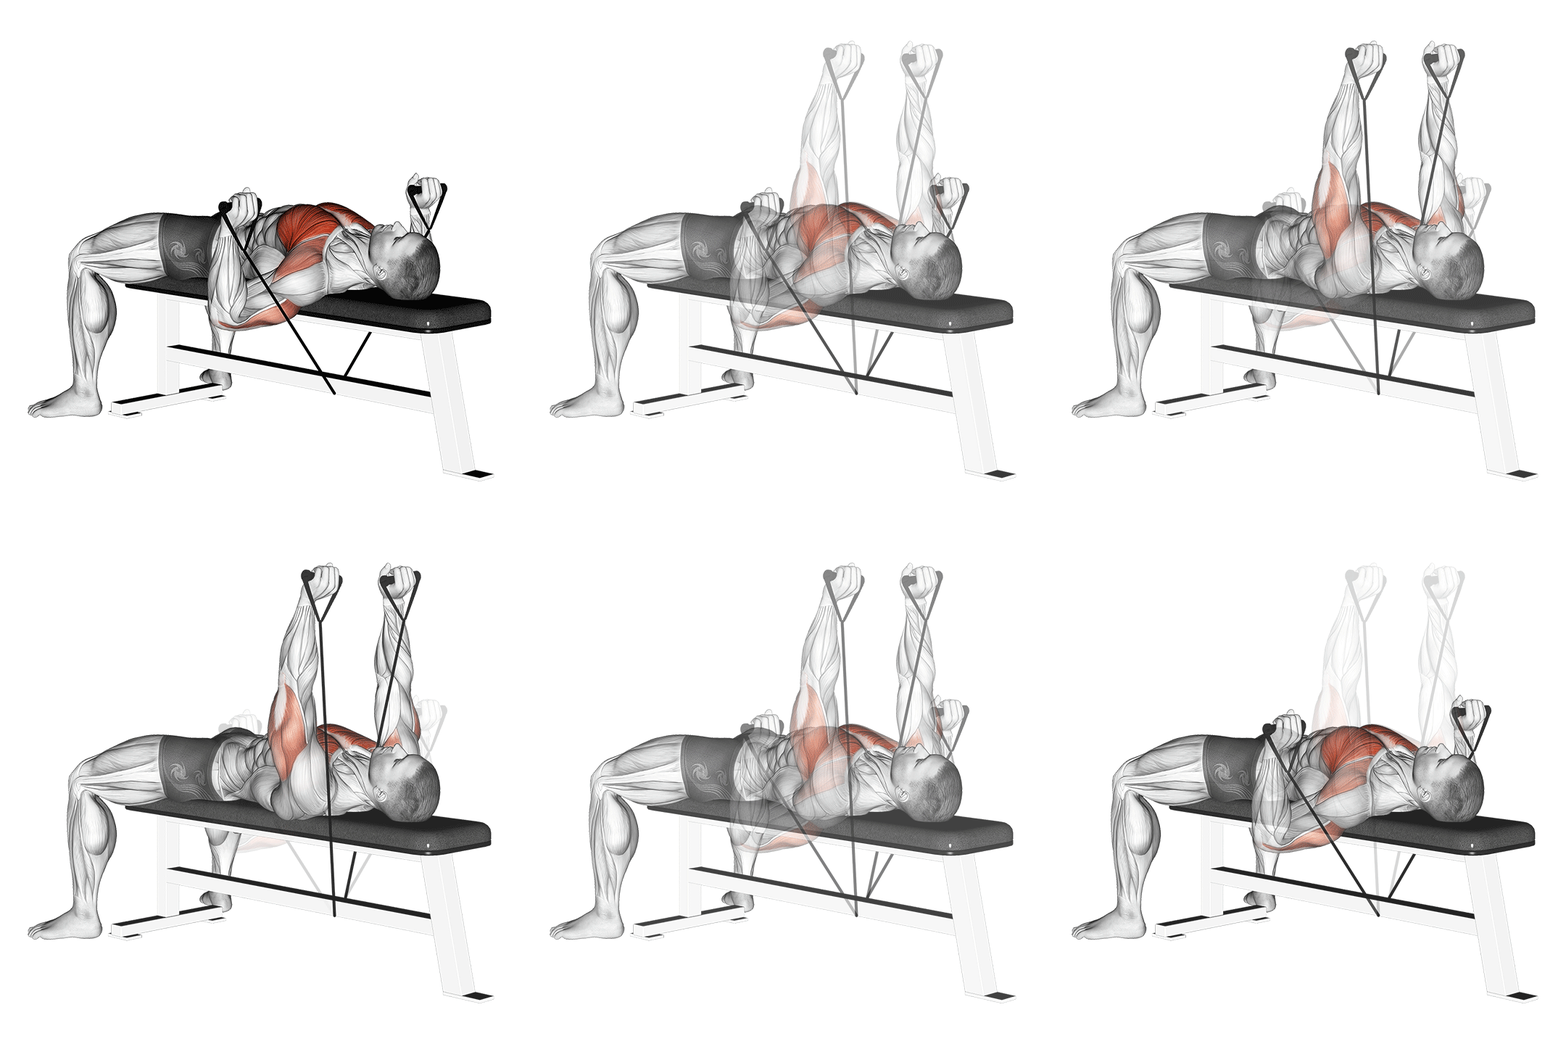
Band Bench Chest Press
The Band Bench Chest Press is a resistance exercise targeting the pectoral muscles, utilizing resistance bands to provide variable tension throughout the movement. It primarily engages the chest, triceps, and shoulders, offering a versatile alternative to traditional bench pressing.
Muscle focus
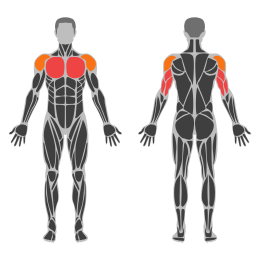
Step-by-step cues
- Anchor the resistance band securely behind a bench or sturdy object at chest height.
- Lie back on the bench with your feet flat on the floor, ensuring stability.
- Hold the band handles or ends in each hand, positioning your hands at chest level with elbows bent.
- Press the bands upward by extending your arms fully, keeping wrists straight and aligned with your forearms.
- Pause briefly at the top of the movement, ensuring full contraction of the chest muscles.
- Slowly return to the starting position by bending your elbows, maintaining control of the band tension.
- Repeat for the desired number of repetitions.
Technical tips
- Ensure that the resistance band is securely anchored to prevent slippage during the exercise.
- Maintain a neutral spine and avoid arching your back excessively during the press.
- Focus on controlled movements both during pressing and returning to start to maximize muscle engagement.
- Adjust band tension by stepping closer or further from the anchor point to increase or decrease resistance.
- Keep your core engaged throughout to stabilize your body and prevent unnecessary movement.
- Exhale as you press upwards and inhale as you return to the starting position.
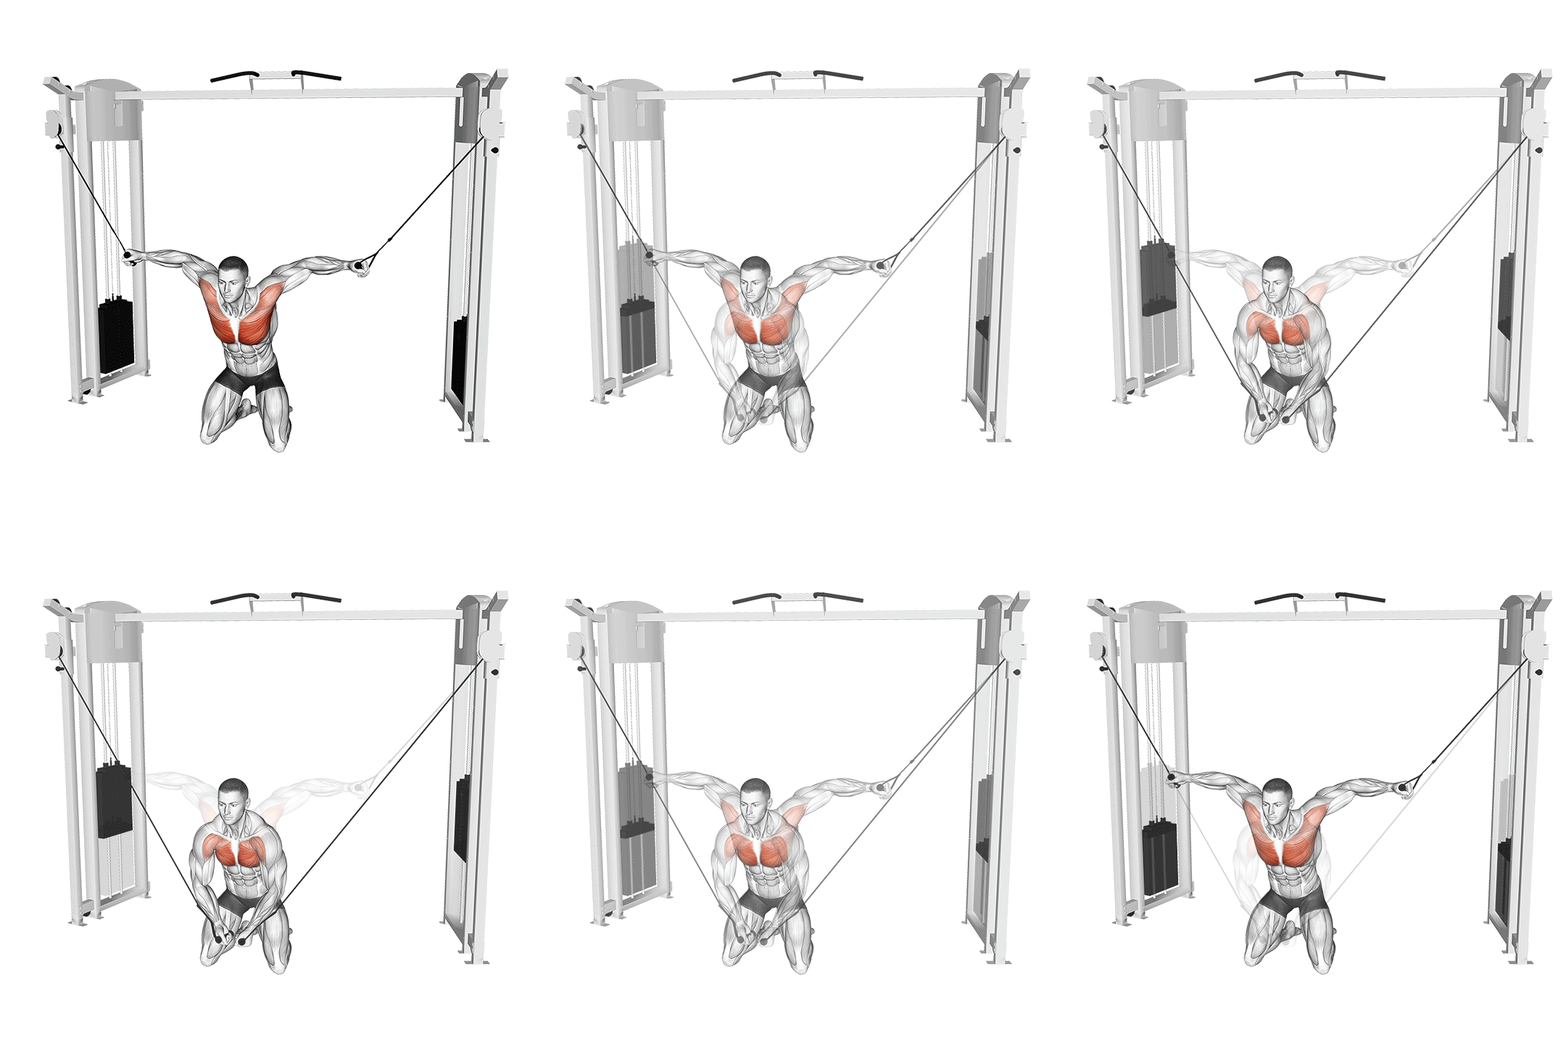
Cable Kneeling High To Low Fly
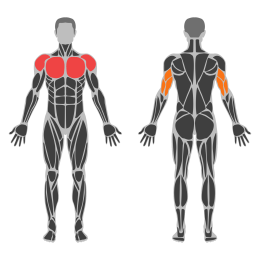
Cable flyes on knees target the chest muscles, specifically the pectoralis major, while also engaging the shoulders and triceps. This exercise is performed using a cable machine with pulleys set at a high position. Kneeling provides stability and focuses the movement on the chest by minimizing leg involvement.
Muscle focus
Step-by-step cues
- Position the pulleys on a cable machine at a high setting.
- Attach handles to the cables and kneel down in the center of the machine.
- Hold a handle in each hand with your arms extended out to the sides, palms facing forward.
- Keep your back straight and core engaged throughout the exercise.
- Slowly bring your hands together in front of your chest in a wide arc, maintaining a slight bend in your elbows.
- Pause briefly when your hands meet, squeezing your chest muscles.
- Slowly return to the starting position, controlling the movement.
- Repeat for the desired number of repetitions.
Technical tips
- Ensure that your knees are comfortably positioned on a mat to avoid discomfort.
- Focus on squeezing your chest muscles at the peak of the movement for maximum engagement.
- Maintain a slight bend in your elbows throughout to protect your joints.
- Keep your movements slow and controlled to maximize muscle tension and prevent injury.
- Engage your core to maintain balance and stability during the exercise.
- Avoid using momentum; let your chest muscles do the work.
Seated Barbell Shoulder Press
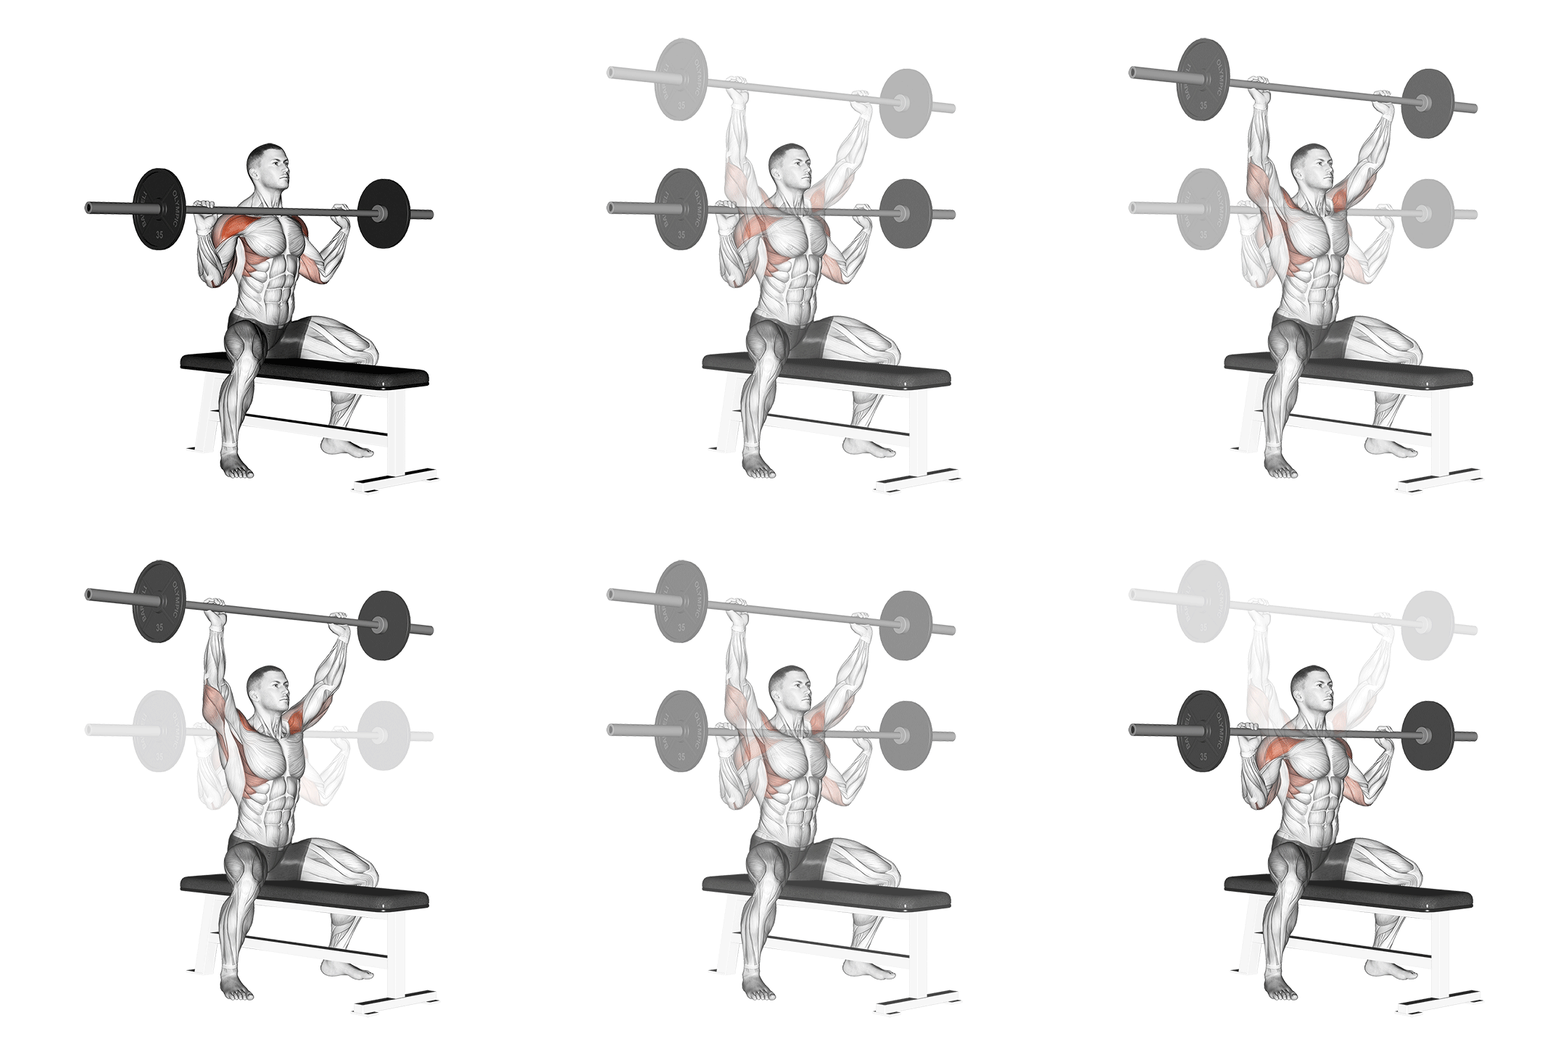
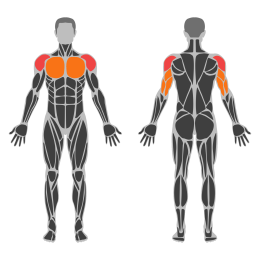
The Seated Barbell Shoulder Press is a compound exercise targeting the deltoid muscles, particularly the anterior deltoids, while also engaging the triceps and upper chest. This exercise is performed while seated, providing stability and allowing for greater focus on shoulder strength and hypertrophy.
Muscle focus
Step-by-step cues
- Sit on a bench with back support, ensuring your feet are flat on the floor for stability.
- Grip the barbell with an overhand grip slightly wider than shoulder-width apart.
- Lift the barbell off the rack and hold it at shoulder height with your elbows bent and aligned under your wrists.
- Engage your core and press the barbell overhead until your arms are fully extended but not locked out.
- Slowly lower the barbell back to the starting position at shoulder height.
- Repeat for the desired number of repetitions.
Technical tips
- Keep your back pressed against the bench to prevent arching during the lift.
- Maintain a controlled motion throughout the exercise to maximize muscle engagement.
- Avoid locking out your elbows at the top of the movement to keep tension on the shoulders.
- Ensure your wrists remain straight and aligned with your forearms to reduce strain.
- Breathe out as you press the barbell up and breathe in as you lower it down.
Dumbbell Low to High Fly
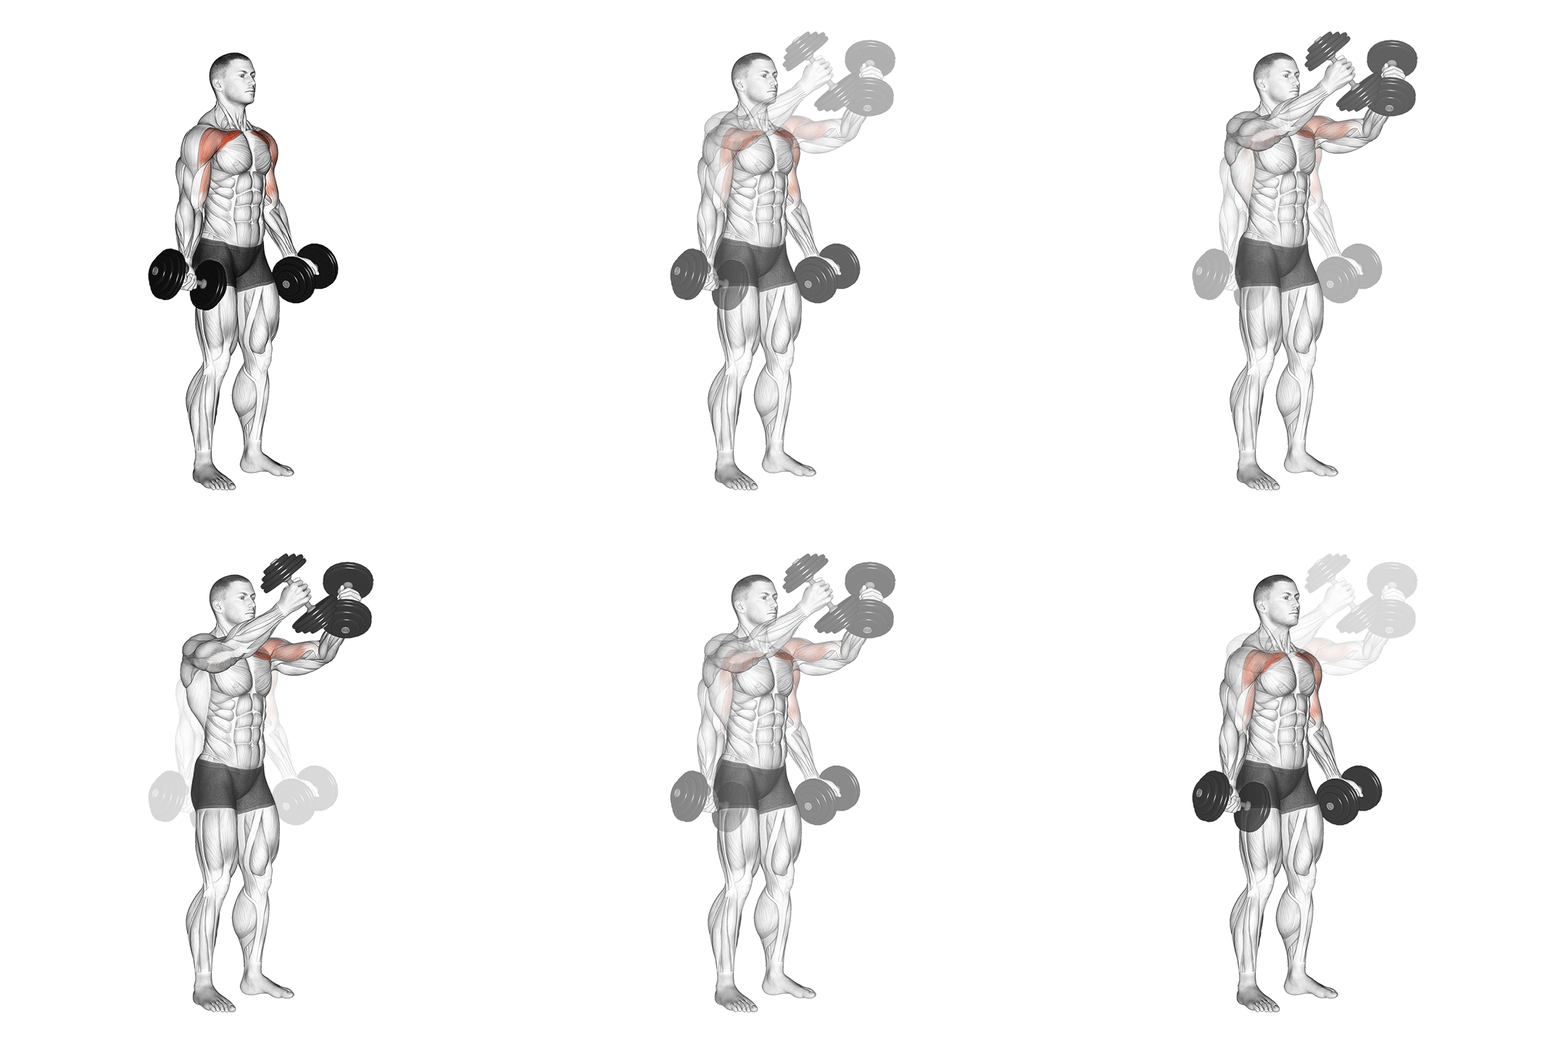
The Dumbbell Low to High Fly is an isolation exercise targeting the chest muscles, particularly the upper pectorals. It involves moving a pair of dumbbells in an arc from a low position near the hips to a high position above shoulder level, engaging the chest, shoulders, and core for stability.
Muscle focus
Step-by-step cues
- Stand with feet shoulder-width apart, holding a dumbbell in each hand with a neutral grip.
- Begin with your arms extended downward in front of your thighs, palms facing each other.
- Engage your core and slightly bend your knees for stability.
- With a slight bend in the elbows, raise the dumbbells in an arc motion from hip level to above shoulder height.
- Keep your arms slightly bent throughout the movement to reduce strain on the elbows.
- Squeeze your chest muscles at the top of the movement.
- Slowly lower the dumbbells back to the starting position, maintaining control.
- Repeat for the desired number of repetitions.
Technical tips
- Focus on using your chest muscles to lift the weights rather than relying on momentum.
- Maintain a slight bend in your elbows to protect your joints.
- Keep your movements slow and controlled to maximize muscle engagement.
- Ensure your core is engaged throughout to maintain balance and support.
- Breathe out as you lift the dumbbells and inhale as you lower them.
- Avoid lifting too heavy; prioritize form over weight to prevent injury.
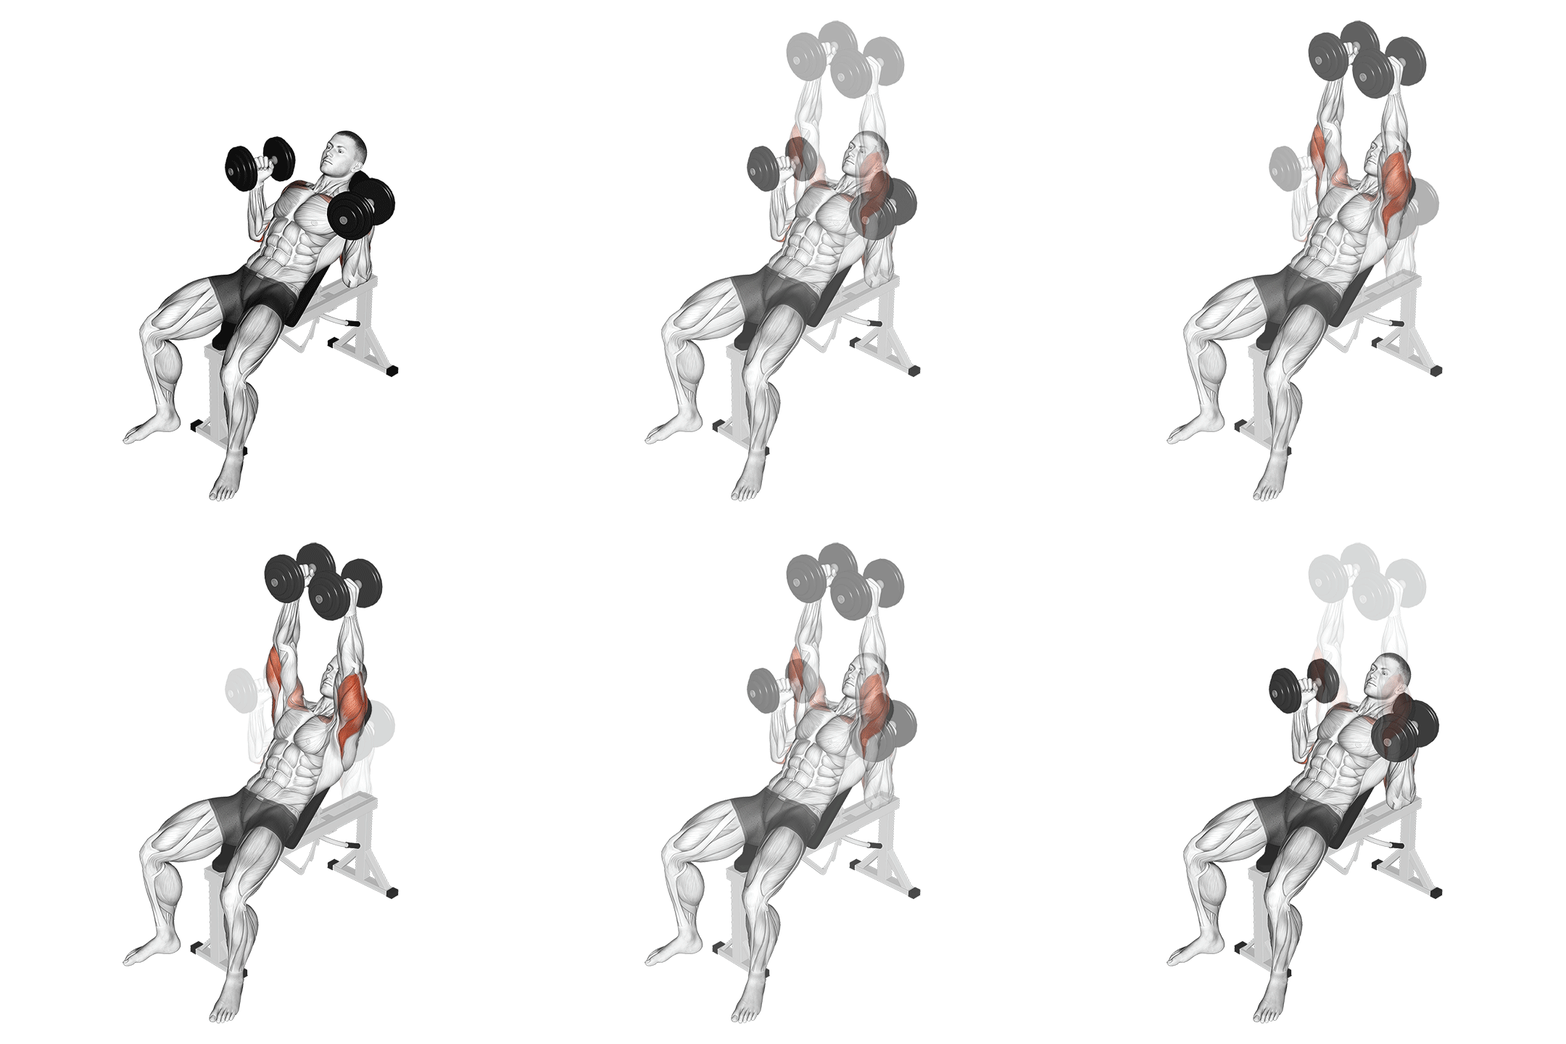
Incline Neutral Grip Dumbbell Press
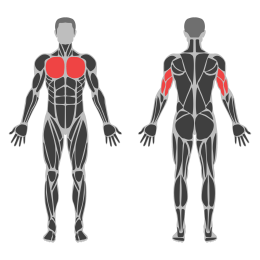
The Incline Neutral Grip Dumbbell Press targets the upper portion of the pectoral muscles, anterior deltoids, and triceps. This exercise is performed on an incline bench with dumbbells held in a neutral grip, meaning palms facing each other. It emphasizes the upper chest and reduces strain on the shoulders compared to other pressing movements.
Muscle focus
Step-by-step cues
- Set an incline bench to a 30-45 degree angle.
- Sit on the bench with your feet flat on the floor and back firmly against the pad.
- Hold a dumbbell in each hand with a neutral grip, palms facing each other.
- Position the dumbbells at shoulder height, elbows bent at approximately 90 degrees.
- Press the dumbbells upward until your arms are fully extended but not locked out.
- Slowly lower the dumbbells back to the starting position at shoulder height.
- Repeat for the desired number of repetitions.
Technical tips
- Ensure your back remains firmly against the bench throughout the movement to prevent arching.
- Keep your core engaged to maintain stability and support your lower back.
- Focus on a controlled motion; avoid using momentum to lift the weights.
- Exhale as you press the dumbbells up and inhale as you lower them down.
- Adjust the bench angle if you feel discomfort in your shoulders; a lower incline may reduce strain.
- Start with lighter weights to perfect your form before progressing to heavier loads.
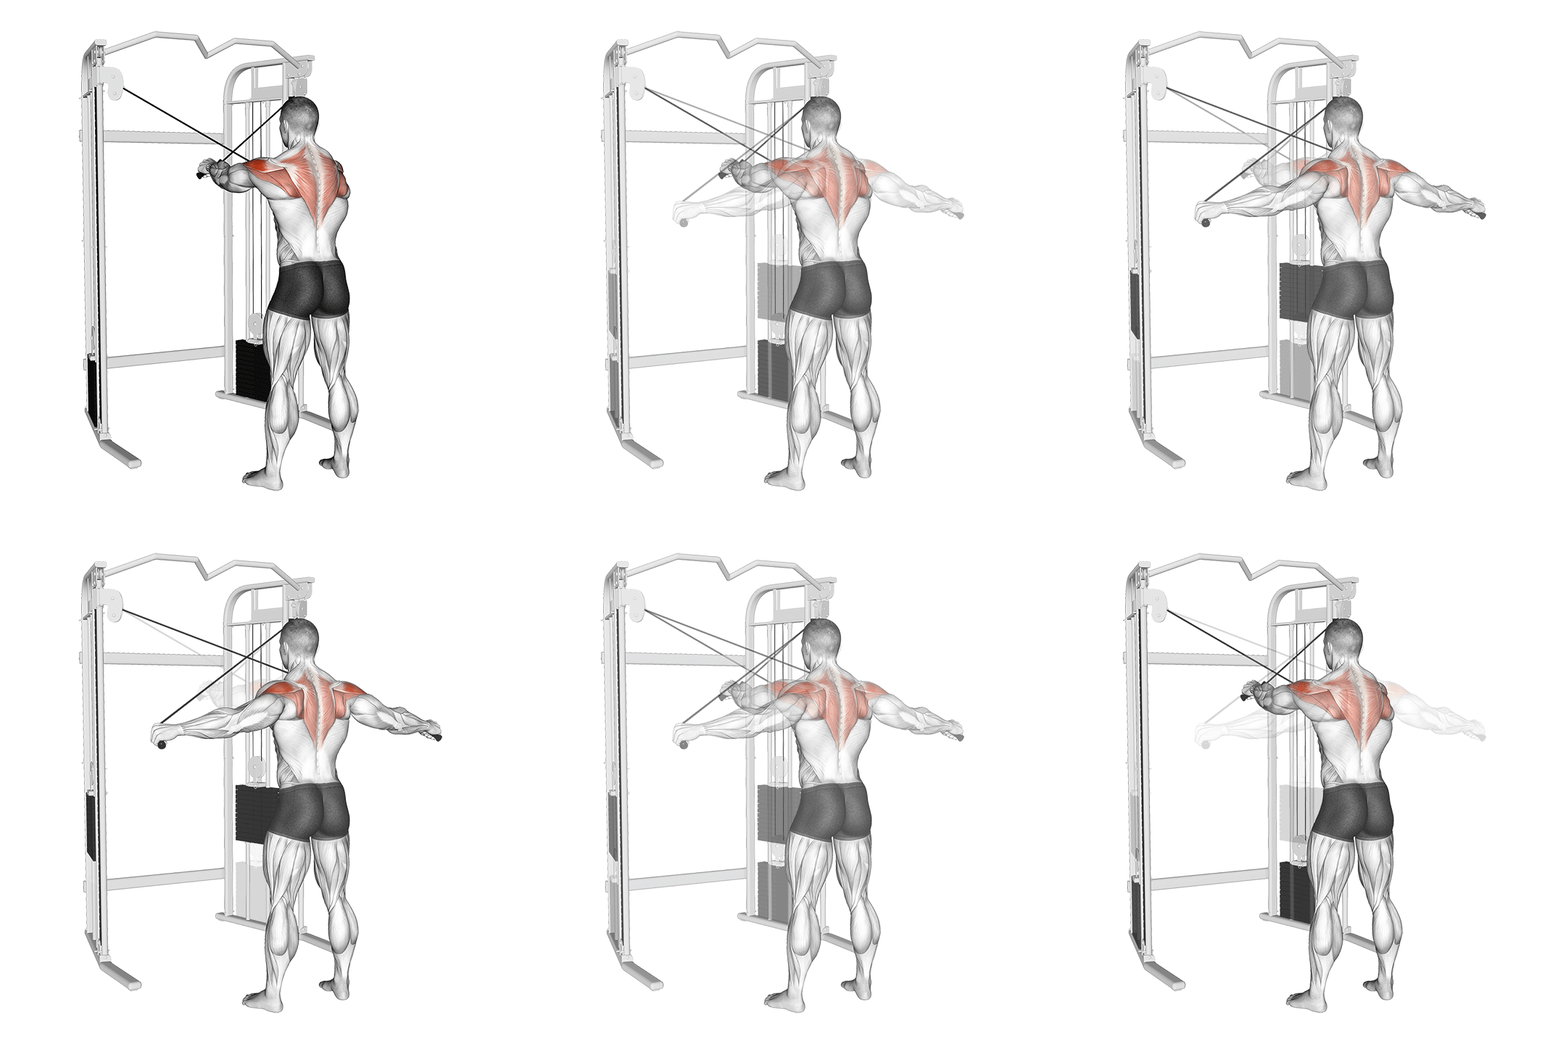
Cable Rear Delt Fly (Reverse Fly)
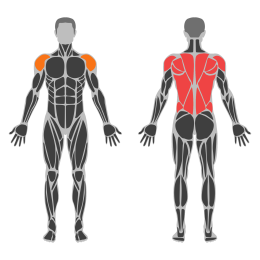
The Cable Rear Delt Fly, also known as the Reverse Fly, is an isolation exercise targeting the rear deltoid muscles of the shoulders. It involves using a cable machine to provide constant tension throughout the movement, promoting muscle engagement and growth. This exercise is effective for improving shoulder stability and posture.
Muscle focus
Step-by-step cues
- Set the cable machine to a low position and attach single handles to each side.
- Stand in the center of the machine with feet shoulder-width apart, facing away from the machine.
- Grab each handle with opposite hands, crossing them in front of your body.
- With a slight bend in your elbows, pull the handles outward and backward in an arc motion until your arms are parallel to the floor.
- Squeeze your shoulder blades together at the peak of the movement.
- Slowly return to the starting position with control.
- Repeat for the desired number of repetitions.
Technical tips
- Keep your core engaged throughout the exercise to maintain stability.
- Avoid using momentum; focus on controlled movements to maximize muscle activation.
- Maintain a slight bend in your elbows to reduce strain on your joints.
- Ensure your shoulders are down and back to prevent neck strain.
- Focus on squeezing your shoulder blades together at the top of the movement for maximum contraction.
- Start with a lighter weight to perfect your form before increasing resistance.
Friday
Rest
Keep activity easy and aim for a consistent sleep schedule.
Saturday
Upper Accessory
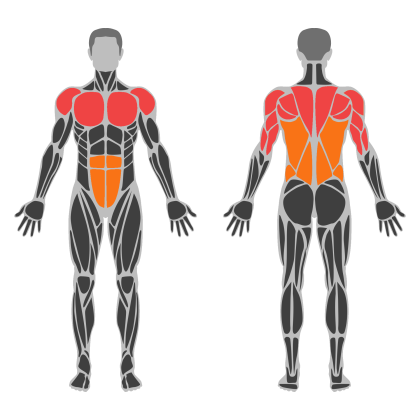
Upper Accessory muscle focus
Red marks the primary training focus. Orange marks supporting muscle groups used throughout this session.
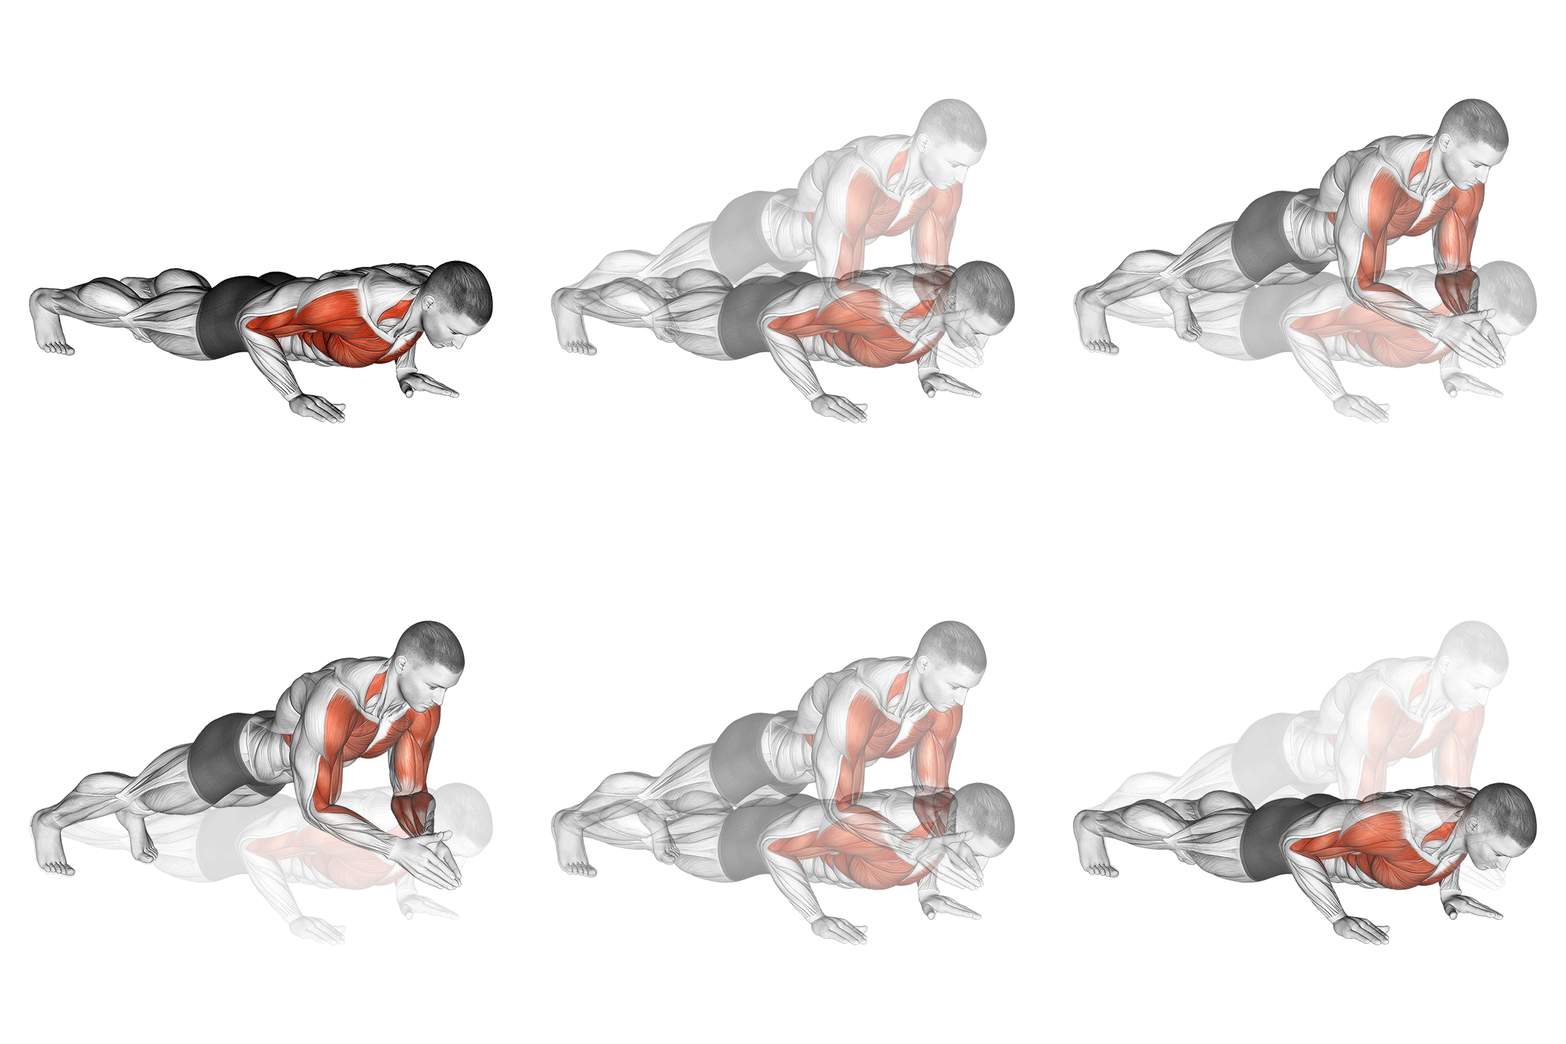
Clap Push-Up
The Clap Push Up is an advanced plyometric exercise that enhances upper body strength, explosiveness, and coordination. It primarily targets the chest, triceps, and shoulders, while also engaging the core for stability.
Muscle focus
Step-by-step cues
- Start in a standard push-up position with your hands shoulder-width apart and your body forming a straight line from head to heels.
- Lower your body by bending your elbows until your chest nearly touches the floor.
- Explosively push yourself upwards with enough force to lift your hands off the ground.
- Quickly clap your hands together while in the air.
- Return your hands to the starting position to catch yourself and immediately proceed to the next repetition.
Technical tips
- Ensure your core is engaged throughout the movement to maintain a straight body line.
- Focus on generating power from your chest and triceps during the push-off phase.
- Practice regular push-ups first to build foundational strength before attempting clap push-ups.
- Start with small claps if you're new to this exercise and gradually increase the height of your jump as you become more comfortable.
- Maintain a controlled descent to prevent injury and ensure smooth transitions between repetitions.
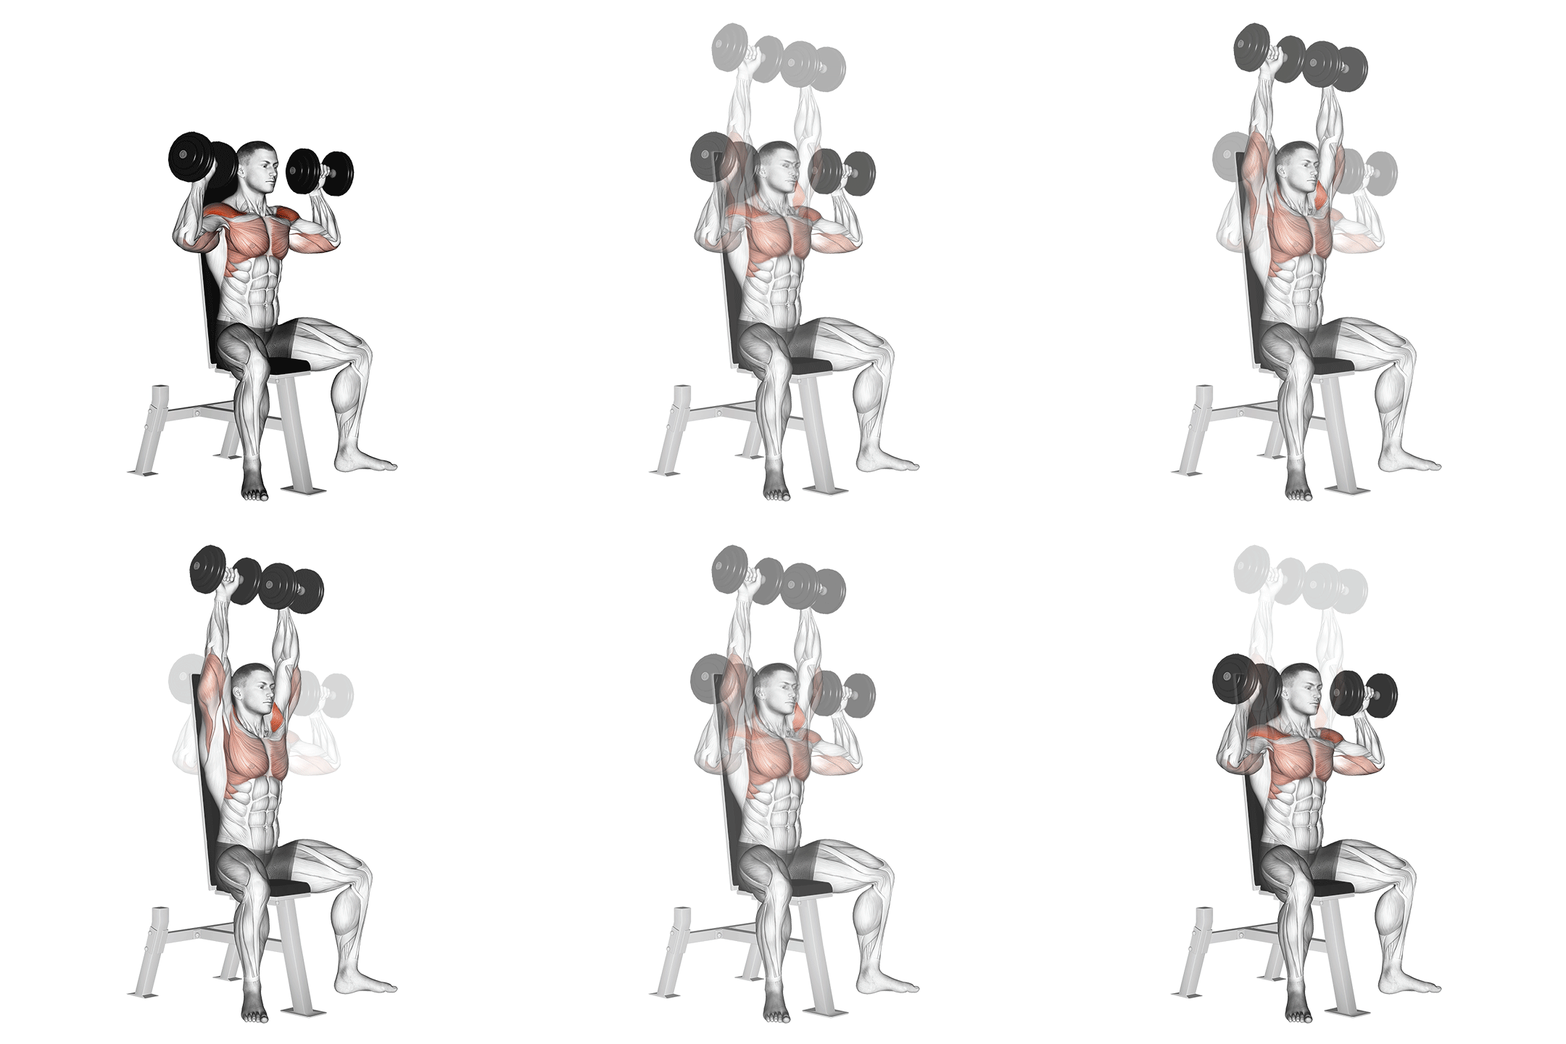
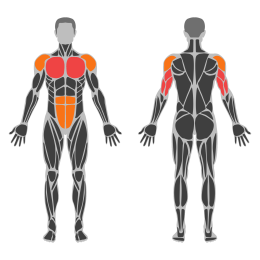
Seated Dumbbell Shoulder Press
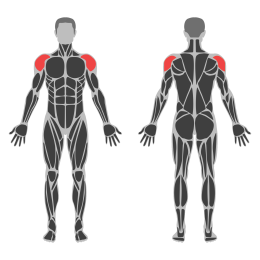
The Seated Dumbbell Shoulder Press is a compound exercise targeting the deltoid muscles, particularly the anterior and medial heads, as well as engaging the triceps and upper chest. This exercise is performed while seated, providing stability and allowing for better focus on shoulder muscle activation.
Muscle focus
Step-by-step cues
- Sit on a bench with back support, feet flat on the floor, and hold a dumbbell in each hand at shoulder height with palms facing forward.
- Engage your core to stabilize your torso and keep your back pressed against the bench.
- Press the dumbbells upward until your arms are fully extended overhead, without locking your elbows.
- Pause briefly at the top of the movement, then slowly lower the dumbbells back to the starting position at shoulder height.
- Repeat for the desired number of repetitions.
Technical tips
- Choose a weight that allows you to maintain proper form throughout the set.
- Keep your movements controlled and avoid using momentum to lift the weights.
- Ensure your elbows remain slightly in front of your body to reduce shoulder joint strain.
- Focus on keeping your wrists straight and aligned with your forearms to prevent injury.
- Breathing is crucial: exhale as you press up and inhale as you lower the weights.
Machine Triceps Extension
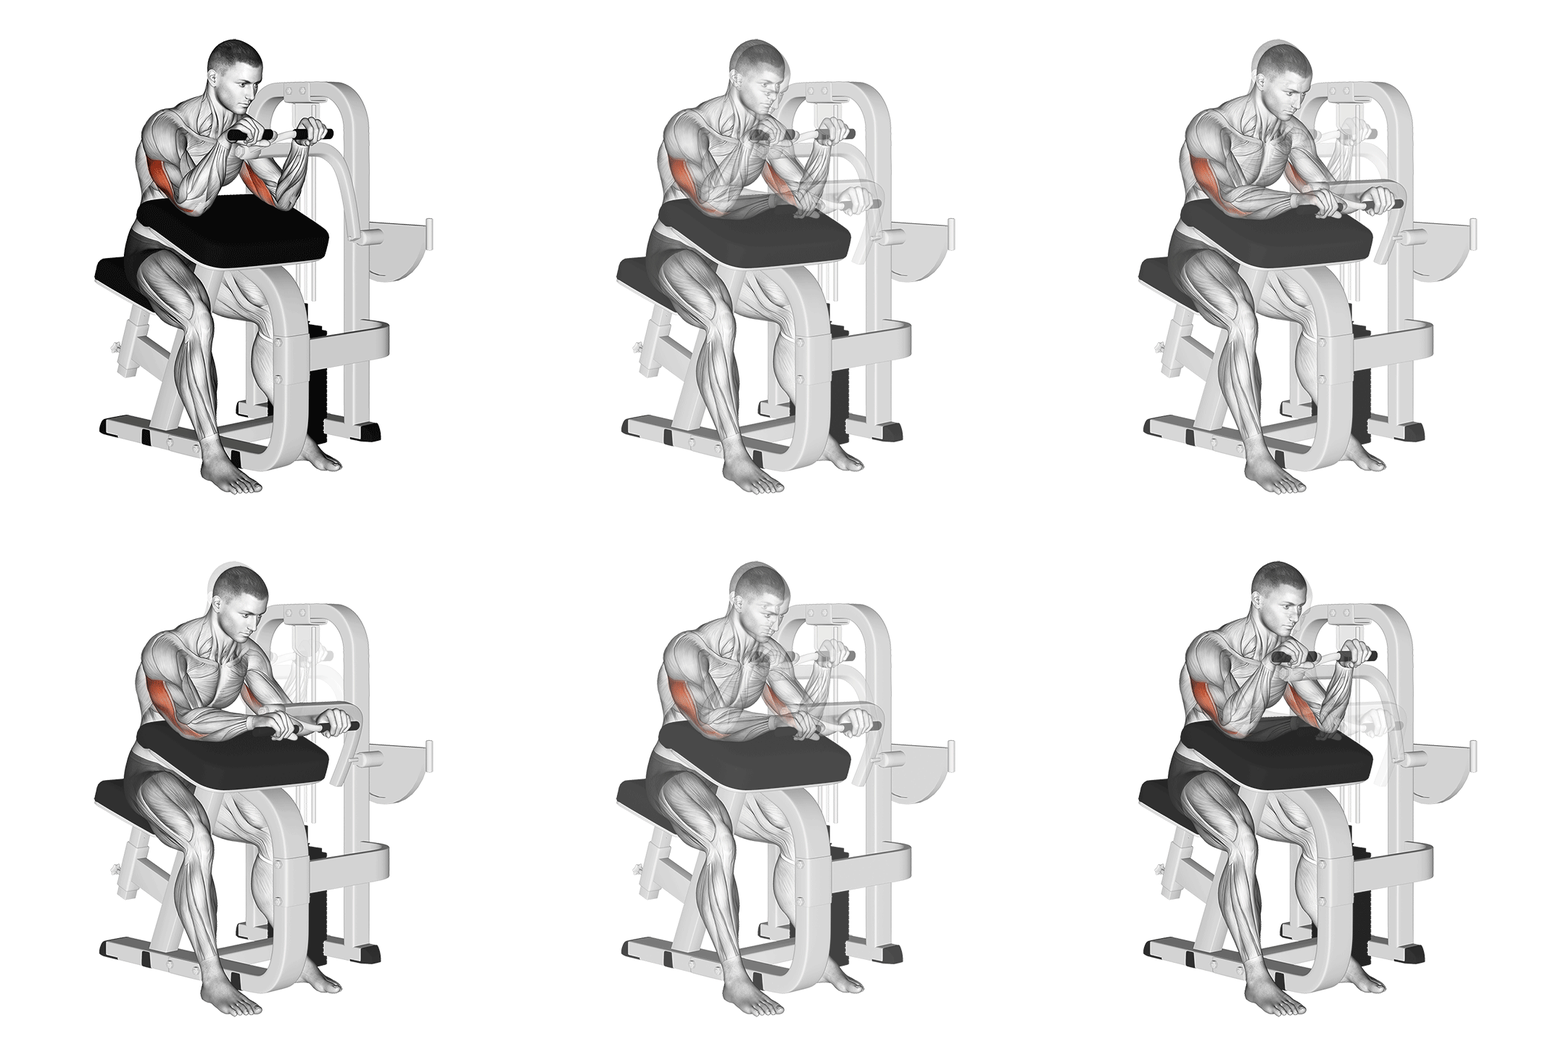
The Machine Triceps Extension is an isolation exercise targeting the triceps brachii muscle. It involves extending the elbows against resistance provided by a machine, allowing for controlled and focused engagement of the triceps. This exercise is ideal for building strength and mass in the triceps while minimizing involvement of other muscle groups.
Muscle focus
Step-by-step cues
- Adjust the seat height so that your upper arms are parallel to the floor when gripping the handles.
- Sit down and firmly plant your feet on the floor, ensuring your back is supported by the seat.
- Grip the handles with a neutral or overhand grip, depending on machine design.
- Start with your elbows bent at approximately 90 degrees.
- Extend your arms by pushing the handles forward until your elbows are fully extended but not locked.
- Pause briefly at the top of the movement to maximize contraction.
- Slowly return to the starting position by bending your elbows in a controlled manner.
- Repeat for the desired number of repetitions.
Technical tips
- Ensure that your elbows remain stationary throughout the movement to isolate the triceps effectively.
- Avoid using momentum; focus on a slow and controlled movement to maximize muscle engagement.
- Keep your core engaged and maintain a neutral spine to prevent unnecessary strain on your lower back.
- Adjust the weight appropriately; start with a lighter weight to perfect your form before increasing resistance.
- Breathe out as you extend your arms and inhale as you return to the starting position.
Knee Push-Up
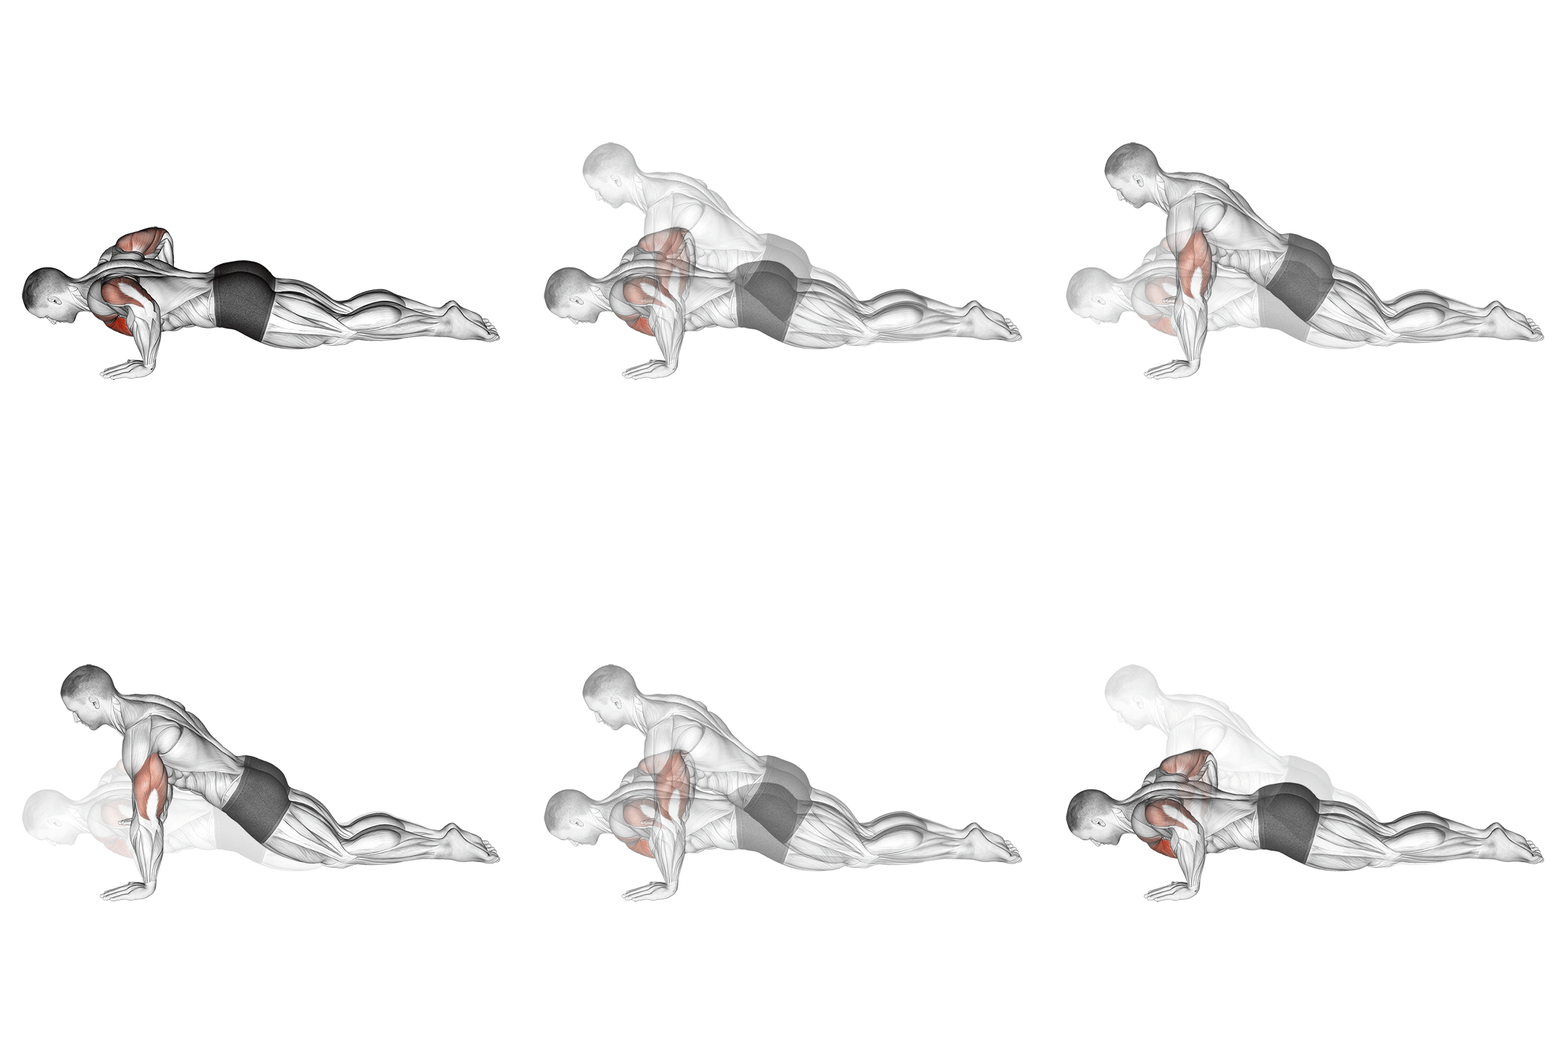
Push Ups On Knees, also known as modified push-ups, are a beginner-friendly exercise that targets the chest, shoulders, and triceps. This variation reduces the load on the upper body by allowing the knees to remain on the ground, making it an excellent choice for building strength and endurance in those new to push-ups or returning from injury.
Muscle focus
Step-by-step cues
- Start by kneeling on the floor. Place your hands slightly wider than shoulder-width apart on the ground.
- Position your knees together and keep your feet lifted off the ground.
- Engage your core and maintain a straight line from your head to your knees.
- Lower your body by bending your elbows until your chest nearly touches the floor.
- Push through your palms to extend your arms and return to the starting position.
- Repeat for the desired number of repetitions.
Technical tips
- Keep your core tight throughout the movement to maintain proper alignment.
- Ensure that your elbows are at a 45-degree angle to your body as you lower yourself.
- Avoid arching your back; maintain a straight line from head to knees.
- Focus on controlled movements rather than speed to maximize muscle engagement.
- If you experience discomfort in your wrists, try using push-up bars or perform the exercise on a soft surface.
Cable Upright Row
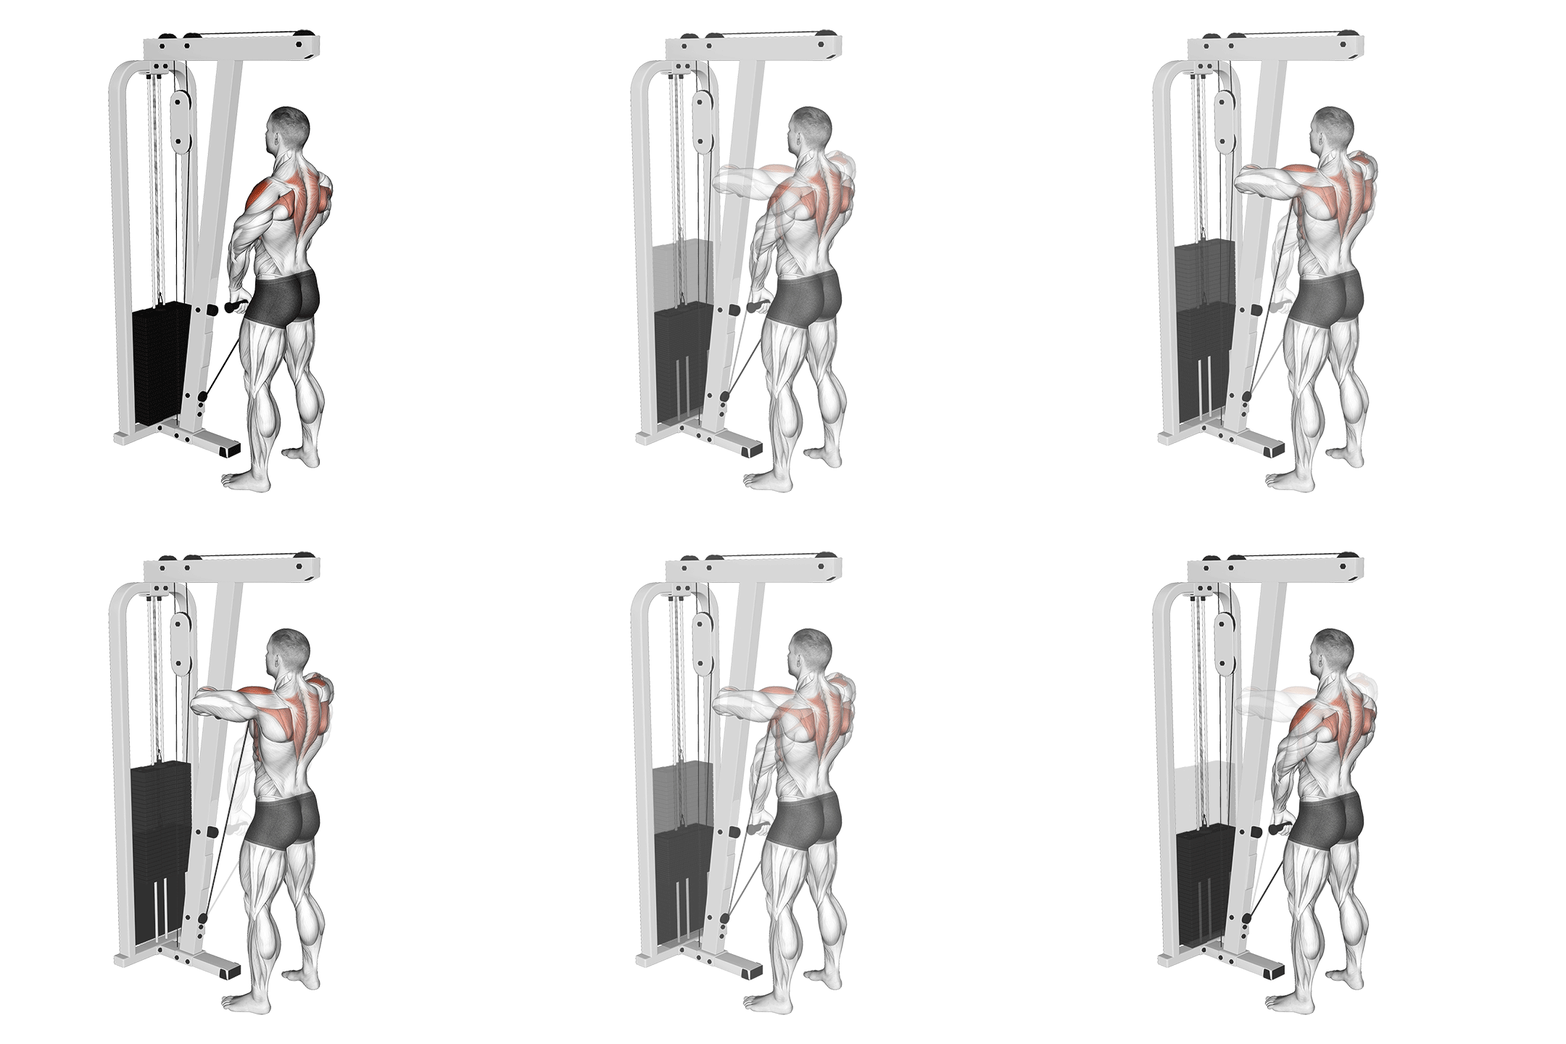
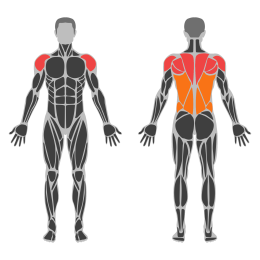
The Cable Narrow Grip Upright Row is a compound exercise targeting the shoulders and upper trapezius muscles. It involves pulling a cable attachment vertically along the body while maintaining a narrow grip, emphasizing the deltoids and traps.
Muscle focus
Step-by-step cues
- Attach a straight bar or narrow grip handle to the low pulley of a cable machine.
- Stand facing the machine with feet shoulder-width apart, knees slightly bent.
- Grasp the handle with an overhand grip, hands close together, and let the arms hang straight down.
- Engage your core and keep your back straight throughout the movement.
- Pull the handle upward along your body, leading with your elbows until they are at shoulder height.
- Pause briefly at the top of the movement, ensuring your elbows are higher than your wrists.
- Slowly lower the handle back to the starting position with control.
- Repeat for the desired number of repetitions.
Technical tips
- Keep your elbows higher than your wrists throughout the movement to maximize shoulder engagement.
- Avoid swinging or using momentum; focus on controlled movements to effectively target the muscles.
- Maintain a neutral spine and engage your core to prevent lower back strain.
- Start with a lighter weight to perfect your form before increasing resistance.
- Exhale as you lift the handle and inhale as you lower it back down.
Sunday
Full Rest
No lifting. Prepare meals and review the next week progression target.
Four-week progression
Nutrition guidance

- Aim for a modest daily energy surplus of roughly 150-300 kcal rather than uncontrolled bulking.
- Build each main meal around protein and target roughly 1.6-2.2 g of protein per kg of body weight per day.
- Place a useful share of carbohydrates before and after training to support performance and recovery.
- Keep fruit, vegetables, whole grains and healthy fats in the plan instead of relying on supplements.
Use these numbers as practical starting ranges, not medical prescriptions. Adjust for your health, body size and activity, and consult a qualified professional when needed.